Dynojet power commander v Installation Instructions Manual
2012 arctic cat 1100 turbo fuel controller
Hide thumbs
Also See for power commander v:
- Installation manual (9 pages) ,
- Installation instructions manual (8 pages) ,
- Installation instructions and owner's manuals (8 pages)
Quick Links
2012 Arctic Cat 1100 Turbo
I n s t a l l a t i o n I n s t r u c t i o n s
PLEASE READ ALL DIRECTIONS BEFORE STARTING INSTALLATION
I11-009
www.powercommander.com
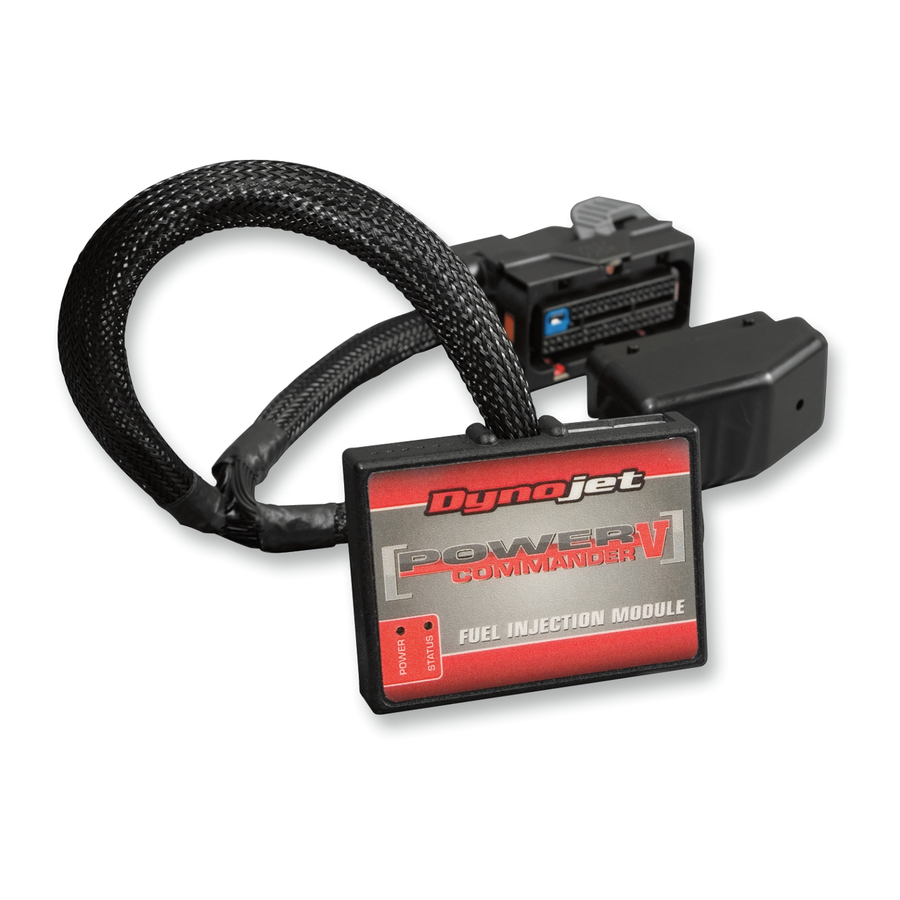
Fuel Controller
2191 Mendenhall Drive North Las Vegas, NV 89081 (800) 992-4993 www.powercommander.com
PARTS LIST
1
Power Commander
1
USB Cable
1
CD-ROM
1
Installation Guide
2
Power Commander Decals
2
Dynojet Decals
2
Velcro Strip
1
Alcohol Swab
3
Zip Tie
THE IGNITION MUST BE TURNED
OFF BEFORE INSTALLATION!
YOU CAN ALSO DOWNLOAD THE
POWER COMMANDER SOFTWARE AND
LATEST MAPS FROM OUR WEB SITE AT:
www.powercommander.com
2012 Arctic Cat 1100 Turbo PCV - 1

Related Manuals for Dynojet power commander v


Summary of Contents for Dynojet power commander v
- Page 1 Fuel Controller Installation Guide Power Commander Decals I n s t a l l a t i o n I n s t r u c t i o n s Dynojet Decals Velcro Strip Alcohol Swab Zip Tie THE IGNITION MUST BE TURNED...
-
Page 2: Usb Connection
Crank- Do NOT connect anything to this port unless unit and loosen the screw for the corresponding instructed to do so by Dynojet. It is used to input. transfer crank trigger data from one module to 2. Using a 22-24 gauge wire, strip about 10mm another. - Page 3 FIG.A Remove both side panels by pulling out the split cotter pins and pivoting the panels rearward out of the hinge points. FIG.B With the side panels removed, remove the torx head screw securing the hood to the cowling on both sides of the snowmobile. FIG.C Unscrew the two torx screws underneath the front of the snowmobile.
- Page 4 FIG.D Pop the air intake box away from the tube on the left side of the snowmobile. FIG.E Unplug the hood harness connector located below the display gauge. Remove the hood and set it aside. FIG.F Unscrew the gas cap and cowling retaining nut. Remove the torx screws on each side of the steering column holding the tank shroud.
- Page 5 FIG.G Pull rearward on the cowling allowing the tank shroud to pop loose above it. Lift the tank shroud off the gas filler neck taking care to unplug the spade connectors for the reverse beeper. FIG.H PCV harness Using the supplied velcro, secure the PCV to the top of the stock ECU as shown in Figure H.
- Page 6 FIG.J Attach the injector connector from the PCV harness to the stock injector connectors as shown in Figure J. Verify these connections are pushed down amongst the stock harness so the side panel cooling vent can be slid over the top into its factory location. FIG.K Remove the fuse box cover on top of the clutch guard.
- Page 7 FIG.M Attach the TPS connector from the PCV harness to the stock TPS connectors. FIG.N Locate the MAP sensor connector. The MAP sensor connector is located on the manifold slightly rearward of the TPS connector. Using the supplied posi-tap, attach the grey/white wire from the PCV harness to the green/tan wire on the stock MAP sensor.
- Page 8 FIG.P Attach the crank sensor connector from the PCV harness to the stock crank sensor connectors. Using the supplied zip ties, secure all wires away from any hot engine components. Replace all shrouds, panels, screws, and wire connections. Insert the CD provided into your computer. Follow the on-screen instructions to install the PCV software.
- Page 9 FIG.R If you are looking for a display for your setup we have the answer. Dynojet’s LCD- 200 is a color touch screen display capable of displaying all PC data and AFR if you are using the Wideband 2.