Dynojet Power Commander V Installation Instructions Manual
2012 yamaha t-max 530 fuel and ignition
Hide thumbs
Also See for Power Commander V:
- Installation instructions manual (9 pages) ,
- Installation manual (9 pages) ,
- Installation instructions and owner's manuals (8 pages)
Quick Links
FUEL AND IGNITION
2012 Yamaha T-Max 530
I n s t a l l a t i o n I n s t r u c t i o n s
PLEASE READ ALL DIRECTIONS BEFORE STARTING INSTALLATION
22-055 www.powercommander.com
2191 Mendenhall Drive North Las Vegas, NV 89081 (800) 992-4993 www.powercommander.com
PARTS LIST
1
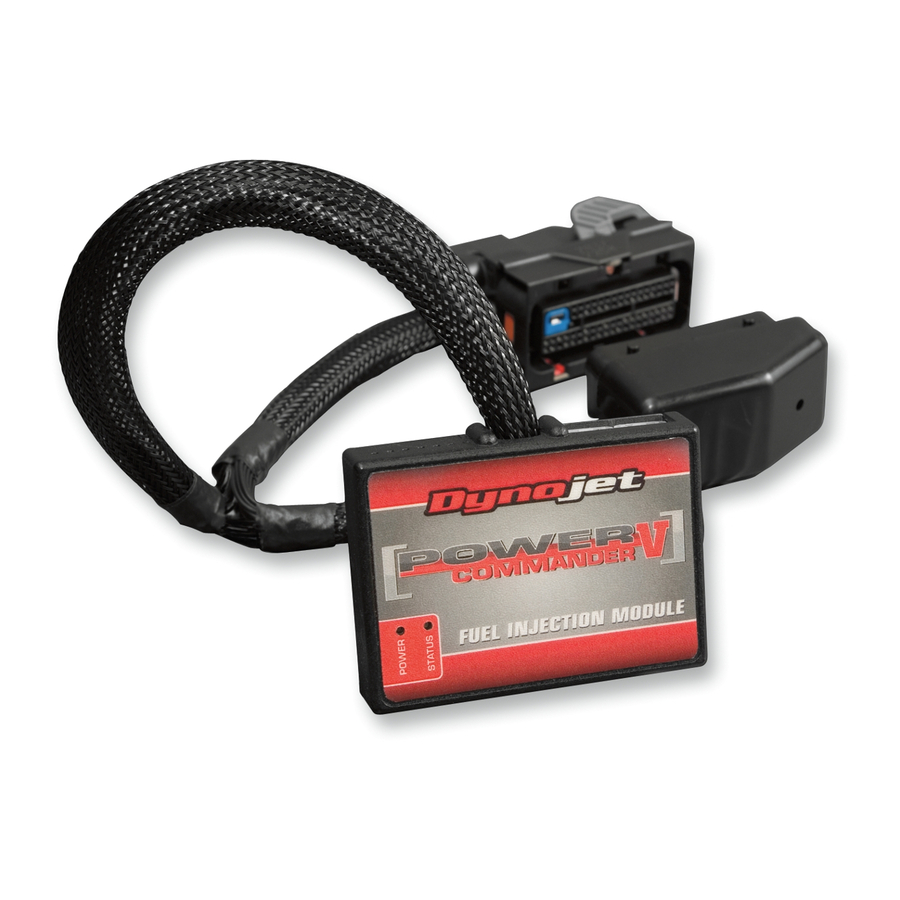
Power Commander
1
USB Cable
1
CD-ROM
1
Installation Guide
2
Power Commander Decals
2
Dynojet Decals
2
Velcro
1
Alcohol swab
1
O2 Optimizer
THE IGNITION MUST BE TURNED
OFF BEFORE INSTALLATION!
YOU CAN ALSO DOWNLOAD THE
POWER COMMANDER SOFTWARE AND
LATEST MAPS FROM OUR WEB SITE AT:
www.powercommander.com
2012 Yamaha T-Max 530 PCV - 1

Related Manuals for Dynojet Power Commander V


Summary of Contents for Dynojet Power Commander V
- Page 1 2012 Yamaha T-Max 530 Installation Guide Power Commander Decals I n s t a l l a t i o n I n s t r u c t i o n s Dynojet Decals Velcro Alcohol swab O2 Optimizer...
-
Page 2: Usb Connection
Do NOT connect anything to this port unless wire into the hole of the PCV until is stops and then instructed to do so by Dynojet. It is used to tighten the screw. Make sure to reinstall the rubber transfer crank trigger data from one module to plug. - Page 3 Lift up the seat. FIG.A Remove bodywork panels shown in Figure A. - Side panels ( A ) on both left and right side - Central tunnel cover ( B ) - Fuel tank cover ( C ) - Rubber footrest and central tunnel side covers ( D ) on both left and right side - Ignition key cover ( E ) - Left storage compartment and battery cover ( F )
- Page 4 FIG.D Plug the PCV in-line of the stock crank pickup coil connectors (Fig. D). Note: This picture is taken from the bottom looking upwards at the crank pickup coil connectors. FIG.E Route the PCV harness down to the left side of the frame and toward the throttle body following the stock harness.
- Page 5 FIG.G Unplug Locate the fuel injectors (Fig. G). Unplug the stock wiring harness from the fuel injectors. Unplug FIG.H Plug the PCV connectors in-line with the fuel injectors and stock wiring harness (Fig. H). ORANGE PCV colored wires for the cylinder #1 YELLOW PCV colored wires for the cylinder #2 FIG.I Locate the 3 pin white sub-connector of the Throttle Position Sensor on the...
- Page 6 FIG.J Plug the PCV wiring harness in-line of the stock TPS connectors (Fig. J). FIG.K Locate the stock O2 sensor connection and unplug it (Fig. K). It is a BLACK 4 pin connector You can follow the wires coming out of the exhaust to this location.
- Page 7 Tuning Notes: The O2 optimizer for this bike model controls the stock closed loop area. This area is represented by the highlighted cells shown in Figure M. The optimizer is designed to achieve a target AFR of 13.6 : 1. To use this optimzer you must retain your stock O2 sensor, (even when using Auto-tune).