
Related Manuals for Philips EasyKey 6000 Series


Summary of Contents for Philips EasyKey 6000 Series
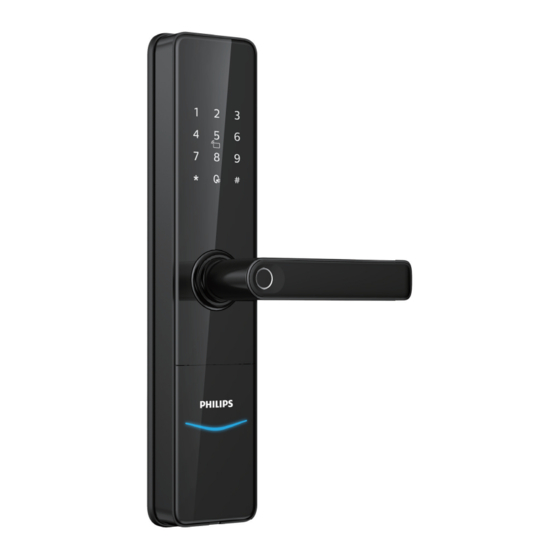
- Page 1 Easy Key 6000 series Smart Lever Door Lock DDL603E User manual Register your produc t(s) to get support from below link: www. philips.com/support...
-
Page 3: Table Of Contents
Door lock status indicator -Deletion of user information -System settings Mute mode indicator -Extended functions System lockup indicator -System query -Local query 8 Troubleshooting Alerts on Philips Easykey How to charge Philips Easykey in an emergency How to replace batteries... -
Page 4: Important Info
Philips. Use of such accessories and parts may void your warranty. ◆Do not expose products to environments where there is water leakage or splashing. -
Page 5: Installation
2.Installation Packaging list This packaging list is for reference only. Please refer to the actual packaging contents. ③Drilling template Front escutcheon ② Rear escutcheon ① ④Mortise with silicone pad with silicone pad Easy Key Easy Key User Warranty Manual Card EasyKey ⑤Mounting plate ⑥User manual... -
Page 6: Exploded Views
Exploded views 1.Rear cover x1 7.Mortise x1 2.Anchor screw x3 8.Threaded pipe x3 3.Rear escutcheon x1 9.Front escutcheon x1 4.Compressed spring x2 10.Anchor screw of mortise x4 5.Mounting plate x1 11.Anchor screw of lock cylinder x1 6.Square shaft x2 12.Lock cylinder x1... -
Page 7: Before Installation
Before installation Step 1 | Confirm door swing direction This product is suitable for the door going in four directions: left outward, right inward, right outward and left inward. Left-handed door Right-handed door Indoor Indoor Left Right inward inward Outdoor Outdoor Indoor Indoor... - Page 8 Change the rear handle direction Screw Direction reversing stand Screw Unscrew two screws Rotate the handle Put the direction and remove the to 180 degrees for reversing stand back and direction reversing optimal placement. tighten the screws. stand. Attention 1. Please choose the proper installation kit to suit your door thickness.The default installation kit is applicable for a door thickness of 60-90mm.
-
Page 9: Instructions
Attention Anti-dismantling component should be flush against the door or an alert would be triggered when Philips easykey is electrified. - Page 10 Put the compressed spring and Make sure the mounting plate is square shaft to the rear escutcheon. installed as shown in the picture and Align the square shaft and bar with fasten it with screw. the hole on the mortise. Connect the connector of front escutcheon and mortise to the connector port of rear escutcheon and hide the extra...
-
Page 11: Get To Know Your Easykey
3.Get to know your EasyKey Front escutcheon Door status indicator Keypad Keytag reader Mute key Fingerprint sensor Handle Keyhole USB interface Rear escutcheon Battery cover Handle Safehandle switch Extended moudle interface Burning port Reset button (Restore to default settings) Rotary knob... -
Page 12: How To Set Up Your Easykey
4.How to set up your EasyKey Before setup ◆Philips EasyKey comes with two modes: General mode and Dual verification mode General mode Dual verification mode Unlock with any registered Unlock with the combination of two different identity information verifications among PIN code, Key tag and fingerprint. -
Page 13: Modify Master Pin Code
User settings ◆How to enter master mode: Register a user PIN code Light up the keypad Press [#], enter master PIN code and confirm with [#]. Press [2] to enter user registration, then press [1] to register a new user PIN code, which will be automatically numbered and broadcasted by the system. -
Page 14: Deletion Of User Information
Register a fingerprint Deletion of user information Delete a user PIN code confirm Press [#], enter master PIN code and with [#]. confirm Press [#], enter master PIN code and Press [2] to enter user settings, then press [3] to enter with [#]. - Page 15 Delete a one-time PIN code Delete all fingerprints 删除一次性用户密码 confirm Press [#], enter master PIN code and confirm Press [#], enter master PIN code and with [#]. with [#]. 3 3 2 Enter [3] to enter user record deletion and enter [2] to delete one-time PIN Press [3] to enter user deletion, then press code.
-
Page 16: System Settings
System settings Delete all keytags Language settings confirm Press [#], enter master PIN code and with [#]. 3 4 2 confirm Press [#], enter master PIN code and with [#]. Press [3] to enter the deletion of user information and enter [4] to enter the deletion of keytag, then enter [2] to delete Press [4] to enter system settings, then press all keytags. -
Page 17: Extended Functions
To join a network, press [1]. To exit a network, press [2]. Before setting up the extended functions, please download and open the Attention Philips EasyKey APP via your mobile phone. Directly enter 114# to go into the local query. Attention The extended functions are optional. -
Page 18: How To Use Your Easykey
5.How to use your EasyKey Unlocking | Unlock from outside With Keytag With fingerprint Keytag reader Fingerprint sensor Turn the Turn the 下 handle handle 压 down down 执 ①Place the registered keytag against the ①Place the registered finger on the keytag reader. -
Page 19: Unlock From Inside
Unlocking | Unlock from inside With handle Philips EasyKey employs indoor fast opening mortise, allowing you to directly press down the handle to unlock the door. Attention When opening the door from inside, please make sure the safe handle switch is toggled to green scale and the safe handle function is disabled. -
Page 20: Interior Lockout
Mechanical key opening Find the mechanical key Open the mechanical Insert the mechanical in the Philips Easykey key cover. Lift it up and key into the keyhole and box. rotate it 90°. make sure it remains in the horizontal position as shown in the image. -
Page 21: Other Functions
6.Other functions Safehandle function Function: When safe handle function is enabled, you could lock up the handle from inside, and doors can’t be unlocked from inside. How to use: 1. Enable safe handle function: Toggle the switch to red scale. Safe handle switch 2. -
Page 22: One-Key Mute Mode
One-key mute mode Function: Turning off the voice guide with only one key, which is applicable to the scenes where you don’t want to disturb your families. How to use: 1. Mute: When the system is awake, long press the mute button for 2 seconds to enter one- time mute mode. -
Page 23: Mute Mode Indicator
Mute mode indicator The meanings of light colors: White: The mute mode is on or off. Mute button System lockup indicator Flash three times Flash twice Flash once If there are consecutive incorrect inputs of any of the fingerprint, PIN code, or key tag 5 times within 5 minutes, the system will lock up for 3 minutes. -
Page 24: Troubleshooting
8.Troubleshooting Alerts on Philips Easykey Low battery alert, reminding you to replace the batteries in time Way to trigger: When the system wakes up, it will automatically check the battery voltage. If the voltage is too low, then an alert will be triggered to remind you to replace the batteries. -
Page 25: How To Charge Philips Easykey In An
How to charge Philips Easykey in an emergency When the battery voltage is low and the door cannot be opened from outside, you can power up the lock by plugging 5V power bank into the micro USB. After the door is unlocked, please replace the batteries instantly. - Page 26 Philips and the Philips Shield Emblem are registered trademarks of Koninklijke Philips N.V. and are used under license. This product has been manufactured by and is sold under the responsibility of Shenzhen Conex Intelligent Technology Co., Ltd., and Shenzhen Conex...