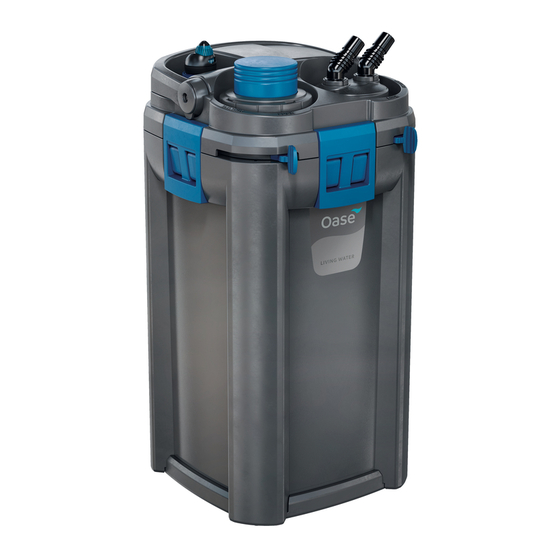
Oase BioMaster 250 Operating Instructions Manual
Hide thumbs
Also See for BioMaster 250:
- User manual ,
- Operating instructions manual (205 pages) ,
- Operating instructions manual (33 pages)
Summary of Contents for Oase BioMaster 250
- Page 1 Downloaded from www.watergardeningdirect.com BioMaster 250/350/600 BioMaster Thermo 250/350/600...
- Page 2 Downloaded from www.watergardeningdirect.com BMR0003 BMR0004 BioMaster 250/350/600, BioMaster Thermo 250/350/600...
- Page 3 Downloaded from www.watergardeningdirect.com BMR0021 BMR0022...
- Page 4 Downloaded from www.watergardeningdirect.com BMR0008 BMR0009 BMR0010 BMR0011 BioMaster 250/350/600, BioMaster Thermo 250/350/600...
- Page 5 Downloaded from www.watergardeningdirect.com BMR0014 BMR0015 BMR0006 BMR0023...
- Page 6 Downloaded from www.watergardeningdirect.com FSt0015 BMR0026 BioMaster 250/350/600, BioMaster Thermo 250/350/600...
- Page 7 Downloaded from www.watergardeningdirect.com BMR0005 BMR0007...
- Page 8 Downloaded from www.watergardeningdirect.com BMR0012 BMR0013 BMR0016 BMR0017 BioMaster 250/350/600, BioMaster Thermo 250/350/600...
- Page 9 Downloaded from www.watergardeningdirect.com BMR0024...
- Page 10 Downloaded from www.watergardeningdirect.com BMR0018 BMR0019 BMR0020 BioMaster 250/350/600, BioMaster Thermo 250/350/600...
- Page 11 Downloaded from www.watergardeningdirect.com - EN - - EN - SAFETY INFORMATION Translation of the original Operating Instructions • Never operate the unit if the housing is defective! W A R N I N G • Never operate the unit if any electrical cables are defective! •...
- Page 12 BioMaster Thermo 250/350/600, referred to as "unit", may only be used as specified in the following: • BioMaster 250/350/600: Water filtering and recir- culation. • BioMaster Thermo 250/350/600: Water heating, filtering and recirculation. • For operation with freshwater or saltwater.
- Page 13 Downloaded from www.watergardeningdirect.com - EN - Removing the heater How to proceed: The heater has to be removed for cleaning and mainte- G nance, and for removing the unit head. 1. Push the lever to the "UNLOCK" position. How to proceed: –...
- Page 14 2. Prepare the filter media (→ Cleaning/replacing the 2. Push the heater into the holding ring as far as it filter media) goes. 3. As an option: OASE HeatUp Retrofitting (heater) – Tip: Moisten the glass bulb with water before in- (→ Retrofitting the heater) serting.
- Page 15 Downloaded from www.watergardeningdirect.com - EN - COMMISSIONING/START-UP N O T E For initial start-up or after thorough cleaning, it is nec- Risk of fire due to the hot surface of the heater! essary to expel air from the filter system. When the The heater and filter can be destroyed by the gener- container, suction unit and hose are free of trapped ated heat.
- Page 16 Foam filter, pre-filter (→ Cleaning/replacing the foam fil- ter of the pre-filter) • Do not use cleaning agents or chemical solutions. Filter media, contai- (→ Cleaning/replacing the filter me- We recommend using OASE PumpClean for remov- dia) ing calcium deposits. Heater HeatUp 25/50/75/ •...
- Page 17 2. Remove the pre-filter pipe and foam filters. How to proceed: – BioMaster 250: 4 foam filters. W – BioMaster 350: 5 foam filters. 1. Undo the fasteners and pull off the valve box.
- Page 18 SPARE PARTS The use of original parts from OASE ensures continued safe and reliable operation of the unit. Please visit our website for spare parts drawings and spare parts.
- Page 19 Downloaded from www.watergardeningdirect.com...


