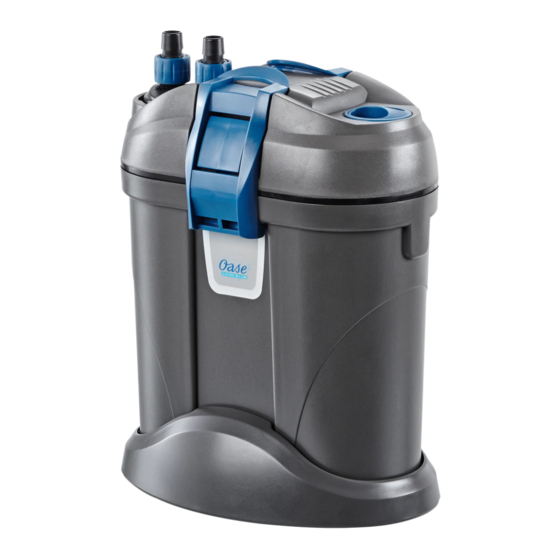
Oase FiltoSmart 100 Operating Instructions Manual
Hide thumbs
Also See for FiltoSmart 100:
- Operating instructions manual (152 pages) ,
- Operating instructions manual (33 pages) ,
- User manual
Summary of Contents for Oase FiltoSmart 100
- Page 1 Downloaded from www.watergardeningdirect.com FiltoSmart 100/200/300 FiltoSmart Thermo 100/200/300...
- Page 2 Downloaded from www.watergardeningdirect.com FST0001 FST0002 FiltoSmart 100/200/300, FiltoSmart Thermo 100/200/300...
- Page 3 Downloaded from www.watergardeningdirect.com FST0004 FST0007 FST0003...
- Page 4 Downloaded from www.watergardeningdirect.com FST0008 FST0012 FST0009 FiltoSmart 100/200/300, FiltoSmart Thermo 100/200/300...
- Page 5 Downloaded from www.watergardeningdirect.com FST0010 FST0006...
- Page 6 Downloaded from www.watergardeningdirect.com FST0011 FiltoSmart 100/200/300, FiltoSmart Thermo 100/200/300...
- Page 7 Downloaded from www.watergardeningdirect.com FSt0015 FST0016...
- Page 8 Downloaded from www.watergardeningdirect.com FST0017 FiltoSmart 100/200/300, FiltoSmart Thermo 100/200/300...
- Page 9 Downloaded from www.watergardeningdirect.com FST0005 FST0014...
- Page 10 Downloaded from www.watergardeningdirect.com FST0023 FST0018 FiltoSmart 100/200/300, FiltoSmart Thermo 100/200/300...
-
Page 11: Safety Information
A Reference to a figure, e.g. Fig. A. → Reference to another section. packaging or in this manual. • Disconnect the power plug be- fore carrying out any work on the unit. FiltoSmart 100/200/300, FiltoSmart Thermo 100/200/300... -
Page 12: Product Description
Locking clip Connection unit with hose con- Retrofitting nector, outlet (OUT) and inlet FiltoSmart 100/200/300 can be retrofitted with OASE (IN) HeatUp (following table). Connection set • The retrofit set ThermoFit (following order num- Filter bag with activated car- —... -
Page 13: Accessing The Unit
• The unit head is removed. (→ Dismantling the unit connected. head) How to proceed: How to proceed: • Steps 1 and 2 do not apply to FiltoSmart 100. F K 1. Turn the bayonet closure in the direction "UN- 1. Take out a separating plate. -
Page 14: Installation And Connection
6. Fit the holder and fasten it onto the separating plate Assembling the flow-out unit (FiltoSmart 200/300) or to the wall of the container How to proceed: (FiltoSmart 100). M 7. Push the heater into the holding ring as far as it • Assemble the flow-out unit. -
Page 15: Remedy Of Faults
Water temperature incorrectly set on the heater Correct the water temperature set- ting on the heater. Increased noise Air in the filter, vent hose on the pump not correctly Correct the position of the vent positioned. hose. FiltoSmart 100/200/300, FiltoSmart Thermo 100/200/300... -
Page 16: Maintenance And Cleaning
• Rinse the ceramic substrate in warm water or re- • Suction cups place. • Impeller unit – FiltoSmart 300 requires three, FiltoSmart 200 • Foam filters two and FiltoSmart 100 one bag (420 g) of ce- • Activated carbon ramic substrate. • Ceramic substrate... -
Page 17: Spare Parts
Downloaded from www.watergardeningdirect.com - EN - SPARE PARTS The use of original parts from OASE ensures continued safe and reliable operation of the unit. Please visit our website for spare parts drawings and spare parts. www.oase-livingwater.com/spareparts DISPOSAL N O T E Do not dispose of this unit with domestic waste. - Page 18 Downloaded from www.watergardeningdirect.com...


