
Related Manuals for Haier RTO1400SS


Summary of Contents for Haier RTO1400SS
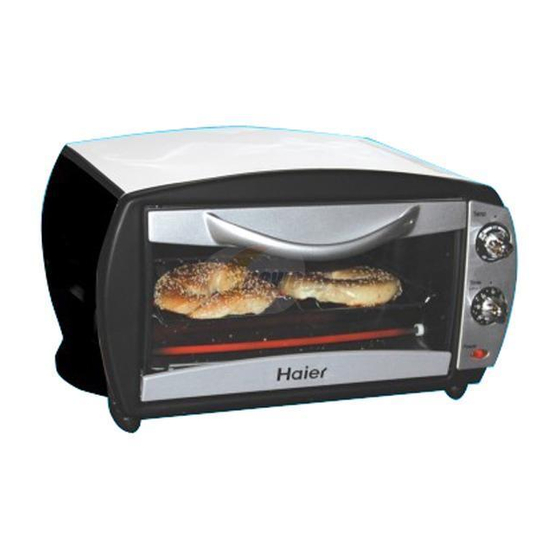
- Page 1 Toaster Broiler Oven Petit rotisserie four Horno Tostador Asador User Manual Guide de l’Utilisateur Manual del Usuario Modelo Quality • Innovation • Style RTO1400SS RTO1400SS RTO1400SS...
-
Page 2: Important Safeguards
12. Extreme caution must be used when moving an appliance containing hot oil or other hot liquids. 13. Do not cover the crumb tray or any part of the oven with metal foil. This may cause overheating of the oven. -
Page 3: Save These Instructions
17. A fire may occur if the oven is covered or touching flammable materi- al, including curtains, draperies, walls and the like, when in operation. Do not store any items on the oven during operation. 18. Extreme caution should be exercised when using containers construct- ed of other than metal or glass. - Page 4 English Thank you for using our Haier product. This easy-to-use manual will guide you in getting the best use of your toaster oven. Remember to record the model and serial number. They are on a label in back of the product.
-
Page 5: Table Of Contents
English Table Of Contents PAGE Important Safeguards ...1 Parts and Accessories ...5 Before Using for the First Time...6 Features ...7 Temperature Knob...7 Timer Knob...7 Handgrip for the Wire Rack ...7 Power Light Indicator ...7 Summary of Operations ...8 Cooking Functions...9 Hints &... -
Page 6: Parts And Accessories
English Parts and Accessories A. Housing B. Temperature Knob C. Timer Knob D. Power Indicator Light E. Lower Heating Element F. Handgrip for Wire Rack & Oven Pan G. Broiling Rack H. Oven Pan I. Wire Rack J. Crumb Tray... -
Page 7: Before Using For The First Time
Before using your toaster oven for the first time, be sure to do the following: • Read all instructions in this manual carefully. • Place the oven on a dry, level surface at least 4 inches away from the wall and other objects on the countertop. -
Page 8: Features
C C a a u u t t i i o o n n ! ! During the baking process, be sure that the metal accessories and food do not come into contact with the heating elements on the top and bottom of the toaster oven. Always allow at least 1 inch of space between food and the upper heating element. -
Page 9: Summary Of Operations
Always use the broiling rack set in the oven pan. Allow 1 inch between the food and the upper heating elements. Use this setting to top-brown hors d’oeuvres, open-faced sandwiches,... -
Page 10: Cooking Functions
Follow the guidelines in the chart above for tips on rack positioning and cooking. C C a a u u t t i i o o n n ! ! Never place oven pans, casserole dishes or any other accessories directly onto the heating elements when the oven is in use. -
Page 11: Top Browning
N N o o t t e e : : Fish can be broiled directly on the oven pan since it is non-fatty. 5. Turn the temperature knob to the desired position. -
Page 12: Toasting
4. Set the temperature and the timer knobs. N N o o t t e e : : When using the toaster oven for the first time, set both the temperature knob and the timer knob to a medium setting. Monitor the toasting progress and adjust the knobs as needed. -
Page 13: Cleaning And Maintenance
• Do not clean the interior with metal scouring pads. Pieces can break off and touch electrical parts, creating a risk of electrical shock. • Do not soak the inside of the oven or wash it under running water, as this will cause serious damage to the appliance. -
Page 14: Troubleshooting
• Make sure that the temperature knob has been set. 2. There is a metallic sound when the oven is in use. • Shut the oven off. Do not attempt to disassemble the oven. Contact an authorized service agent immediately for examination of the fan. -
Page 15: Warranty Information
A clear description of the problem. Haier will repair or replace any part free of charge including labor that fails due to a defect in materials or workmanship, or replace with a comparable model. - Page 16 Do Not Return This Product To The Store If you have a problem with this product, please contact the "Haier Customer Satisfaction DATED PROOF OF PURCHASE REQUIRED FOR WARRANTY SERVICE Ne pas Réexpédier ce Produit au Magasin Pour tout problème concernant ce produit, veuillez contacter le service des consommateurs ‘Haier Customer Satisfaction Center’...