
Related Manuals for Alienware Area-51 R4


Summary of Contents for Alienware Area-51 R4
- Page 1 Alienware Area-51 R4 Setup and Specifications Regulatory Model: D03X Regulatory Type: D03X002...
- Page 2 Notes, cautions, and warnings NOTE: A NOTE indicates important information that helps you make better use of your product. CAUTION: A CAUTION indicates either potential damage to hardware or loss of data and tells you how to avoid the problem. WARNING: A WARNING indicates a potential for property damage, personal injury, or death.
-
Page 3: Table Of Contents
Dimensions and weight............................... 11 Computer model..................................11 System information................................11 Memory....................................11 Ports and connectors................................11 Communications..................................12 Wireless module................................12 Audio....................................12 Video....................................12 Storage....................................13 Power ratings..................................13 Computer environment...............................13 5 PCI-Express graphics card installation matrix................... 15 6 Getting help and contacting Alienware....................17... -
Page 4: Set Up Your Computer
Set up your computer 1. Connect the keyboard and mouse. 2. Connect the network cable — optional. 3. Connect the display. NOTE: The DisplayPort on the back panel of your computer is covered. Connect the display to the discrete graphics card of your computer. - Page 5 5. Press the power button.
-
Page 6: Setting Up The Virtual Reality (Vr) Headset - Optional
Setting up the Virtual Reality (VR) headset — optional 1. Download and run the setup tools for your VR headset at www.dell.com/VRsupport. 2. Connect the VR headset to any USB 3.1 Gen 1 ports on the back of your computer and HDMI port on your computer, when prompted. -
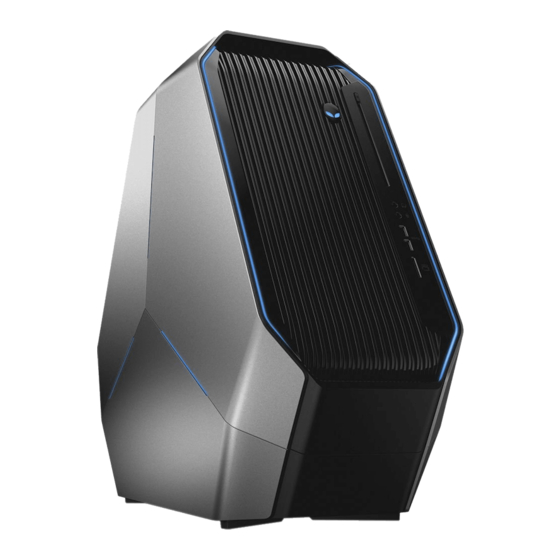
Page 7: Views
Views Front 1. Power button (Alienhead) Press to turn on the computer if it is turned off, in sleep state, or in hibernate state. Press to put the computer in sleep state if it is turned on. Press and hold for 4 seconds to force shut-down the computer. NOTE: You can customize the power-button behavior in Power Options. -
Page 8: Back
Back 1. Rear I/O accessibility lighting button Press to illuminate the back panel ports. 2. Regulatory label Contains regulatory information of your computer. 3. Back panel Connect USB, audio, video, and other devices. 4. Power cable connector Connect a power cable to provide power to your computer. 5. -
Page 9: Back Panel
Connect a PCI-Express X16/X8 card such as graphics, audio, or network card to enhance the capabilities of your computer. NOTE: For more details on installing the PCI-Express graphics card, see PCI-Express graphics card installation matrix. 13. Service Tag label The Service Tag is a unique alphanumeric identifier that enables Dell service technicians to identify the hardware components in your computer and access warranty information. - Page 10 Connect an amplifier, speakers, or a TV for digital audio output through an optical cable. 8. Line-out port Connect speakers. 9. Line-in port Connect recording or playback devices such as a microphone or CD player. 10. Center/subwoofer port Connect the subwoofer. 11.
-
Page 11: Specifications
NOTE: The weight of your computer varies depending on the configuration ordered and the manufacturing variability. Computer model Table 2. Computer model Computer model Alienware Area-51 R4 System information Table 3. System information Processor Intel Core X-series Chipset Intel X299 PCH Memory Table 4. -
Page 12: Communications
External • Six USB 3.1 Gen 1 ports • Two USB 2.0 ports Audio/Video • Four audio output/headphone ports • One audio input/microphone port • One optical S/PDIF port Media-card reader One 9-in-1 card slot Table 6. Internal ports and connectors Internal •... -
Page 13: Storage
• Dual NVIDIA (SLI) NOTE: The graphics configuration of your desktop varies depending on the power supply and graphics card configuration ordered. NOTE: Install either NVIDIA or AMD graphics card, when using with dual and triple graphics configurations. Storage Table 11. Storage specifications Externally accessible •... - Page 14 Operating Storage Altitude (maximum) –15.24 m to 3048 m –15.24 m to 10,668 m (–50 ft to 10,000 ft) (–50 ft to 35,000 ft) * Measured using a random vibration spectrum that simulates user environment. † Measured using a 2 ms half-sine pulse when the hard drive is in use.
-
Page 15: Pci-Express Graphics Card Installation Matrix
PCI-Express graphics card installation matrix Table 14. PCI-Express graphics card installation matrix Single Graphics Dual Graphics Triple Graphics 850 W Slot installation Slot 1 Slot 1 and Slot 4 Not supported Power connector label PCIE 1 PCIE 1 and PCIE 3 Primary Output Slot 1 Slot 4... - Page 16 i9-7900X Triple card Config 1 Monitor connect Slot 4 PCIe Add-in-Card Slot Lane Assignments Table 18. PCI-Express Add-in-Card slot lane assignments i7-7820X and i7-7800X Single card Config 1 Single card Config 2 Single card Config 3 Slot 1 (x8) Slot 3 (x8) Slot 4 (x8) Slot 5 (x0) Slot 7 (x8)
-
Page 17: Getting Help And Contacting Alienware
Getting help and contacting Alienware Self-help resources You can get information and help on Alienware products and services using these online self-help resources: Table 21. Alienware products and online self-help resources Information about Alienware products and services www.alienware.com Dell Help & Support app...