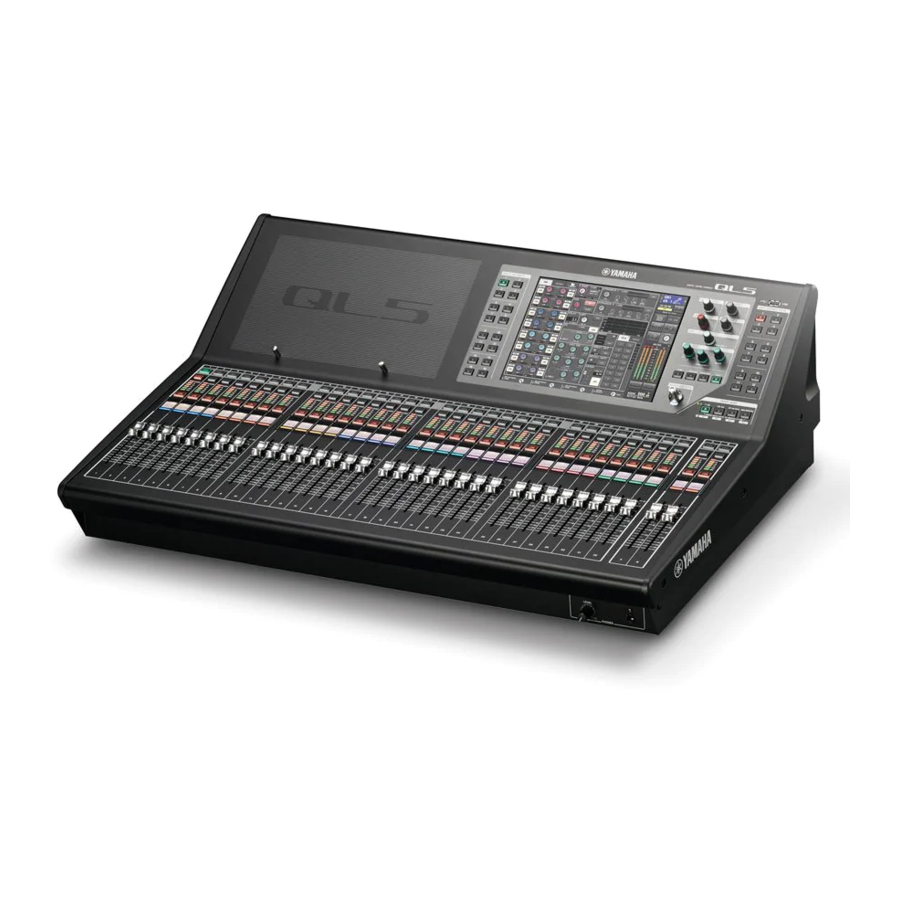
Yamaha QL Series Firmware Update Manual
Hide thumbs
Also See for QL Series:
- Brochure & specs (24 pages) ,
- Supplementary manual (10 pages) ,
- Reference manual (294 pages)
Quick Links
QL5/QL1 Firmware Update Guide
Thank you for choosing a Yamaha product.
This guide explains how to update the QL series (QL5 and QL1) firmware and its built-in Dante
module firmware.
■ Precautions (Please be sure to read this section first!)
・ The user assumes full responsibility for the update.
・ Update the firmware components one unit at a time.
・ Please note that the device may be damaged if you fail to follow these instructions properly, or
turn off the device or disconnect the cable while the update is in progress.
・ If the update fails, and the device still does not operate correctly even after you execute the update
once again, please contact your Yamaha dealer.
・ Yamaha Corporation owns exclusive copyrights for the QL series firmware, its update program,
and the update guide.
・ Audinate owns exclusive copyrights for the Dante firmware and its update program.
・ It is prohibited to duplicate or modify the firmware, software or guides, in part or in their entirety,
without permission from the copyright owner.
・ The screen shots in this guide are for use with this update procedure only and may be different
from the actual screen shots.
・ Dante is a registered trademark of Audinate.
・ Windows is a registered trademark of Microsoft ® Corporation in the United States and other
countries.
・ The company names and product names in this document are the trademarks or registered
trademarks of their respective companies.
QL5/QL1 Firmware Update Guide
1

Summary of Contents for Yamaha QL Series
- Page 1 QL5/QL1 Firmware Update Guide Thank you for choosing a Yamaha product. This guide explains how to update the QL series (QL5 and QL1) firmware and its built-in Dante module firmware. ■ Precautions (Please be sure to read this section first!) ・...
- Page 2 ● An Ethernet cable (CAT5e or higher recommended. Straight or cross.) ● Formatted (FAT12/FAT16/FAT32) USB memory In the QL series unit, memory of 4GB or larger will be formatted in FAT32, and memory of 2GB or smaller in FAT16. For the formatting procedure, refer to “QL5/ QL1 Reference Manual.”...
- Page 3 ■ Update procedure sequence Update each firmware component in the following sequence. If you plan to update multiple QL series units, repeat the procedure described in “Update” for each unit in sequence. Preparing for update Install the Dante Firmware Update Manager...
- Page 4 ■Install the Dante Firmware Update Manager Before you update the Dante firmware, you must install the Dante Firmware Update Manager. Double-click the Dante Firmware Update Manager installer downloaded in “Preparing for the update” (DanteFirmwareUpdateManager-x.x.x.exe) and follow the on-screen instructions to install the firmware.
- Page 5 ■ TCP/IP settings of computer Before you update the Dante firmware, you must modify your computer’s TCP/IP settings. After the firmware update procedure is complete, return the TCP/IP settings to their original settings. Open the Network and Sharing Center as described below. Windows 7 Select [Start] →...
- Page 6 Click [OK]. QL5/QL1 Firmware Update Guide...
- Page 7 CAUTION:A "Loading..." message will appear during loading the firmware. Progress from 0 to 100% is repeated 1 or 2 times. Do not disconnect the USB memory or power-off the QL series while accessing the USB memory. When the firmware has been loaded, the QL series automatically restarts and a "Starting System..."...
- Page 8 When an "Are you sure ?" message appears, press the OK button. Initializing the internal memory will be started. When the initialization is complete, press the EXIT button. Remove the USB memory after confirming the ACCESS indicator has disappeared in the function access area.
- Page 9 Connect the Dante [PRIMARY] connector on the rear panel of the QL series unit to the Ethernet connector on the computer using an Ethernet cable. Be sure to directly connect the computer and the QL series unit, and do not connect any other Dante device to the computer.
- Page 10 Dante Firmware Update Manager to exit the program without turning the QL power off, and restart the procedure from the step 4. If update still fails, follow the instructions stated in “About Failsafe Mode” to perform the recovery processing. Restart the QL series. The firmware update is now complete. QL5/QL1 Firmware Update Guide...
- Page 11 ■About Failsafe Mode The Dante module integrated in the QL may become unusable due to data corruption if the Dante device is powered-off during a firmware update. To recover from such a state, the Dante module will enter "failsafe mode." To restore the Dante module from failsafe mode, a recovery image must be sent from the Firmware Update Manager.
- Page 12 1. Turn off the power to the QL series. 2. Separate the QL from the Dante network. 3. Connect the Dante [PRIMARY] connector on the rear panel of the QL series unit to the Ethernet connector on the computer using an Ethernet cable.
- Page 13 When the QL is detected, click the [Stop Scan] button. If several minutes have passed without detection, use Dante Controller to check whether the cable might be disconnected or broken, whether the TCP/IP settings are correct, and whether the QL is running. 10.
- Page 14 After recovery, the Dante firmware will not be the latest version. To update to the latest firmware, perform steps 2 through 9 of "Updating the Dante firmware." Now recovery and firmware update are completed. Manual Development Division © 2014-2015 Yamaha Corporation QL5/QL1 Firmware Update Guide...


