Available languages
Available languages
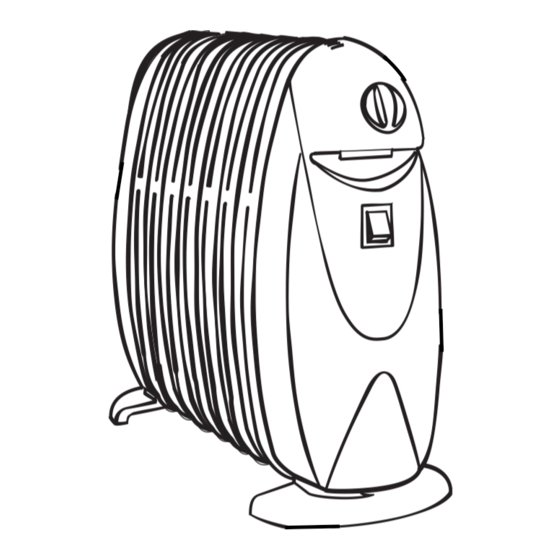
ELECTRIC OIL FILLED RADIATOR
INSTRUCTIONS FOR USE
SAVE THESE INSTRUCTIONS
RADIATEUR ÉLECTRIQUE À BAIN D'HUILE
MODE D'EMPLOI
CONSERVEZ CE MODE D'EMPLOI
RADIADOR ELÉCTRICO DE ACEITE
INSTRUCCIONES PARA EL USO
REPASE Y GUARDE ESTAS INSTRUCCIONES
RADIATORE AD OLIO
ISTRUZIONI PER L'USO
CONSERVARE LE PRESENTI ISTRUZIONI
MODEL/MODELE/MODELO/MODELLO:
TRN0812TK
120V ˜ 60HZ 1200 WATTS
Table of Contents

Related Manuals for Kenwood trn0812tk

Summary of Contents for Kenwood trn0812tk
- Page 1 RADIATEUR ÉLECTRIQUE À BAIN D’HUILE MODE D’EMPLOI CONSERVEZ CE MODE D’EMPLOI RADIADOR ELÉCTRICO DE ACEITE INSTRUCCIONES PARA EL USO REPASE Y GUARDE ESTAS INSTRUCCIONES RADIATORE AD OLIO ISTRUZIONI PER L'USO CONSERVARE LE PRESENTI ISTRUZIONI MODEL/MODELE/MODELO/MODELLO: TRN0812TK 120V ˜ 60HZ 1200 WATTS...
-
Page 2: Important Safeguards
IMPORTANT SAFEGUARDS When using electrical appliances, basic precautions should always be followed to the reduce the risk of fire, electric shock, and injury to persons, including the following: 1. Read all instructions before using this heater. 2. If your appliance is equipped with a polythene tape used as carry handle, remove it before con- necting the appliance to the outlet. -
Page 3: How To Use
BE CAREFUL Operate the heater in upright position only. Any other position could create hazardous situations! ON/OFF Switches POWER ECONOMIZER For more economical use, the Min. or Med. power switches may be used individually, after unit has reached the operating temperature. -
Page 4: The 24 Programmable Clock Timer
Frost prevention mode (anti-freeze setting) Turn the thermostat dial to the minimum room temperature of approximately 5°C (41 F) thus preventing freezing conditions with a minimum energy consumption. REMINDER To completely shut unit off, ON/OFF switches must be in OFF position. 5.HOW TO USE THE 24 PROGRAMMABLE CLOCK TIMER Please refer to the illustration below: IMPORTANT: There are 96 notches around the dial. -
Page 5: Maintenance
ATTENTION: in order to avoid any danger caused by an accidental resetting of the safety system, this appliance must not be powered through an external timer. The appliance is fitted with a safety device which will switch off it in case of accidental overheating. To reset, contact an authorized service center. - Page 6 LIMITED WARRANTY This warranty applies to all products with De’Longhi or Kenwood brand names. What does the warranty cover? We warrant each appliance to be free from defects in material and workmanship. Our obli- gation under this warranty is limited to repair at our factory or authorized service center of any defective parts or part thereof, other than parts damaged in transit.
-
Page 7: Instrucciones Importantes
INSTRUCCIONES IMPORTANTES Cuando use aparatos eléctricos, siempre se deben seguir precauciones básicas para reducir el riesgo de fuego, descarga eléctrica, y daño a personas, incluyendo lo siguiente: 1. Lea todas las instrucciones antes de usar el calentador. 2. Si el radiador está equipado con una cinta adhesiva de polietileno que se usa como agaradera para cargar, quitela antes de conectar el aparato a una toma. - Page 8 TENGA PRECAUCIÓN Operar sólo en posición vertical. El aparato está dotado de un interruptor anti-vuelco que en caso de caí- das interrumpe la alimentacíon; para volver a ponerlo en funcionamiento, es suficiente colocar el aparato en la normal posición de funcionamiento. Interruptores ON/OFF ECONOMIZADOR DE WATTS Para uso económico, los interruptores de mín.
-
Page 9: Uso Del Termostato
4. ENCENDIENDO LOS MODELOS DE DOS INTERRUPTORES Gire el termostato en el sentido de las manecillas del reloj a la posición máxima. Baje los dos interruptores. Las luces de los interruptores permanecen encendidas indepen- dientemente del funcionamiento del termostato. Cuando el cuarto alcance la temperatu- ra deseada, gire el botón del termostato en sentido opuesto a las manecillas del reloj muy lentamente y pare cuando oiga un “click”. -
Page 10: Mantenimiento Y Servicio
Funcionamiento del Calentador con el Reloj de Tiempo a) Conecte el calentador. b) Gire el reloj de tiempo en sentido de las manecillas del reloj para poner el reloj a tiempo. La parte blanca del reloj representa las horas del día. c) Empuje las pestañas hacia el centro del disco para el horario que usted quiere que funcione el calentador. - Page 11 Esta garantía cubre todos los productos con las marcas De'Longhi o Kenwood. Garantía limitada (para los Estados Unidos solamente) Alcance de la garantía Cada artefacto tiene garantía por defectos de materiales y de fabricación. Bajo los términos de esta garantía limitada, nuestra obligación se limita a la reparación de partes o componentes (a excepción de partes dañadas durante el transporte) en nuestra fábrica o en un centro autoriza-...
- Page 12 Esta garantía cubre todos los productos con las marcas De'Longhi o Kenwood. Garantizamos todo producto DE´LONGHI por defectos de fabricación, material y mano de obra. Nuestra obligación dentro de ésta garantía es proporcionar gratuita- mente las refacciones y el servicio durante un año a partir de la fecha de compra. Esta garantía se aplicará...