Dell OptiPlex GX280 User Manual
Small mini-tower computer
Hide thumbs
Also See for OptiPlex GX280:
- Quick reference manual (294 pages) ,
- User manual (289 pages) ,
- Quick reference manual (108 pages)
Table of Contents
Quick Links
Documentation
United States
Contact
Us; 1-800-456-3355 or
Shop
Support
Drivers and Downloads
Support Home Page
Back to Contents Page
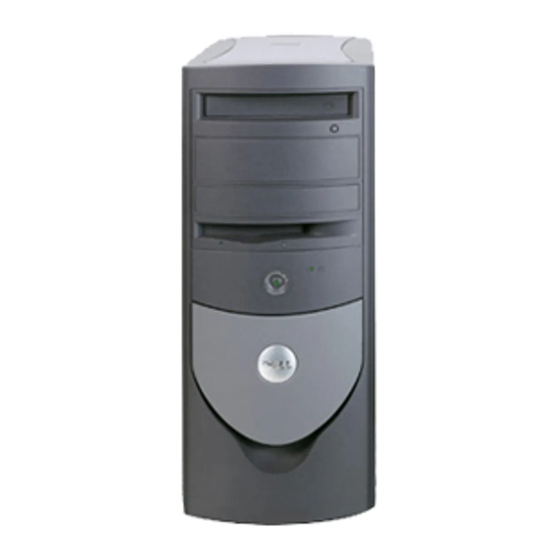
About Your Small Mini-Tower Computer
Dell™ OptiPlex™ GX280 Systems User's Guide
Front View
Back View
Inside Your Computer
System Board Components
Front-Panel Door and Hinge Arms
Front View
1
CD/DVD-
Press to eject a CD or DVD from the drive.
drive eject
button
2
hard-drive
The hard drive light is on when the computer reads data from or writes data to the hard drive. The
activity
light might also be on when a device such as your CD player is operating.
light
3
front-
Open the door to use the front panel connectors.
panel door
NOTE:
The front door is removable; if you remove it or accidentally knock it off its hinges, it snaps
back in place. For instructions on how to reattach the door, see
4
front air
The front air vents help cool the inside of your computer.
vents
5
headphone
Use the headphone connector to attach headphones and most kinds of speakers.
connector
6
USB 2.0
Use the front USB connectors for devices that you connect occasionally, such as joysticks or
http://support.dell.com/support/edocs/systems/opgx280/en/ug/smtabout.htm#1054449
Live Chat
Community
Product Support
Support by Topic
Premier Login
Order Support
"Front-Panel Door and Hinge
Arms."
7/8/09 11:40 AM
Hello, Customer
(not
Customer?)
Keyword Search
Warranty Information
View All
My Account
My Order Status
Cart
Page 1 of 8
Table of Contents

Related Manuals for Dell OptiPlex GX280


Summary of Contents for Dell OptiPlex GX280
-
Page 1: Front View
View All Support Home Page My Account My Order Status Back to Contents Page About Your Small Mini-Tower Computer Dell™ OptiPlex™ GX280 Systems User's Guide Front View Back View Inside Your Computer System Board Components Front-Panel Door and Hinge Arms... -
Page 2: Back View
Computers with an auto-sensing voltage selector do not have a available on all voltage selection switch on the back panel and can automatically detect the correct computers) operating voltage. To help avoid damaging a computer with a manual voltage selection switch, set the switch http://support.dell.com/support/edocs/systems/opgx280/en/ug/smtabout.htm#1054449 Page 2 of 8... - Page 3 Use the back USB connectors for devices that typically remain connected, connectors such as printers and keyboards. It is recommended that you use the front USB connectors for devices that you connect occasionally, such as joysticks or cameras, or for bootable USB http://support.dell.com/support/edocs/systems/opgx280/en/ug/smtabout.htm#1054449 Page 3 of 8...
-
Page 4: Inside Your Computer
6 heat sink and blower assembly 2 internal speaker 7 power supply 3 chassis intrusion switch 8 floppy drive 4 system board 9 CD/DVD drive 5 padlock ring and security cable slot System Board Components http://support.dell.com/support/edocs/systems/opgx280/en/ug/smtabout.htm#1054449 Page 4 of 8... -
Page 5: Front-Panel Door And Hinge Arms
To prevent damage to your computer, the front-panel door is designed to "break away" if it is lifted up too far. If the front-panel door is open and it is pushed inward too hard, the hinge arms may also break away (the hinge arms are loose when they are detached). Reattaching the Hinge Arms http://support.dell.com/support/edocs/systems/opgx280/en/ug/smtabout.htm#1054449 Page 5 of 8... - Page 6 4. Remove the front-panel insert above the door bay area by pulling the bottom of the insert with your fingers. 1 front-panel insert 2 use fingers to pull here 5. Lift both hinge arms to the horizontal position. 6. Use the two view slots to align the pivot bar with the two pivot-bar slots. http://support.dell.com/support/edocs/systems/opgx280/en/ug/smtabout.htm#1054449 Page 6 of 8...
-
Page 7: Reattaching The Front Door
4. Align the two clips on the inside of the front door with the two hinge arms. 5. Press inward on the front door until it clips to both hinge arms. 1 hinge arms (2) in vertical position 2 front-panel door 3 front-door clips (2) http://support.dell.com/support/edocs/systems/opgx280/en/ug/smtabout.htm#1054449 Page 7 of 8... - Page 8 OUR PRIVACY POLICY HAS BEEN REVISED AND WILL GO INTO EFFECT JULY 12. *Offers subject to change. Taxes, shipping, handling and other fees apply. U.S. Dell Small Business new purchases only. LIMIT 5 DISCOUNTED OR PROMOTIONAL ITEMS PER CUSTOMER. LIMIT 5 VOSTRO UNITS PER CUSTOMER.