
Related Manuals for Daikin 2MXM40A2V1B9


Summary of Contents for Daikin 2MXM40A2V1B9
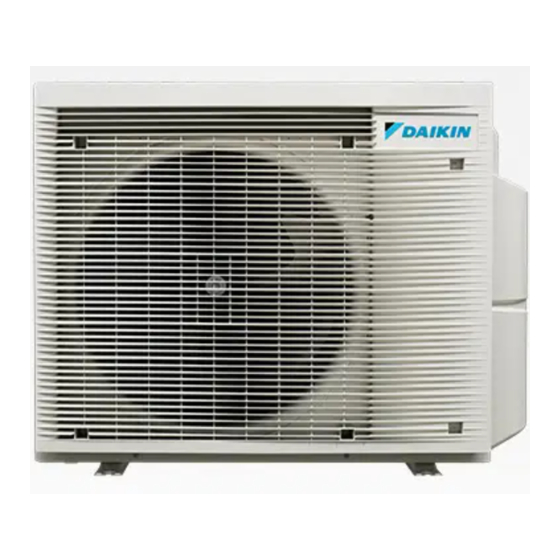
- Page 1 Installation manual R32 Split series Installation manual 2MXM40A2V1B9 English R32 Split series 2MXM50A2V1B9...
- Page 2 4P710994-1...
- Page 3 4P710996-1...
- Page 4 4P710996-1...
- Page 5 4P710995-1...
- Page 6 4P710997-1...
- Page 7 4P710997-1...
-
Page 8: Table Of Contents
▪ Preparation of the installation, reference data, … About night quiet mode ............. 18 9.2.1 To turn ON the night quiet mode......... 18 ▪ Format: Digital files on https://www.daikin.eu. Use the search About heat mode lock..............18 function to find your model. -
Page 9: Specific Installer Safety Instructions
2 Specific installer safety instructions ▪ The full set of latest technical data is available on the Daikin CAUTION Business Portal (authentication required). ▪ Incomplete flaring may cause refrigerant gas leakage. ▪ Do NOT re-use flares. Use new flares to prevent refrigerant gas leakage. -
Page 10: About The Box
3 About the box WARNING WARNING If the supply cord is damaged, it MUST be replaced by the ▪ Before carrying out any maintenance or repair activity, manufacturer, its service agent or similarly qualified ALWAYS switch off the circuit breaker on the supply persons in order to avoid a hazard. -
Page 11: Unit Installation
4 Unit installation Unit installation WARNING Installation shall be done by an installer, the choice of materials and installation shall comply with the applicable legislation. In Europe, EN378 is the applicable standard. Preparing the installation site WARNING The appliance shall be stored so as to prevent mechanical damage and in a well-ventilated room without continuously operating ignition sources (e.g. -
Page 12: Mounting The Outdoor Unit
5 Piping installation It is recommended to provide at least 150 mm of free space below 4.2.2 To install the outdoor unit the unit (300 mm for heavy snowfall areas). Additionally, make sure the unit is positioned at least 100 mm above the maximum expected level of snow. -
Page 13: Refrigerant Piping Insulation
5 Piping installation ▪ Foreign materials inside pipes (including oils for fabrication) must Shortest allowable length per room is 3 m. be ≤30 mg/10 m. Refrigerant piping length to each indoor unit ≤20 m Refrigerant piping total length ≤30 m Refrigerant piping diameter Class 40 Height difference Height difference outdoor-indoor... -
Page 14: To Connect The Refrigerant Piping To The Outdoor Unit
5 Piping installation Liquid stop valve (room A) Reducer type Connection Gas stop valve (room A) Ø12.7 mm → Ø9.5 mm Liquid stop valve (room B) Gas stop valve (room B) Service port 2 Connect the gas refrigerant connection from the indoor unit to the gas stop valve of the outdoor unit. -
Page 15: Charging Refrigerant
6 Charging refrigerant ▪ Check for leaks again. To determine the additional ▪ Perform vacuum drying again. refrigerant amount NOTICE If the total liquid Then… Make sure to open the stop valves after installing the piping length is… refrigerant piping and performing vacuum drying. Running ≤20 m Do NOT add additional refrigerant. -
Page 16: To Check For Refrigerant Leaks After Charging
7 Electrical installation NOTICE WARNING Applicable legislation on fluorinated greenhouse gases ▪ Do NOT use locally purchased electrical parts inside requires that the refrigerant charge of the unit is indicated the product. both in weight and CO equivalent. ▪ Do NOT branch the power supply for the drain pump, Formula to calculate the quantity in CO equivalent etc. -
Page 17: To Connect The Electrical Wiring To The Outdoor Unit
8 Finishing the outdoor unit installation 6 Firmly secure the wire retainer to avoid external stress on wire Component terminations. Power supply Voltage 220~240 V cable 7 Pass the wiring through the cutout on the bottom of the Current 2MXM40: 9.8 A protection plate. -
Page 18: To Turn On Econo Mode Prohibition Setting
9 Configuration 9.1.1 To turn ON ECONO mode prohibition CAUTION setting When reinstalling the electric box cover, be careful not to pinch the fan motor lead wire. Prerequisite: The main power supply MUST be turned off. 1 Remove the top plate of the outdoor unit (2 screws on sides) About heat mode lock 2 Remove the electric box cover by sliding it. -
Page 19: Commissioning
10.3 Trial operation and testing commissioning checklist is also available on the Daikin Business Portal (authentication required). Before starting the test run, measure the voltage at the The general commissioning checklist is complementary to primary side of the safety breaker. -
Page 20: Maintenance And Service
▪ A subset of the latest technical data is available on the regional Harness Daikin website (publicly accessible). H*P, LED*, V*L Pilot lamp, light emitting diode ▪ The full set of latest technical data is available on the Daikin Light emitting diode (service Business Portal (authentication required). monitor green) HIGH VOLTAGE High voltage 13.1... -
Page 21: Piping Diagram: Outdoor Unit
13 Technical data Symbol Meaning Symbol Meaning MR*, MRCW*, MRM*, MRN* Magnetic relay Thermostat Neutral S*RH Humidity sensor n=*, N=* Number of passes through ferrite S*W, SW* Operation switch core SA*, F1S Surge arrester Pulse-amplitude modulation SR*, WLU Signal receiver PCB* Printed circuit board Selector switch... - Page 22 13 Technical data 4-way valve ON: heating Thermistor (liquid) High pressure switch with automatic reset Filter Muffler Motor-operated valve Discharge pipe thermistor Muffler Compressor Outdoor air temperature thermistor Accumulator Heat exchanger Branch pipe Fan motor Thermistor (gas) Refrigerant flow: cooling Gas stop valve Refrigerant flow: heating Field piping (gas)
- Page 24 3P600450-8T 2022.09 Verantwortung für Energie und Umwelt...