
Related Manuals for Blaupunkt IDC A09


Summary of Contents for Blaupunkt IDC A09
- Page 1 CD-Changer IDC A09 Operating and installation instructions (GB)
- Page 2 Deutsch Nederlands Übersichtsbild ......... 3 Overzichtsfoto ......... 3 Hinweise ......... 4 Aanwijzingen ......... 24 Sicherheitshinweise ......4 Adviezen voor de veiligheid ..... 24 Einbau ..........5 Montage ........25 Bedienung ........7 Bediening ........27 English-GB Svenska Overview diagram ......3 Översiktsbild ........
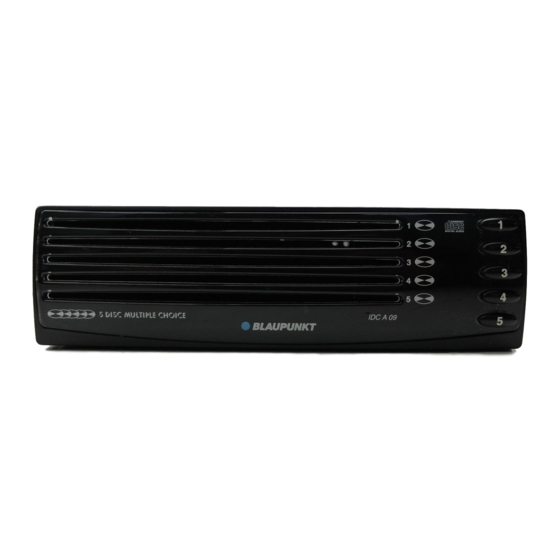
- Page 3 ÜBERSICHTSBILD/OVERVIEW DIAGRAM/ APERÇU/VISTA D’INSIEME/ OVERZICHTSFOTO/ÖVERSIKTSBILD/ VISTA GENERAL/VISTA DE CONJUNTO 6 7 8 9 : 1 2 3 4 5 1 - 5 CD-Schächte 6 - : Select-/Eject-Knöpfe CD Compartments Select/eject button Compartiments CD Boutons Select / Eject Vano di CD Tasti di selezione/espulsione Cd-openingen Select-/eject-toetsen...
- Page 4 NOTES SAFETY INSTRUCTIONS Thank you for deciding to use a Safety instructions Blaupunkt product. We hope you enjoy When carrying out installation work using this new piece of equipment. and making connections please Please read these operating instruc- observe the following safety...
- Page 5 INSTALLATION Supplied installation materials Recommended accessories Extension cable 1.3 m 7 607 621 154 Extension cable 6 m 7 607 621 155 Universal mounting frame 7 608 002 377 1-20 Recommended location for installation Dashboard Vehicle boot Installation position From -10° to 105° Spacer installation frame 6 mm 7 608 002 076 Spacer installation frame 10 mm...
- Page 6 INSTALLATION CDC Data-IN CDC Data-OUT +12V Permanent +12V switch voltage (max. 300mA) CDC Data-GND CDC AF/AUX-GND CDC AF/AUX-L CDC AF/AUX-R radio IDC A09...
- Page 7 OPERATION Inserting a CD When you connect the CD changer for the first time, please wait approximately 1 minute before inserting a CD. Insert one CD with the printed side up into each of the compartments 1-5. The buttons will now light up green. Selecting a CD To listen to a particular CD, press the corresponding select/eject button 6-:...
- Page 8 01-333 9575 01-324 8756 Poland (PL) 0800-118922 022-8771260 Turkey (TR) 0212-3350677 0212-3460040 (USA) 800-2662528 708-6817188 Brasil (Mercosur) (BR) +55-19 3745 2769 +55-19 3745 2773 Malaysia (Asia Pacific) (MAL) +604-6382 474 +604-6413 640 Blaupunkt GmbH 07/02 CM/PSS 8 622 403 467...
- Page 9 CD-Changer IDC A09 with encoding Operating and installation instructions (GB)
- Page 10 ÜBERSICHTSBILD/OVERVIEW DIAGRAM/ APERÇU/VISTA D’INSIEME/ OVERZICHTSFOTO/ÖVERSIKTSBILD/ VISTA GENERAL/VISTA DE CONJUNTO 6 7 8 9 : 1 2 3 4 5 1 - 5 CD Schächte, 6 - : Eject-Knöpfe, CD Compartments, Eject buttons, Compartiments CD, Bouton d’éjection, Vano di CD, Tasto di espulsione, Cd-openingen, Eject-toetsen, Cd-fack,...
- Page 11 INSTALLATION Safety notice Recommended location for installation – Electronic vehicle systems may fail Dashboard if they are incorrectly installed or Vehicle boot serviced. – Disconnect the negative terminal of Installation position the battery before installing or removing any equipment. From -10° to 105° –...
- Page 12 (AFTER INSTALL.) Theft protection Activating the code for car radios with a key card The IDC A09 is equipped with a theft protection system that is supported by The master code is printed on your IDC several car radios. A09 pass card.
- Page 13 Before uninstalling the IDC A09 and using it with a different car radio, you radios that have a fixed code must first of all decode the IDC A09. The master code is printed on your IDC A09 pass card. Decoding using a car radio that has a key card 1.
- Page 14 Press station button 2 three times. on again). c) Press station button 3 twice. The IDC A09’s code is now deactivated. d) Press station button 4 once. You may now remove the IDC A09. 7. Once you have correctly entered the...
- Page 15 026 130 04 41 026 130 05 14 800-266 25 28 708-681 71 88 Singapore 006 535 054 47 006 535 053 12 Slovensko 042 175 873 212 042 175 873 229 Blaupunkt-Werke GmbH Bosch Gruppe 11/99 K7/VKD 8 622 402 201...