
Related Manuals for UFO Comet Light Source


Summary of Contents for UFO Comet Light Source
- Page 1 PRODUCT USER GUIDE Comet Light Source Rev: C1 PLEASE READ THIS USER GUIDE BEFORE INSTALLING OPERATING OR PERFORMING MAINTENANCE ON THE LIGHT SOURCE UNIT...
- Page 2 UFO for you to enhance your desired effect. This is the perfect light source for imaginatively illuminating decorative fibre optic effect lighting.
-
Page 3: Installation
Warning: NEVER hot plug the DC connector on the rear of the light source as this may cause arc- ing of the DC current. Do not disconnect or connect power from the Comet light source by removing or connecting the DC connector whilst the 48V PSU is live. - Page 4 INSTALLATION CONNECTION FOR MANUAL OPERATION There are two connections required – the fibre port and the power supply connections. The fibre port should be connected first before the mains supply. Connect and secure the fibre optic connector into the collar and the front of the unit and secure using the M5 knurled locking screw.
- Page 5 • For master/slave operation all slaves must be connected together and to the master Comet If there is no DMX data being received at a Comet light source the display will indicate “No DMX” as shown in the example below for address 001...
- Page 6 INSTALLATION CONNECTION FOR 0-10 V ( CURRENT SOURCE ) OPERATION This is a current source dimming and decorative wheel operation. For current source, the inputs to the COMET require an external control voltage between 0V and 10V DC. There are three/four connections required – the fibre port, the 0-10V cable(s) and the power supply cable.
- Page 7 • With no 0-10V input the luminaire will give no light output and the decorative wheel will be stationary, but may move slightly. If this movement causes a problem, connect a 0-10V controller set to 0V or set the Comet to manual control. UFO LIGHTING...
- Page 8 INSTALLATION CONNECTION FOR 1-10 V ( CURRENT SINK ) OPERATION This is a current sink 1-10V dimming operation. For current sink dimming, the left-hand dim- ming RJ45 socket of the Comet provides current flow to a remote electronic dimmer. The re- mote electronic dimmer modifies the current returning to the Comet, thus providing remote dimming control.
- Page 9 • Always use an approved CAT5 cable • Always ensure correct connection polarity • The Comet 1-10V dimming system has been designed around the UFO CVD3 Current Sink Electronic Dimmer (See Accessories in Technical Specification section at end of this document) •...
-
Page 10: Operation
OPERATION USER CONTROLS Operation of the Comet is carried out via the rear display and associated push button controls as detailed below: MENU SELECT / ENTER POWER UP On power up the display will firstly display as follows and as detailed below: •... -
Page 11: Reset / Factory Default
DEFAULT FACTORY SETTINGS Item Value DMX Address Control Mode Master Dimming Level 100% Wheel Speed CW Spd 4 Reset options >> SCROLL UP/DOWN >> ENTER MENU >> UFO LIGHTING... - Page 12 OPERATION PROGRAMMABLE FUNCTION TABLE COMET USER GUIDE...
-
Page 13: Manual Operation
>> SCROLL UP/DOWN AND PRESS ENTER MENU >> Stop TO SELECT COLOUR SEQUENCE Program: Stop Spd1 Spd2 Spd3 Spd4 Spd5 Spd6 Spd7 Spd8 Spd9 Spd10 Speed: 6rpm 12rpm 20rpm 37rpm 47rpm 47rpm 37rpm 20rpm 12rpm 6rpm Direction: UFO LIGHTING... -
Page 14: Dmx Operation
OPERATION DMX OPERATION With the luminaire in DMX Control Mode all Comet models in the range can be DMX controlled as detailed in the Programmable Function Table and in the following sections. There are two DMX control methods available: • DMX controller or control system •... - Page 15 The luminaire(s) selected as Slave(s) must be set to DMX address 001 as shown below: DMX address Control mode >> SCROLL UP/DOWN >> ENTER MENU >> The Slave luminaire(s) will now respond to the Master manual settings and pre-programmed static colours and sequences. UFO LIGHTING...
- Page 16 OPERATION 0-10 V OPERATION All Comet models in the range can be 0-10V (current source) controlled as described in the Programmable Function Table and as detailed in the following sections For all 0-10V current source operation modes the luminaire must be set to 0-10V in the Control Mode sub menu.
- Page 17 Maximum light output NOTE: This is a current sink 1-10V dimming operation. For current sink dimming to work a com- patible remote electronic dimmer must be connected to the dimming input, for example UFO Unidim CVD3 - Remote Current Sink dimmer.
-
Page 18: Maintenance Log
MAINTENANCE MAINTENANCE LOG Date Maintenance Undertaken Note: a record of all maintenance MUST be kept in the table above, indicating what maintenance was undertaken and when. This MUST be dated for warranty purposes. COMET USER GUIDE... - Page 19 Check fuse & replace if necessary. If problem per LCD display is out Blown fuse in plug (UK models only) sists and fuse blows again, isolate mains supply and contact UFO Unit in Master control mode and Select Dim level menu option and manually set dimming at 0% dimming level to give required light output Unit in 010V control mode but no 010V...
-
Page 20: Troubleshooting
TROUBLESHOOTING TROUBLESHOOTING DMX MODELS Problem Probable Cause Possible Solution No DMX control Indicates unit is not receiving a DMX signal Check DMX controller or Master Comet settings. over dimming and from controller or Master Comet other DMX functions “No DMX” Faulty DMX cable Check DMX cabling and repair/replace displayed... - Page 21 – if there is a varying 010V voltage on output, change the dimmer for a current sink type Dim level changes with remote dimming but light output Incompatible current sink dimmer Contact UFO range inaccurate or reduced 0-10 V MODELS TROUBLESHOOTING Problem...
-
Page 22: Technical Specification
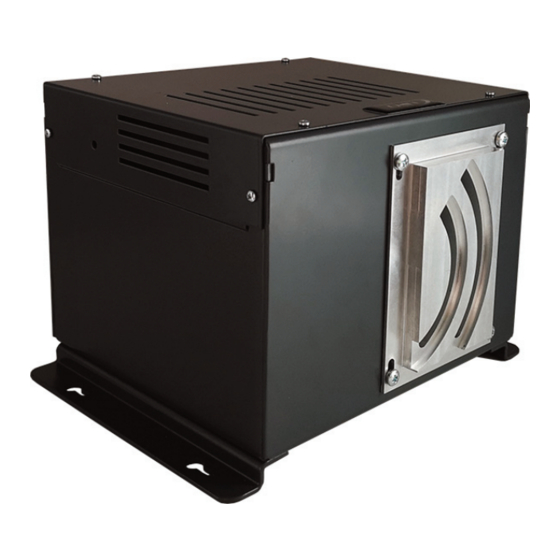
TECHNICAL SPECIFICATION Fibre Type Glass / PMMA Port Connector Custom dual slotted Material / Finish Sheet steel, grey powdercoat (RAL7024) Dimension (L x W x H) 207mm x 265mm x 186mm Min. Ambient Temp. 10oC Max. Ambient Temp. +45oC Control over dimming, colour change effects or twinkle effects. - Page 23 NOTES UFO LIGHTING...
- Page 24 DESIGN SPECIFY BUILD INSTALL Universal Fiber Optic Lighting USA LLC UFO Licht GmbH 1749 Northgate Blvd Friendsfactory AG Gutenbergstraße 1 Sarasota FL34234 85737 Munchen Deutschland 941-343-8115 +49 (0)9491 955880 www.fibreopticlighting.com www.ufo-licht.de...