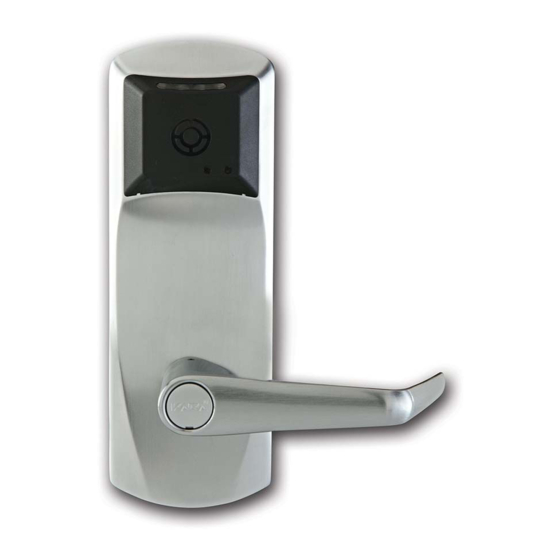
Quick Links
RT Series Rework Installation Sheet
IMPORTANT: Wear Safety glasses before starting the replacement of parts.
Remove screw and take out battery pack
1
Remove foam, cam & screws and discon-
4
nect cables
Remove PCB
5
Current PCB
New PCB
Remove 5 screws and take off the back
2
plate
Screw below center label
Assemble New PCB
6
A
Before placing PCB connect
B
standard cables and cables
for door option if applicable
at orientation as shown
Option
Option
RT Series LOCK PCB + PRIVACY MECH. PARTS
Switch
Holder
New
Cam
Assemble protective bracket and hold with
3
one of the 5 screws from step 2
Place the plastic clip to hold the cables in place. Make sure
D
the clip is not on the cables before to hold it with the screw
Override Switch
(See step 4)
Option
Motor (See step 4)
Pass cables in
C
housing gap push
cables away from
the screw head
New privacy
Switch
Protective
Bracket
Protective Bracket
Use screws from step 4
PK 36 17 _ 07_ 1 2

Summary of Contents for Kaba Saflok RT Series
- Page 1 RT Series Rework Installation Sheet IMPORTANT: Wear Safety glasses before starting the replacement of parts. RT Series LOCK PCB + PRIVACY MECH. PARTS Current PCB New privacy Switch Switch Holder New PCB Protective Bracket Remove screw and take out battery pack Remove 5 screws and take off the back Assemble protective bracket and hold with plate...
- Page 2 RT Series Rework Installation Sheet Connect privacy switch to PCB. Location Assemble the switch holder, pass the wires Assemble privacy switch on switch holder underneath it. Make sure the screw head is as shown underneath as shown. Switch lever orientation Screw Head Remove protective bracket Assemble new cam.


