Dell XPS 8920 Setup And Specifications
Hide thumbs
Also See for XPS 8920:
- Service manual (130 pages) ,
- Setup and specifications (22 pages) ,
- Service manual (102 pages)
Table of Contents
Table of Contents

Related Manuals for Dell XPS 8920


Summary of Contents for Dell XPS 8920
- Page 1 XPS 8920 Setup and Specifications Regulatory Model: D24M Regulatory Type: D24M001...
- Page 2 A WARNING indicates a potential for property damage, personal injury, or death. © 2017-2020 Dell Inc. or its subsidiaries. All rights reserved. Dell, EMC, and other trademarks are trademarks of Dell Inc. or its subsidiaries. Other trademarks may be trademarks of their respective owners.
-
Page 3: Table Of Contents
Intel Optane memory................................14 Ports and connectors................................14 Communications...................................15 Wireless module................................15 Audio...................................... 15 Storage....................................16 Video...................................... 16 Power ratings..................................16 Computer Environment............................... 16 6 Intel Optane memory........................18 Enabling Intel Optane memory............................18 Disabling Intel Optane memory............................18 7 Getting help and contacting Dell....................19 Contents... -
Page 4: Set Up Your Computer
Set up your computer 1. Connect the keyboard and mouse. 2. Connect to your network using a cable, or connect to a wireless network. 3. Connect the display. NOTE: If you ordered your computer with a discrete graphics card, the HDMI and the display ports on the back panel of your computer are covered. - Page 5 5. Press the power button. 6. Finish Windows setup. Follow the on-screen instructions to complete the setup. When setting up, Dell recommends that you: • Connect to a network for Windows updates. NOTE: If connecting to a secured wireless network, enter the password for the wireless network access when prompted.
- Page 6 Resources Description Download software applications, which are purchased but not pre-installed on your computer. For more information about using Dell Digital Delivery, see the knowledge base article 153764 www.dell.com/ support. 8. Create recovery drive for Windows. NOTE: It is recommended to create a recovery drive to troubleshoot and fix problems that may occur with Windows.
-
Page 7: Create A Usb Recovery Drive For Windows
A message appears, indicating that all data in the USB flash drive will be deleted. 7. Click Create. 8. Click Finish. For more information about reinstalling Windows using the USB recovery drive, see the Troubleshooting section of your product's Service Manual at www.dell.com/support/manuals. Create a USB recovery drive for Windows... -
Page 8: Setting Up The Virtual Reality (Vr) Headset - Optional
1. Download and run the setup tools for your VR headset at www.dell.com/VRsupport. 2. Connect the VR headset to the designated USB 3.1 Gen 1 ports on the back of your computer and HDMI port on the graphics card on your computer, when prompted. -
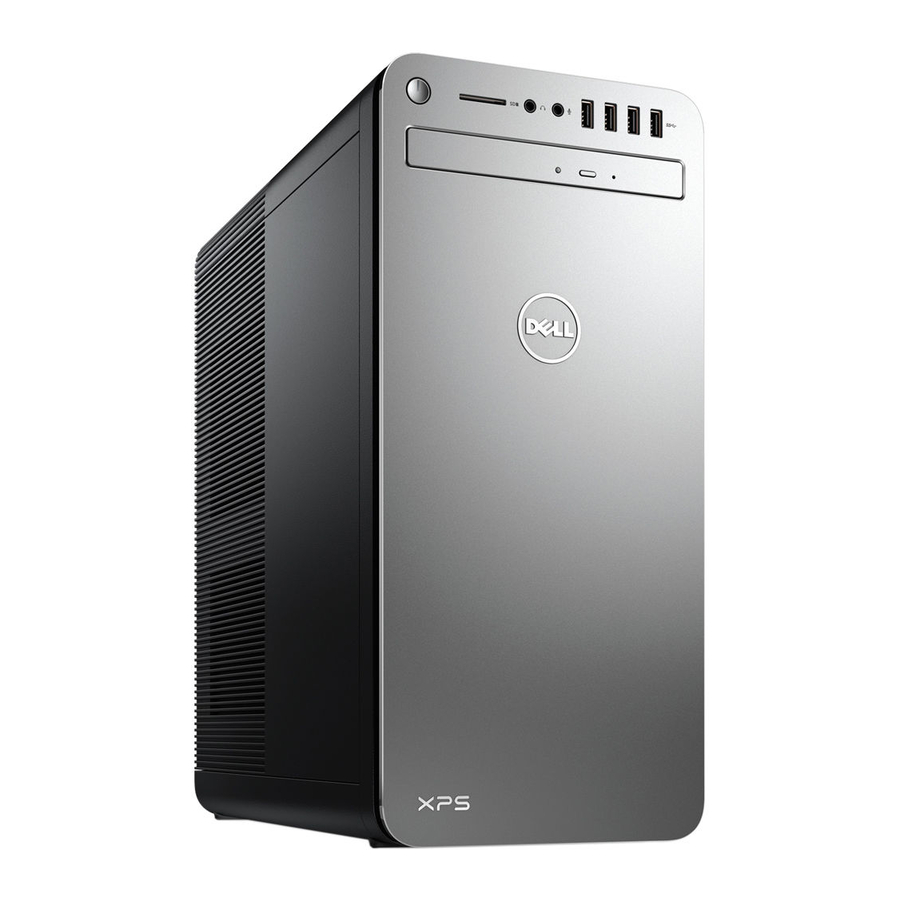
Page 9: Views
Press and hold for 4 seconds to force shut-down the computer. NOTE: You can customize the power-button behavior in Power Options. For more information, see Me and My Dell at www.dell.com/support/manuals. 2. SD-card slot Reads from and writes to the SD card. -
Page 10: Back
Allows you to remove the power supply unit from your computer. 7. Service Tag label Provides the Service Tag and Express Service Code needed when contacting Dell. 8. Top power-supply cage release-latch Allows you to remove the power supply unit from your computer. -
Page 11: Back Panel
Back panel 1. Network port Connect an Ethernet (RJ45) cable from a router or a broadband modem for network or internet access. The two lights next to the connector indicate the connectivity status and network activity. 2. USB 2.0 ports (2) Connect peripherals such as storage devices and printers. - Page 12 Connect the subwoofer. NOTE: For more information about the speaker setup, refer to the documentation that shipped with the speakers. Views...
-
Page 13: Specifications
Specifications Computer model Table 2. Computer model Computer model XPS 8920 System information Table 3. System information Processor • Generation Intel Core i5/i5k • Generation Intel Core i7/i7k Chipset • Intel H270 • Intel Z270 Operating system Table 4. Operating system Operating systems supported •... -
Page 14: Intel Optane Memory
The following table lists the available memory configuration matrix: Table 7. Memory configuration matrix Slot Configuration DIMM1 DIMM2 DIMM3 DIMM4 8 GB 4 GB 4 GB 8 GB 8 GB 16 GB 8 GB 8 GB 16 GB 16 GB 24 GB 8 GB 8 GB... -
Page 15: Communications
Table 10. Ports and connectors Front panel ports: Audio • One Stereo Headphone jack • One Microphone jack Four USB 3.0 ports Card Reader One 3-in-1 Card reader, supporting: • Secure Digital (SD) • Secure Digital Extended Capacity (SDXC) • Secure Digital High Capacity (SDHC) Classes 2, 4, and 6 Table 11. -
Page 16: Storage
Storage Table 15. Storage specifications Interface • SATA 6 Gbps for optical drive • SATA 6 Gbps for hard drive • M.2 for SSD (SATA or PCIe/NVMe) Hard drive Three 3.5-inch hard drives Solid-state drive One M.2 slot Optical drive (optional) One Slimline DVD+/-RW Capacity: Hard drive... - Page 17 Table 18. Computer environment Operating Storage Temperature range 5°C to 35°C (41°F to 95°F) –40°C to 65°C (–40°F to 149°F) Relative humidity (maximum) 10% to 90% (non-condensing) 0% to 95% (non-condensing) Vibration (maximum) 0.26 GRMS 1.37 GRMS Shock (maximum) 40 G for 2 ms with a change in velocity of 105 G for 2 ms with a change in velocity of †...
-
Page 18: Intel Optane Memory
Intel Optane memory Enabling Intel Optane memory 1. On the taskbar, click the search box, and then type Intel Rapid Storage Technology. 2. Click Intel Rapid Storage Technology. The Intel Rapid Storage Technology window is displayed. 3. On the Status tab, click Enable to enable the Intel Optane memory. 4. -
Page 19: Getting Help And Contacting Dell
Getting help and contacting Dell Self-help resources You can get information and help on Dell products and services using these self-help resources: Table 19. Self-help resources Self-help resources Resource location Information about Dell products and services www.dell.com My Dell app...