Quick Links
A
Removing the side cover
1
3
4
English
A
1. Push down to release the top tabs of the cable
management kit, then pull up the cable management kit
to release it from the bottom tabs.
2. Remove three screws on the rear panel.
3. Turn the swivel 45º clockwise to release the side cover.
4. Push the side cover to the direction of the rear panel.
5. Tilt the side cover and slide it out of the chassis.
B
1. Slide the PSU into the slot until it snugly fits the metal
rail.
2. Secure with screws.
3. Set the voltage selector according to the voltage in
your area.
C
1. Push the marked portion of the Magic Mask
2. Remove the drive bay cover.
3. Slide the bay lock toward the
sign.
4. Insert the ODD into the bay.
5. Align the ODD holes with the bay holes, then slide
the bay lock toward the sign to secure the drive in
place.
6. Connect cables.
Spanish
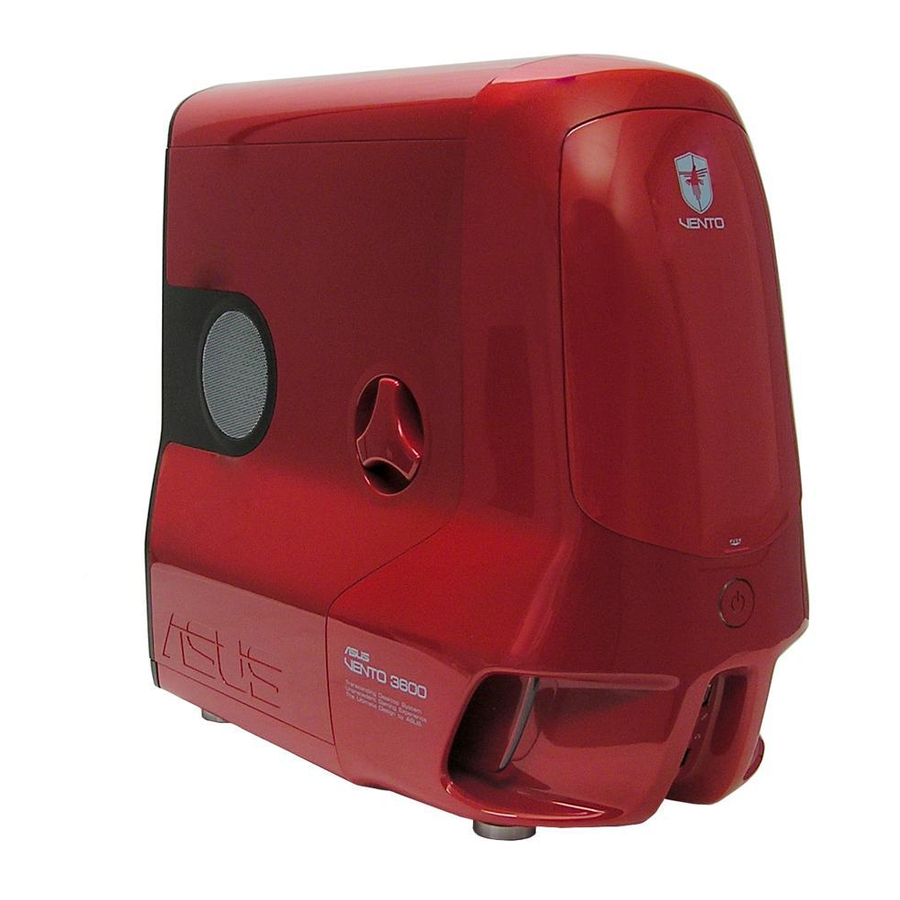
VENTO 3600
2
2
2
5
to open.
®
Traditional Chinese
B
Installing the power supply unit (PSU)
C
Installing an optical disk drive (ODD)
1
German
2
1
2
3
4
5
Continued at the back
French
Simplified Chinese
E2844

Related Manuals for Asus VENTO 3600


Summary of Contents for Asus VENTO 3600
- Page 1 E2844 VENTO 3600 Removing the side cover Installing the power supply unit (PSU) Installing an optical disk drive (ODD) Continued at the back English German French 1. Push down to release the top tabs of the cable management kit, then pull up the cable management kit to release it from the bottom tabs. 2. Remove three screws on the rear panel. 3. Turn the swivel 45º clockwise to release the side cover. 4. Push the side cover to the direction of the rear panel. 5. Tilt the side cover and slide it out of the chassis. 1. Slide the PSU into the slot until it snugly fits the metal rail.
- Page 2 VENTO 3600 (continued) Installing a floppy disk drive (FDD) Installing a hard disk drive (HDD) Screw holes Reinstalling the side cover Side panel hooks Installing an expansion card Chassis side rail French English German 1. Press down the HDD cage lock, then pull the cage out of the chassis. 2. Insert the HDD into the upper bay of the cage. Secure with screws. 3. Reinstall the HDD cage to the chassis. 4. Connect cables. 1. Push out the green lock tab.