Quick Links

Related Manuals for Bosch VJR-A3-IC54


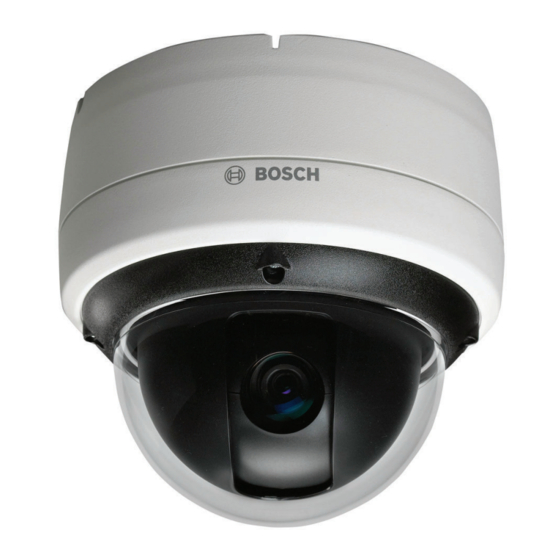
Summary of Contents for Bosch VJR-A3-IC54
- Page 1 IP-54 In-ceiling Mount VJR-A3-IC54 Mounting Guide...
-
Page 3: Table Of Contents
Table of Contents Important Safety Instructions Unpacking Parts List Installing a Recessed Mount Description 3.1.1 Additional Requirements 3.1.2 Preparing the Ceiling for Installation 3.1.3 Installing the Camera to the Mounting Plate Bosch Security Systems, Inc. Mounting Guide F.01U.201.538 | 1.0 | 2010.12... -
Page 4: Important Safety Instructions
12. Install in accordance with the manufacturer's instructions in accordance with applicable local codes. Use only attachments/accessories specified by the manufacturer. Equipment change or modification could void the user's guarantee or authorization agreement. F.01U.201.538 | 1.0 | 2010.12 Mounting Guide Bosch Security Systems, Inc. - Page 5 You can view and print the full version of this Installation Manual with Adobe Acrobat Reader, both provided on the enclosed CD-ROM. This user guide is the intellectual property of Bosch Security Systems; protected by copyright. Contact: www.BoschSecurity.com Bosch Security Systems, Inc.
-
Page 6: Unpacking
Verify that all the parts listed in the Parts List below are included. If any items are missing, notify your Bosch Security Systems Sales or Customer Service Representative. The original packing carton is the safest container in which to transport the unit and must be used if returning the unit for service. -
Page 7: Installing A Recessed Mount
Prolonged exposure to bright lights may cause bleaching of the sensor's color filters. This will be visible as colored spots in the picture and is irreversible. Bosch Security Systems, Inc. Mounting Guide F.01U.201.538 | 1.0 | 2010.12... - Page 8 Mounting Assembly The following illustrations shows the components of the recess mount: Figure 3.1 AutoDome Junior with IP54-rated In-ceiling Mount VJR-A3-JW Junction Box Mounting Bracket AutoDome Junior Camera Trim Skirt F.01U.201.538 | 1.0 | 2010.12 Mounting Guide Bosch Security Systems, Inc.
-
Page 9: Additional Requirements
Three (3) M3 – .5 x 6 Phillips flat head machine screws for use with the retaining ring (supplied with AutoDome Junior camera kit) – VJR-A3-SP, support kit for VJR-A3-IC54 mounting kit, if mounting to a drop ceiling 3.1.2 Preparing the Ceiling for Installation To mount to a recess mount, do the following: Determine a secure location for the recessed mount. - Page 10 CAUTION! You must ensure that the gasket is attached to the retaining ring as shown above to ensure an environmentally tight seal. F.01U.201.538 | 1.0 | 2010.12 Mounting Guide Bosch Security Systems, Inc.
- Page 11 Thread the four (4) 3.97 mm I.D. by Ø1.78 mm O-rings (item 1, Figure 3.4) onto the four (4) M4 x 16 Phillips Pan Head Machine Screws. Bosch Security Systems, Inc. Mounting Guide F.01U.201.538 | 1.0 | 2010.12...
- Page 12 Figure 3.4 Attach VJR-A3-JW to Mounting Bracket 11. Align the holes of mounting plate with the VJR-A3-JW junction box and attach with the three (3) M4–.7 x 8 Phillips Pan Head Machine Screws. F.01U.201.538 | 1.0 | 2010.12 Mounting Guide Bosch Security Systems, Inc.
- Page 13 The ceiling/drywall must have a maximum thickness of 41.7 mm (1.64 in.) and a minimum thickness of 12.7 mm (0.50 in.). Bosch Security Systems, Inc. Mounting Guide F.01U.201.538 | 1.0 | 2010.12...
- Page 14 Only tighten the clamp until it contacts the ceiling and you start to feel some resistance. If using a power screwdriver, set the torque level to the lowest setting. F.01U.201.538 | 1.0 | 2010.12 Mounting Guide Bosch Security Systems, Inc.
-
Page 15: Installing The Camera To The Mounting Plate
Attach the green grounding wire from the unit to the grounded ( ) screw hole on the VJR-A3-JW using the attached captive screw washer. Route wires through the knockout on the VJR-A3-JW. Bosch Security Systems, Inc. Mounting Guide F.01U.201.538 | 1.0 | 2010.12... - Page 16 Note: Do not loosen the three brass buttons. These brass buttons engage the slotted tabs on the mounting plate. Figure 3.10 Tab/Slot Alignment Detail Vertical Tab (on mounting plate) Locking Screw Recessed Slot (on dome housing) F.01U.201.538 | 1.0 | 2010.12 Mounting Guide Bosch Security Systems, Inc.
- Page 17 The recessed mounting bracket is provided with an additional safety tether point (item 1, Figure 3.11). To prevent injury, attach a safety wire from a secure anchor point above the ceiling to this tether point. Bosch Security Systems, Inc. Mounting Guide F.01U.201.538 | 1.0 | 2010.12...
- Page 18 Note: Unit should not turn. 13. Use the supplied T-10 Torx wrench to secure the trim ring’s two (2) safety locking screws to the mounting bracket. F.01U.201.538 | 1.0 | 2010.12 Mounting Guide Bosch Security Systems, Inc.
- Page 20 Bosch Security Systems, Inc. 850 Greenfield Road Lancaster, PA 17601 U.S.A. www.boschsecurity.com © Bosch Security Systems, Inc., 2010...