Makita RP0900 Instruction Manual
Hide thumbs
Also See for RP0900:
- Instruction manual (57 pages) ,
- Instruction manual (12 pages) ,
- Instruction manual (13 pages)
Table of Contents
Quick Links
See also:
Instruction Manual
Table of Contents

Related Manuals for Makita RP0900


Summary of Contents for Makita RP0900
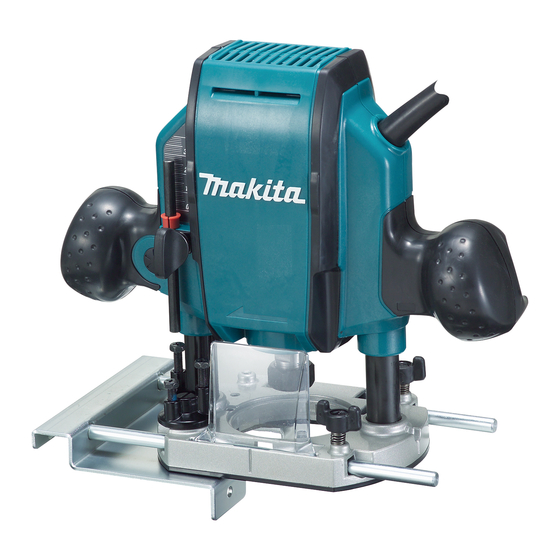
- Page 1 INSTRUCTION MANUAL Router RP0900 009743 DOUBLE INSULATION WARNING: For your personal safety, READ and UNDERSTAND before using. SAVE THESE INSTRUCTIONS FOR FUTURE REFERENCE.
-
Page 2: Specifications
Authorized Representative in Europe: ENF002-1 Power supply Makita International Europe Ltd. The tool should be connected only to a power supply of Michigan Drive, Tongwell, Milton Keynes, Bucks MK15 the same voltage as indicated on the nameplate, and 8JD, ENGLAND can only be operated on single-phase AC supply. -
Page 3: Save All Warnings And Instructions For Future Reference
Save all warnings and 12. Prevent unintentional starting. Ensure the switch is in the off-position before connecting instructions for future reference. to power source and/or battery pack, picking The term "power tool" in the warnings refers to your up or carrying the tool. . Carrying power tools mains-operated (corded) power tool or battery-operated with your finger on the switch or energising power (cordless) power tool. -
Page 4: Specific Safety Rules
and the work to be performed. Use of the power 15. Do not smear the tool base carelessly with tool for operations different from those intended thinner, gasoline, oil or the like. They may could result in a hazardous situation. cause cracks in the tool base. - Page 5 depths of cut. The differences in height of these hex bolts are equal to the differences in depths of cut. Next, lower the stopper pole until it makes contact with To adjust the hex bolts, turn the hex bolts. The stopper the adjusting hex bolt.
-
Page 6: Operation
ASSEMBLY CAUTION: Always be sure that the tool is switched off and • unplugged before carrying out any work on the tool. Installing or removing the bit 1. Workpiece 2. Bit revolving direction 3. View from the top of the tool 4. - Page 7 bit and the straight guide. At the desired distance, 1. Screw tighten the wing bolts to secure the straight guide in 2. Base place. 3. Template guide 1. Guide bar 2. Clamp screw 3. Straight guide 009753 Secure the templet to the workpiece. Place the tool on the templet and move the tool with the templet guide 009750 sliding along the side of the templet.
-
Page 8: Maintenance
If you need any assistance for more details regarding nozzle on the tool base using the thumb screw so that these accessories, ask your local Makita Service Center. protrusion on the dust nozzle fit to the notch in the tool Straight &... - Page 9 Router bits Straight bit Dovetail bit 005116 005119 14.5 1/4" 3/8" 14.5 14.5 3/8" 1/4" 3/8" 1/4" 009805 009802 Drill point flush trimming bit "U"Grooving bit 005120 005117 009803 009806 "V"Grooving bit 005118 1/4" 009804...
- Page 10 Drill point double flush trimming bit Cove beading bit 005121 005129 009807 009810 Corner rounding bit Ball bearing flush trimming bit 005125 005130 1/4" 009808 009811 Chamfering bit Ball bearing corner rounding bit 005126 005131 1/4" 009809 009812...
- Page 11 Ball bearing chamfering bit Ball bearing roman ogee bit 005132 005135 1/4" 009816 009813 Ball bearing beading bit 005133 009814 Ball bearing cove beading bit 005134 009815...
- Page 12 Makita Corporation Anjo, Aichi, Japan 884875-229...