GE NX-148E Installation And Setup
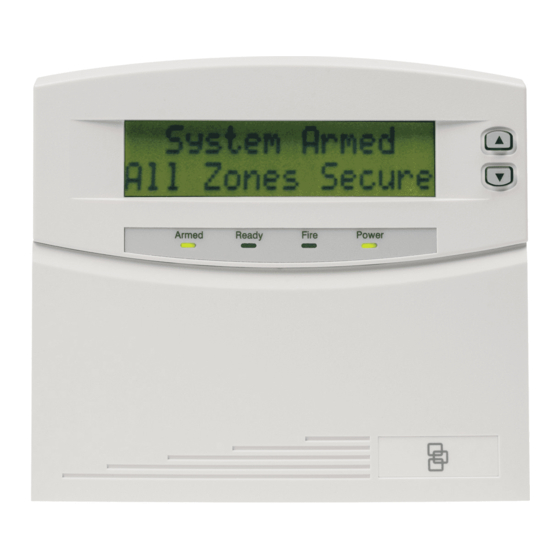
Networx series nx-148e lcd keypad installation and setup
Hide thumbs
Also See for NX-148E:
- User manual (32 pages) ,
- Installation and setup manual (24 pages) ,
- User manual (30 pages)

Related Manuals for GE NX-148E


Summary of Contents for GE NX-148E
- Page 1 ™ NetworX Series NX-148E LCD Keypad Installation and Setup Includes models NX-148E, NX-148E-CF, and NX-148E-CF-W...
- Page 2 © 2005 GE Security All rights reserved. These instructions do not purport to cover all details or variations in equipment nor to provide every possible contingency to be met during installation, operation, and maintenance. If further information is desired or if particular problems arise that are not covered sufficiently for the purchaser’s purpose, the matter should be referred to GE Security, USA.
-
Page 3: Table Of Contents
Table of Contents ENTERING THE PROGRAM MODE....................... 4 SELECTING THE MODULE TO PROGRAM ..................4 PROGRAMMING A LOCATION ......................4 . NUMERICAL DATA......................... 4 . BINARY DATA ..........................5 . CHARACTER DATA ........................5 LOADING FACTORY DEFAULTS......................7 ENROLLING..............................7 PROGRAMMING THE KEYPADS ...................... -
Page 4: Entering The Program Mode
1. ENTERING THE PROGRAM MODE ACTION RESULT Enters the Program Mode. Prompts for the programming code. If the "Go To Program Code" is valid, the LCD Program Code screen will prompt for the device address to program. You are now in the Program Mode and ready to Factory Default is select the module. -
Page 5: Binary Data
3b. BINARY DATA The top line of the display will show the current location number on the left and the segment number on the right. The data will be displayed on the bottom line with the numbers 1-8 in the first 8 characters. If the number appears, this binary switch is on. - Page 6 Table 3-1 ENGLISH CHARACTERS ù " & < º > » Table 3-2 ENGLISH LIBRARY ALARM DETECTOR GARAGE LIBRARY SMOKE VAULT AREA DINING GLASSBREAK LIGHT PORCH SOUND WAREHOUSE AUDIO DOOR GUEST LIVING ROOM SOUTH WEST BACK DOWN HALL MASTER RUMPUS STAIRS WINDOW BATHROOM...
-
Page 7: Loading Factory Defaults
The two-line Custom and two-line Shutdown Messages will not be defaulted. 5. ENROLLING For supervision purposes, the NetworX control panel has the ability to automatically find and store in its memory the presence of all keypads, zone expanders, wireless receivers, and any other module connected to the data terminal. -
Page 8: Programming The Keypads
6. PROGRAMMING THE KEYPADS This section describes how to program the address and partition of each keypad, as well as the available options. The address of the keypad is important because this is how the panel supervises the keypads. FACTORY DEFAULTS: Master Code: when using a 4-digit code, or for a 6-digit code... -
Page 9: Adjusting The View & Brightness Of The Lcd
I M P O R T A N T N O T E S When using standard NX-148 keypad(s) and NX-148E keypad(s) in the same system, it is necessary to use a NON-“E” keypad to program the custom messages. The NON-“E” keypads can be identified by the fact that they do not display a menu when is pressed. -
Page 10: Custom Messages In Language 2
The LCD will display the zone number on the top [message number] line and the description will be on the bottom line. Use the instructions on page 5 for editing character data. Any changes will automatically be copied to all EXIT other LCD keypads in the system. -
Page 11: Fset Keypad Number And Partition
KEYPAD FEATURES NOT USED SILENT KEYPAD? Enable Silent Keypad Option. If enabled, only the entry/exit and sounder chime are silenced. DING DONG CHIME? Enable Ding Dong Sound for Chime. If off, chime will be a single tone. (Refer to NX control panel installation manual, location 40) 5 SEC. -
Page 12: Keypad Functions
7. KEYPAD FUNCTIONS 7a. READING THE EVENT LOG The control panel has an event log that can be retrieved using a master code. This log contains a listing of the last 185 events along with date, time, and partition where the event occurred. ACTION RESULT Prompts to “Please Enter Your Code". -
Page 13: Set Elapsed Time In Minutes Since Last Autotest
DISPLAY DESCRIPTION Open Open - Reports user number, date, time and partition of opening. Close Close - Reports user number, date, time and partition of closing. Exit Err Exit Error - Entry/Exit zone was faulted at the instant the exit delay expired. Rec Close Recent Close - An alarm occurred within 5 minutes after the control was armed. -
Page 14: Set System Time And Date
7c. SET SYSTEM TIME AND DATE ACTION RESULT Prompts to “Please Enter Your Code". Displays date and time with the current hour [master code] flashing. Scroll to select the proper hour. Advances to the selection for the minutes. Repeat the last two steps until the entire time and date is set. 7d. -
Page 15: Fview Alarm Memory
Press any key to end test. 7i. LIGHT CONTROL FOR X-10 DEVICES When used in conjunction with an X-10 output device such as the NetworX NX-507E, NX-508E, NX-534E or NX-540E, this menu allows the user to control up to ten X-10 devices from each keypad. -
Page 16: Jhouse Codes For X-10 Devices
7j. HOUSE CODES FOR X-10 DEVICES When used in conjunction with an X-10 output device such as the NetworX NX-507E, NX-508E, NX-534E or NX-540E, this menu allows the installer to program the specific X-10 unit and house codes for the ten X-10 devices for this keypad. -
Page 17: Assigning Authority Level
Prompts for a user number. Repeat steps 3 and 4 user code] if another user code needs to be programmed. Keypad will beep 3 times if code is rejected. Exits and saves data. while display is prompting for a user number. 7m. -
Page 18: Reset Function
7n. RESET FUNCTION The system must be disarmed to perform this function. ACTION RESULT The smoke detectors, zone troubles, and zone tampers have now been reset. If the keypad begins beeping, the reset did not execute properly. Enter your code to silence the keypad. Wait a few minutes and repeat step 2 to attempt another reset. -
Page 19: Partitioned Systems Operation
8. PARTITIONED SYSTEMS OPERATION 8a. MASTER MODE The LCD keypad can be programmed to operate all the system partitions simultaneously. To set the multi-partition mode, use the function as described on page 10, and answer "YES" to the question "Master keypad?" 8b. -
Page 20: Displays In The Partitioning Master Mode
8d. DISPLAYS IN THE PARTITIONING MASTER MODE ARMED AND READY STATUS The LCD screen will display the Armed and Ready status of ALL eight (8) partitions if any or all of the areas is armed or not ready. Refer to the following examples: All 8 areas are Ready, and areas 3 and 5 are disarmed. -
Page 21: Service Display
Operating Individual Areas in the Multi-Partition Mode Enter a code that is a valid arm/disarm code for the area you wish to operate. º 12-45-78 Disarm Only the areas authorized by this user code will appear. º --3-56-- To toggle between the armed and disarmed states on an individual area, press [Area Number]. - Page 22 The control attempted to communicate a message to the Control Central Station, but was unsuccessful. Fail to Comm. Control A short to ground has been detected on a control circuit. Ground Fault Control Your system has lost total power and needs the clock reset. Loss of Time Control The main power to your system is not on.
-
Page 23: Maximum Wire Run
Zone A wireless device has a low battery. Press to identify the zone. Low Battery, Press Zone A wireless or multiplexed zone device is not reporting to the Lost, Press r control. Press to identify the zone. Zone A zone is experiencing some form of trouble (probably wiring). Trouble, Press r Press to identify the zone. -
Page 24: Specifications
32 to 120 degrees F CURRENT DRAW 110 mA Maximum 75 mA without Sounder LCD KEYPAD DIMENSIONS 6.4" Wide 5.3" High 1.0" Deep SHIPPING WEIGHT 2 lbs. COMPATIBLE NETWORX CONTROL PANELS NX-4 NX-6 NX-8 NX-8-CF NX-4V2 NX-6V2 NX-8V2 NX-8E-CF Main...