Haier L26F6 Service Manual
Rtd2674s chassis
Hide thumbs
Also See for L26F6:
- Owner's manual (27 pages) ,
- User manual (48 pages) ,
- Owner's manual (55 pages)
Table of Contents
Quick Links
Haier
This service information is designed for experienced repair technicians only and is not designed for use by the general public.
It does not contain warnings or cautions to advise non-technical individuals of potential dangers in attempting to service a product.
Products powered by electricity should be serviced or repaired only by experienced professional technicians. Any attempt to service or repair
the product or products dealt with in this service information by anyone else could result in serious injury or death.
SERVICE MANUAL
WARNING
©
All rights reserved. Unauthorized copying and distribution is a violation of law.
Haier Group
Model No.
RTD267 4S
TV1012S001V0
Order No.
LCD TV
L26F6
L32F6
L42F6
Chassis
Table of Contents

Related Manuals for Haier L26F6


Summary of Contents for Haier L26F6
- Page 1 Haier SERVICE MANUAL TV1012S001V0 Order No. LCD TV L26F6 Model No. L32F6 L42F6 RTD267 4S Chassis WARNING This service information is designed for experienced repair technicians only and is not designed for use by the general public. It does not contain warnings or cautions to advise non-technical individuals of potential dangers in attempting to service a product.
-
Page 2: Table Of Contents
1-4-1. Using icons: ...................7 Chapter 2. Specifi cation 2-1. Specifi cation list ..................8 2-2. External pictures (four faces) ..............9 Chapter 3. Disassemble and Assemble 3-1. L26F6....................15 3-2. L32F6....................17 3-3. L42F6....................19 Chapter 4. Location of Controls and Components 4-1. - Page 3 Service Manual Model No.: Chapter 5. Installation Instructions 5-1. Accessories..................35 5-2. External Equipment Connections ............35 Chapter 6. Operation Instructions 6-1. Get To Know Your TV ................39 6-2. Get To Know Your Remote Control ..........40 Chapter 7. Electrical Parts 7-1.
-
Page 4: Chapter 1.General Information
Service Manual Model No.: Chapter 1.General Information 1-1. Document Information Document format: Adobe PDF Author: Compiler: 1-2. General Guidelines When servicing, observe the original lead dress. If a short circuit is found, replace all parts which have been overheated or damaged by the short circuit. After servicing, see to it that all the protective devices such as insulation barriers, insulation papers shields are properly installed. -
Page 5: About Lead Free Solder (Pbf)
Service Manual Model No.: Some semiconductor (solid state) devices can be damaged easily by static electricity. Such components commonly are called Electrostatically Sensitive (ES) Devices. The following techniques should be used to help reduce the incidence of component damage caused by electros static discharge (ESD). - Page 6 Service Manual Model No.: 1. Always unplug the receiver AC power cord from the AC power source before: a. Removing or reinstalling any component, circuit board module or any other receiver assembly. b. Disconnecting or reconnecting any receiver electrical plug or other electrical connection. c.
-
Page 7: Ordering Spare Parts
Service Manual Model No.: 12. Use only a grounded-tip soldering iron to solder or unsolder ES devices. 13. Use only an anti-static type solder removal device. Some solder removal devices not classifi ed as "anti-static" can generate electrical charges suffi cient to damage ES devices. 14. -
Page 8: How To Read This Service Manual
Service Manual Model No.: 1-4. How to Read this Service Manual 1-4-1. Using icons: Icons are used to attract the attention of the reader to specific information. The meaning of each icon is described in the table below: Note: A “note” provides information that is not indispensable, but may nevertheless be valuable to the reader, such as tips and tricks. -
Page 9: Chapter 2. Specifi Cation
Service Manual Model No.: Chapter 2. Specifi cation 2-1. Specifi cation list... -
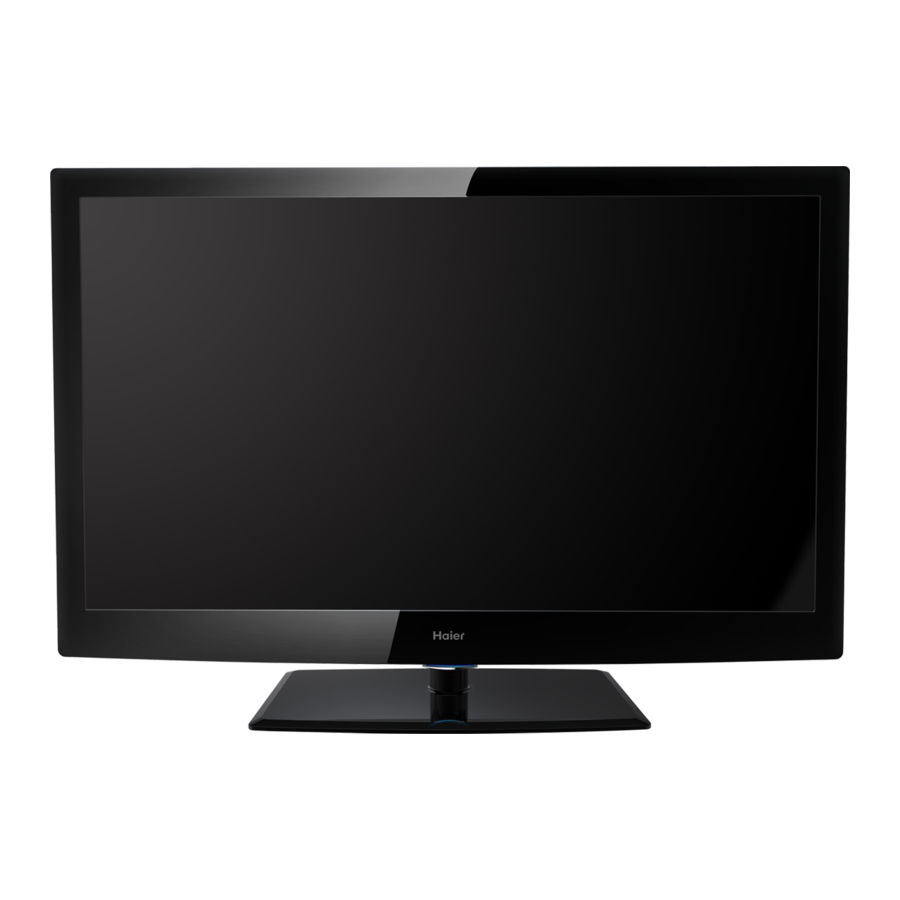
Page 10: External Pictures (Four Faces)
Service Manual Model No.: 2-2. External pictures (four faces) L26F6 2-2-1 Front Side Left Side... - Page 11 Service Manual Model No.: Right Side Back Side...
-
Page 12: L32F6
Service Manual Model No.: 2-2-2 L32F6 Front Side Left Side... - Page 13 Service Manual Model No.: Right Side Back Side...
- Page 14 Service Manual Model No.: 2-2-3 L42F6 Front Side Left Side...
- Page 15 Service Manual Model No.: Right Side Back Side...
- Page 16 Service Manual Model No.: Chapter 3. Disassemble and Assemble 3-1. L26F6 3-1-1. Remove the Stand 3-1-3. Remove the mainboard power supply 3-1-4. Remove the 3-1-2. Remove the Back Cover...
- Page 17 Service Manual Model No.: 3-1-5. Remove the Speaker Take out the speaker directly. 3-1-6. Remove the remote control 3-1-7. Remove the O rnamental Assembly 3-1-8. Remove screws fastened the Panel...
- Page 18 Service Manual Model No.: 3-2. L32F6 3-2-1. Remove the Stand 3-2-3. Remove the mainboard and bracket of Side AV 3-2-2. Remove the Back Cover 3-2-4. Remove the power supply...
- Page 19 Service Manual Model No.: 3-2-8. Remove the Panel 3-2-5. Remove the Speaker Take out the speaker directly. 3-2-6. Remove the remote control 3-2-7. Remove the O rnamental Assembly...
-
Page 20: L42F6
Service Manual Model No.: 3-3. 3-3-1. Remove the Stand 3-3-3. Remove the mainboard and bracket of Side AV 3-3-4. Remove the power supply 3-3-2. Remove the Back Cover... - Page 21 Service Manual Model No.: 3-3-8. Remove the O rnamental Light Assembly 3-3-5. Remove the Speaker 3-3-9. Remove the panel bracket 3-3-6. Remove the remote control 3-3-7. Remove the Metal connecting board...
-
Page 22: Chapter 4. Location Of Controls And Components
Service Manual Model No.: Chapter 4. Location of Controls and Components 4-1. Board Location 4-1-1. L26F6 Parts number Description A Board B Board 0094001125 DE LCD Panel C Board Power Supply L32F6 4-1-2. Parts number Description A Board 0094001236DC LCD Panel... - Page 23 Service Manual Model No.: L42F6 4-1-3. Parts number Description A Board 0094001165DE LCD Panel B Board Power Supply 0094001757 C Board DC1C50E0400M...
-
Page 24: Main Board & Av Board
Service Manual Model No.: 4-2.Mainboard 4-2-1. Function Description: Process signal which incept from exterior equipment then translate into signal that panel can display. 4-2-2.Connector definition 4-2-2-1.Mainboard of L26F6 L32F6 CN23 CN26 CN18 CN27 CN21 CN22 CN25 CN24 4-2-2-2.Connector definition Power connectors (CN18) - Page 25 Service Manual Model No.: Back light connectors (CN23) Description Pin number Signal name Back light adjust PBON Back light ON/OFF Power of audio anplifier connector (CN27) Pin number Description Signal name Speaker connector (CN26) Pin number Signal name Description Left of audio Left of audio Right of audio Right of audio...
- Page 26 Service Manual Model No.: LVDS Connector (CN21) Pin number Pin number Description Description Signal name Signal name ODSEL2 ODSEL2 ODSEL1 ODSEL1 PNL_SDA PNL_SDA PNL_CLK PNL_CLK BRI_IN BRI_IN PB-ADJUST PB-ADJUST LVDS Connector (CN22) Pin number Pin number Description Description Signal name Signal name...
-
Page 27: Connector Defi Nition
Service Manual Model No.: 4-3. Power Supply Board 4-3-1. Function description: To supply power for Mainboard, Panel. 4-3-2. Connector defi nition: 4-3-2-1.L26F6 Signal name Pin number Pin number Signal name Pin number Signal name PS_ON +12V +12V Pin number Pin number... - Page 28 Service Manual Model No.: 4-3-2-2.L32F6 PIN NUMBER DESIGNATION 5VSTB V-IPWM BL-ON V-EPWM Signal name Pin number Pin number Signal name...
- Page 29 Service Manual Model No.: 4-3-2-3.L42F6 Pin number Signal name Pin number Signal name DC-DIMMING BL-ON/OFF PWM-DIMMING STATUS Pin number Signal name Pin number Signal name P-ON/OFF DC-DIMMING PWM-DIMMING BL-ON/OFF STATUS...
-
Page 30: Lcd Panel
Service Manual Model No.: 4-4.LCD Panel 4-4-1. Function Description: Display the signal. 4-4-2. Connector defi nition 4-4-2-1.L26F6 LCD connector: CN1: Starconn 093G30-B0001A-1 Mating connector: 6\PERO Description Power Supply, +12V DC Regulated Power Supply, +12V DC Regulated Power Supply, +12V DC Regulated... - Page 31 Service Manual Model No.: Inverter Connector: CI0114M1HRL-NH (Cvilux) Symbol Description VDDB Operating Voltage Supply, +24V DC regulated VDDB Operating Voltage Supply, +24V DC regulated VDDB Operating Voltage Supply, +24V DC regulated VDDB Operating Voltage Supply, +24V DC regulated VDDB Operating Voltage Supply, +24V DC regulated BLGND Ground and Current Return BLGND...
- Page 32 Service Manual Model No.: 4-4-2-2.L32F6 AU T315XW03 V5 BACKLIGHT CONNECTOR PIN CONFIGURATION : Description Unit Condition/Note 1. Dimming range is set 100% 2. Base on lamp specification, for each 1 Operating Voltage Vrms lamp need to be applied at least minimum operating voltage to ensure each lamp can be normally worked! 1.
- Page 33 Service Manual Model No.: LVDS: Connector on Panel: 093G30-B0001A-1 (Manufactured by Pin No Symbol Description Default +12V, DC, Regulated +12V, DC, Regulated +12V, DC, Regulated +12V, DC, Regulated Ground and Signal Return Ground and Signal Return Ground and Signal Return Ground and Signal Return LVDS Option Low/Open for Normal (NS), High for JEIDA NS mode...
- Page 34 Service Manual Model No.: 4-4-2-3.L42F6 VER ER Symbol Description VDDB (Main Power) DV input 24.0 VDC VDDB (Main Power) DV input 24.0 VDC VDDB (Main Power) DV input 24.0 VDC VDDB (Main Power) DV input 24.0 VDC VDDB (Main Power) DV input 24.0 VDC Ground Ground...
- Page 35 Service Manual Model No.: P-TWO 187059-5122 which is compatible FI-RE51S-HF (JAE) No Symbol Description No Symbol Description 1 GND Ground 27 GND Ground 2 NC No connection 28 RE0N SECOND CHANNEL 0- 3 NC No connection 29 RE0P SECOND CHANNEL 0+ 4 NC No connection 30 RE1N...
-
Page 36: Chapter 5. Installation Instructions
Service Manual Model No.: Chapter 5. Installation Instructions 5-1. Accessories P.MODE S.MODE P.SIZE MTS/SAP DISPLAY INPUT RECALL MENU MUTE VOL- VOL+ H.LOCK SLEEP STOP PLAY/PAUSE BACK FREEZE ZOOM FAVORITE 5-2. External Equipment Connections ANT. -
Page 37: Choose Your Connection
Service Manual Model No.: Choose Your Connection select the source, press the button to confirm. There are several ways to connect your television, DVD Setup depending on the components you want to connect and the quality of the signal you want to achieve. The following are examples of someways to connect your TV. -
Page 38: Monitor Out Setup
Service Manual Model No.: available. Then, make the corresponding audio connections. How to use Pb/Cb Pr/Cr L-AUDIO-R VGA/DVI AUDIO Turn on the digital set-top box. (Refer to the owner’s manual for the digital set-top box.) VIDEO L-AUDIO-R VIDEO L-AUDIO-R INPUT on the remote contralto select PC or HDMI (Y, P ) mode. -
Page 39: Power Source
Service Manual Model No.: ❏ When connecting with external audio equipments, such as amplifiers or speakers, please turn the TV speakers off. Power source TO USE AC POWER SOURCE Use the AC polarized line cord provided for operation on AC. Insert the AC cord plug into a standard polarized AC outlet. -
Page 40: Chapter 6. Operation Instructions
Service Manual Model No.: Chapter 6. Operation Instructions 6-1. Get to know your TV Panel Control and Rear Terminals Control - This is a simplified representation of front panel. - Here shown may be somewhat different from your TV. Panel Control Rear Terminals Control GOMPONENY PC AUDIO... -
Page 41: Get To Know Your Remote Control
Service Manual Model No.: 6-2. Get to know your remote control Remote Control Function - The remote control cannot be operated unless the batteries are properly loaded. - When using the remote control, aim it at the remote control sensor on the TV. Function introduction 1 Picture Mode Press this key continuously to select the picture mode. -
Page 42: Chapter 7. Electrical Parts
Service Manual Model No.: Chapter 7. Electrical Parts 7-1. Block Diagram... -
Page 43: Circuit Diagram
Service Manual Model No.: 7-2. Circuit Diagram... - Page 44 Service Manual Model No.:...
- Page 45 Service Manual Model No.:...
- Page 46 Service Manual Model No.:...
- Page 47 Service Manual Model No.:...
- Page 48 Service Manual Model No.: R192 NC/5.6k R192 NC/5.6k...
- Page 49 Service Manual Model No.:...
- Page 50 Service Manual Model No.:...
- Page 51 Service Manual Model No.:...
- Page 52 Service Manual Model No.:...
- Page 53 Service Manual Model No.:...
-
Page 54: Wiring Connection Diagram
Service Manual Model No.: 7-3. Wiring Connection Diagram Name Parts number 0090402070A LVDS Wire 0090403469E Cable(Power For Mainboard) 0090403399C Cable(Power For Audio Amplifier) 0090400647D Cable(For Speaker) 0090402849A Cable(For Keyboard) 0090401643B Cable(For Remote) 0090402054A Cable(For Backlight) 0090402750B Cable(For Ornamental Light) Name Parts number 0090402070B LVDS Cable... - Page 55 Service Manual Model No.: Name Parts number 0090402724B LVDS Cable 0090402862B Cable(For Back Light) Cable(Power For Mainboard) 0090401752C Cable(For Speaker) 0090402849B Cable(For Keypad) Cable(For Remote) 0090402750B Cable(For Ornamental Light)
-
Page 56: Chapter 8. Measurements And Adjustments
Service Manual Model No.: Chapter 8. Measurements and Adjustments 8-1. Service Mode 8-1-1.How to enter into Service Mode The way to the factory mode menu: 1st, press menu, 2en, input 8893, Finished these operations ,system will be into the factory mode menu. At the end of the main factory menu, you can see the edition of the software, like this”... -
Page 57: Video
Service Manual Service M Model No.: 8-2-2. Video Color Temperature This page is control the Color Temperature, like normal,warm,cool. Picture Mode This page is control the picture effect , like B rightness,contrast,color,sharpness. -
Page 58: Audio
Service Manual Model No.: 8-2-3. Audio This page is control the sound effect ,... -
Page 59: Chapter 9. Trouble Shooting
Service Manual Model No.: Chapter 9. Trouble shooting 9-1. Simple check Verify if the television is properly plugged Verify if the television is properly supplied power No picture/ No sound Verify if electricity is available. Verify if correct signals are input Press INPUT button to change signal input to TV input Blank screen Restart the television of power supply is interrupted... -
Page 60: Power Supply Board Failure Check
Service Manual Model No.: 9-2. Power Supply Board Failure Check. State:No picture First,check cables which connect with PSU,then check as follows Check input voltage voltage: +5VSB----POWER ON(2.6V) -----+12V TP55 TP55 STB5V H7-25A H7-25A CN18 CN18 P_ON/OFF TP56 TP56 STB5V PW_SAVE_LV1 2N3904 2N3904 4.7K... -
Page 61: Mainboard Failure Check
Service Manual Model No.: 9-3. Mainboard Failure Check Symptom: No Sound No Sound (All Mode) Fail Check the input Change Source input Source Pass Fail Pass Fail Pass Fail Pass... -
Page 62: Pannel Failure
Service Manual Model No.: 9-4. Pannel Failure Failure Mode... - Page 63 Service Manual Model No.:...
- Page 64 Service Manual Model No.:...
- Page 65 Service Manual Model No.:...
- Page 66 Service Manual Model No.:...
- Page 67 Sincere Forever Haier Group Haier Industrial Park, No.1, Haier Road 266101, Qingdao, China http://www.haier.com Printed in China...