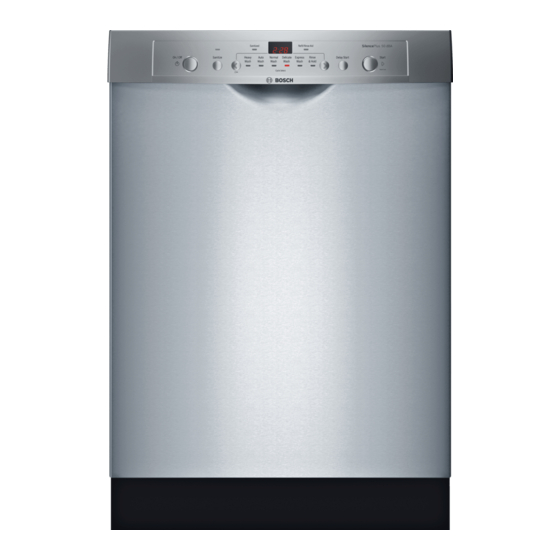
Summary of Contents for Bosch SHE3ARF5UC/08
- Page 1 Dishwasher Installation Instructions Instructions d'lnstallation de Lave-vaisselle Instrucciones de Instalaci6n de Lavava'illas 9000633142...
- Page 2 Instrucciones Importantes R_gles importantes de sdcuritd Seguridad-Guarde esta Important Saftey Instructions Informaci6n Conserver ces Instructions Save This Information Para evitar posible lesi6n o da_o en su To avoid possible injury or property damage, Afin d'_viter d'_ventuelles blessures propiedad, OBSERVE TODAS LAS ADVER- OBSERVE ALL WARNINGS AND CAUTIONS.
- Page 3 Avoiding General Hazards dishwasher until completely Before filling a dishwasher from a system that has been installed. When opening the door on an uninstalled dish- off for weeks, run the water from a nearby faucet in a well ventilated area until there is no sound or evidence washer, carefully open the door while...
- Page 4 Risques d'ordre gdndral Ne pas utiliser le lave-vaisselle avant que I'installation hydrog_ne est un gaz explosif. Avant de refaire fonction- ne soit compl_tement termin_e. Pour ouvrir la porte ner le lave-vaisselle apr_s une Iongue periode, faire d'un lave-vaisselle encore non installS, il faut le faire soi- couler I'eau du robinet le plus proche...
- Page 5 Peligros Generales No utilice el lavaplatos antes de que est_ totalmente sivo. Antes de Ilenar un lavaplatos con un sistema que instalado. Cuando abra la puerta del lavaplatos antes de ha estado apagado semanas, abra el agua de un set instalado, h_igalo cuidadosamente mientras detiene...
- Page 6 Materials Supplied / Matdriel Fourni / Materiales Provistos I-IC DE @ IW==m_w_ uF@_ I--IG...
- Page 7 Tools Needed / Outils Ndcessaires / Herramientas Necesarias...
- Page 8 Materials Needed / Matdriel Ndcessaires / Materiales Necesarios Electrical Supply Cable - Minimum #14 AWG, 2 conductor, 1 ground, insulated copper conductors rated 75°C (167°F) or higher. C_ble d'alimentation _lectrique - Minimum n° 14 AWG, 2 conducteurs, 1 mise A la terre, conducteur en cuivre isol_ cot_ 75°C (167°F) ou plus.
- Page 9 IMPORTANT! Before you begin, you must read the safety instructions on the reverse of this sheet. PRE-INSTALL CHECKLIST D Unpack unit. Retain packing material until successful installation is complete. BRemove all packing material from inside the dishwasher. [] Inspect parts to ensure you have all the necessary materials.
- Page 10 "235/8" (600 mm) with side strips removed. 235/8" (600 mm) avec les bandes lat_rales enlev_es. 235/8" (600 mm) con tiras de lado quit& Minimum hole size for drain hose is Minimum hole size if 11/2" . drain hose and inlet hose are through same hole is 2". El tama_o minimo del agujero para la manga de desagOe es 11/2"...
- Page 11 Attach 90 ° elbow joint to dishwasher oriented as shown, using thread seal tape when required. Do not over-tighten. Fixer le raccord coude 90 ° au lave-vaisselle en I'orientant comme indiqu_ sur le schema ; si cela est n_cessaire, utiliser ruban scellant.
- Page 12 ® Strip outer casing of electrical wire to expose 3" (76 mm) of the inner wires. Then strip 1/2" (13 mm) casing from each individual wire.* D_nuder le cable _lectrique de 3 po (76 mm) afin de faire appa- raftre les ills _lectriques int_rieurs.
- Page 13 Flip unit back upright, ensuring water line is not pinched. Faire basculer lave-vaisselle vers I'avant pour qu'il soit a nouveau d_bout en s'assurant, d'une part, que le tuyau d'alimentation d'eau ne soit pas _cras_ et, d'autre part. Levante la unidad, asegurandose de que la linea del agua de que no se pellizque.
- Page 14 Pre-level unit before positioning under counter by turning feet clockwise to raise or counter- clockwise to lower. Maximum height the unit can be raised with feet fully extended is 34.5". Once the unit is at a satisfactory height, insert leg leveler locking screw (part F) in back foot.
- Page 15 Attach the strain relief (not included) to the strain relief plate. The two screws on the back of the strain relief should positioned as shown to prevent interferences during assembly. Tighten the strain relief lock nut to prevent the strain relief from turning.
- Page 16 Place the assembled strain relief plate back into the junction box and re-attach the screw. Make sure the tab on the right side of the strain relief plate is outside the junction box as you slide it into place. Replacer alors la plaque du r_ducteur de tension...
- Page 17 Replace junction box cover. Make sure the cover is seated behind the front lip of the strain relief plate. Attach the cover with the screw (part E) from the installation kit. Replacer le couvercle de la bofte de jonction. S'assurer qu'il soit bien plac_ derriere la face avant de la plaque du r_ducteur...
- Page 18 If your countertop is stone, detach mounting brackets (A) from the top and position them at either points on the side. Insert screw (B) through pre-positioned brackets on each side of the unit and attach the brackets. Si votre comptoir est en pierre, d@acher les supports...
- Page 19 Route drain hose to household plumbing. Note: Plumbing installations will vary - refer to local codes. Always include a Loop in the Drain Hose proper function - Height loop -[Min. 20"(51cm) - Max. 43"(109cm)] / Length of Drain Hose included on Dishwasher 92"...
- Page 20 Attach water line to incoming hot water shut off valve. Turn on water and check for leaks. Turn power back on at fuse box. Start washer, listen for water and pump for water distribution. Press Cancel/Reset to drain and check for leaks. Relier le tuyau d'alimentation en eau a la valve d'arriv_e d'eau...
- Page 21 Servicio al Cliente Customer Service Service _ la Clientele Your dishwasher requires no special care Ce lave-vaisselle ne requiert aucun Su lavavajillas no requiere atenci6n especial other than that described in the Care and entretien special autre que ce qui est diferente del que se describe en la secci6n...


