
Related Manuals for Emerson NR101TT


Summary of Contents for Emerson NR101TT
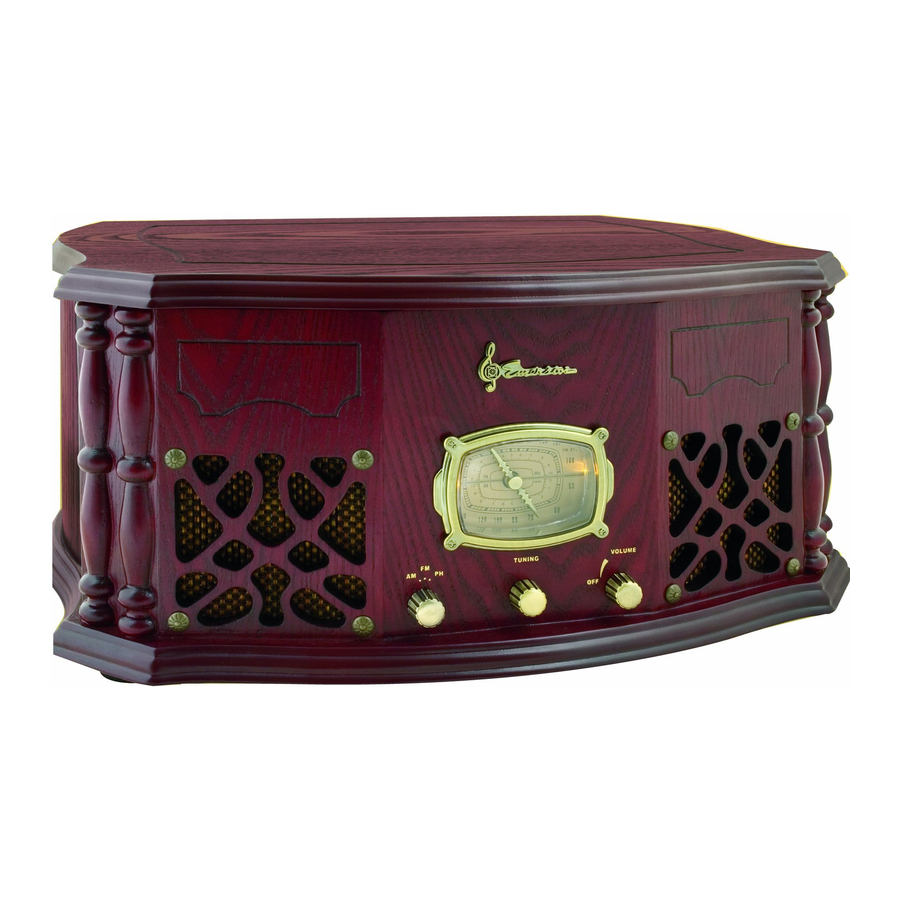
- Page 1 Home Stereo System with AM/FM Stereo Radio, and Full Size Stereo Phonograph OWNER'S MANUAL NR101TT Visit our web site at www.emersonradio.com NR101TT_072507.p65 25/7/2007, 9:53...
-
Page 2: Important Safety Instructions
TO PREVENT FIRE OR SHOCK HAZARD, DO NOT USE THIS PLUG WITH AN EXTENSION CORD, RECEPTACLE OR OTHER OUTLET UNLESS THE BLADES CAN BE FULLY INSERTED TO PREVENT BLADE EXPOSURE. TO PREVENT FIRE OR SHOCK HAZARD, DO NOT EXPOSE THIS APPLIANCE TO RAIN OR MOISTURE. WARNING: TO REDUCE THE The lightning flash with arrow- head symbol, within an equi-... - Page 3 Thank you… … … … for purchasing this Emerson Heritage Series home stereo system. Inside this beautiful real wood veneer cabinet you will find a state of the art audio system that includes a stereo radio, and a full-size, 3-speed stereo phonograph, and matching wide range stereo speakers.
-
Page 4: Important Notes
IMPORTANT NOTES • Avoid installing this unit in places exposed to direct sunlight or close to heat radiating appliances such as electric heaters , on top of other equipment that radiates too much heat, places lacking ventilation or dusty areas, places subject to constant vibration and/ or humid or moist areas. -
Page 5: Preparation For Use
PREPARATION FOR USE Unpacking And Set Up • Carefully remove the unit from the display carton and remove all packing material from the unit. • The FM Antenna is built in the AC power cord. Unwind the AC power cord and extend it to its full length for best FM reception. - Page 6 • Remove the opaque white plastic stylus cover from the phonograph stylus by sliding it in the direction of the arrow. STYLUS COVER Discard the stylus cover. • Remove the twist-tie that was used to secure the tone arm during shipment. •...
-
Page 7: Power Source
Power Source This product is designed to operate on normal 120V 60Hz AC only. Attempting to operate this system from any other power source may cause damage to the system, and such damage is not covered by your warranty. Note: You will note that this system is equipped with a polarized AC power plug having one blade wider than the other. -
Page 8: Location Of Controls And Indicators
LOCATION OF CONTROLS AND INDICATORS Front Panel 1.) AM/FM Radio Dial Scale. 2.) Speakers. 3.) Turntable. 4.) Phonograph Lid Support Bracket. 5.) Phonograph Lid. 6.) Tone Arm. 7.) FM ST. Indicator. 8.) Power On/OFF-VOLUME Control. 9.) TUNING Control. 10.) AM/FM/PHONO Selector Switch. NR101TT_072507.p65 25/7/2007, 10:18... -
Page 9: Back Panel
Back Panel 11.) AC Power Cord. 12.) LINE OUT R/L Jacks. 13.) PHONES (Headphone) Jack. Phonograph 1.) Turntable. 2.) 45 rpm Adapter. 3.) Transit Screw. 4.) Cue Lever. 5.) Speed Selector (33/45/78 rpm) 6.) Tone Arm Lock. 7.) Tone Arm with Stylus. NR101TT_072507.p65 P H O N E S 25/7/2007, 10:18... -
Page 10: Listening To The Radio
OPERATING INSTRUCTIONS Listening To The Radio 1.) To turn the system ‘ On’ , rotate the OFF-VOLUME control clockwise until a ‘ click’ is heard, and set the Volume to a low level. 2.) Set the function selector (AM/FM/PHONO) to the AM or FM band as desired. The dial scale light comes ‘... -
Page 11: Playing Records
Playing Records IMPORTANT!! • T O P R O T E C T T H E T U R N T A B L E F R O M D A M A G E D U R I N G TRANSPORTATION, A SILVER TRANSIT SCREW IS LOCATED AT THE UPPER RIGHT CORNER OF THE TURNTABLE PLATFORM. - Page 12 Playing Records This system includes a full-size, 3-speed, belt-drive turntable. You can play 33, 45, and 78 rpm records. 1.) Turn the OFF-VOLUME control clockwise until a ‘ click’ is heard, and set the Volume to a low level. 2.) Set the function (AM/FM/PHONO) selector to the PHONO position. 3.) Make sure that you have removed the stylus cover from the stylus and have released the Tone Arm Lock that secured the tone arm to the tone arm rest.
- Page 13 LINE OUT R/L Jacks This system includes a set of LINE OUT R/L jacks which allow you to record from the Radio or Phonograph of this system to an external recording device such as a cassette recorder, Mini-Disc, etc. Connect the LINE OUT R/L jacks of this system to the Record Input jacks of your external recording device.
-
Page 14: Care And Maintenance
FOR CUSTOMER SERVICE,PLEASE WRITE TO: NR101TT_072507.p65 TO FIND THE LOCATION AND PHONE NUMBER OF YOUR NEAREST SERVICE CENTER PERMITTED TO PERFORM WARRANTY... 1-800-695-0098 PLEASE CALL: 1-800-898-9020 Emerson Radio Corp., Consumer Affairs Dept., 5101 Statesman Drive, Irving, TX 75063. 25/7/2007, 10:18... -
Page 15: Limited Warranty
Please call the Emerson Customer Service Hotline toll free at 1-800-898-9020. We will diagnose the problem and instruct you how to have your system repaired or replaced, at our discretion. - Page 16 EMERSON Part No. 16-2995 Printed in China 707-02 NR101TT_072507.p65 25/7/2007, 10:18...