Zircon MultiScanner Pro SL - Wall Scanner Manual
- Quick start manual (4 pages)
- 1 Introduction
- 2 MODE SELECTION
- 3 IMPORTANT OPERATING TIPS
- 4 SCANNING IN STUD SCAN OR DEEPSCAN MODE
- 5 SCANNING IN METAL OR AC MODE
- 6 OPERATING CAUTIONS
- 7 CHANGING THE BATTERY
-
8
HELPFUL HINTS
- 8.1 Display indicates "Restart at New Location"
- 8.2 Working in DeepScan mode and can't detect studs
- 8.3 Center arrow doesn't appear on LCD
- 8.4 Difficulty detecting metal
- 8.5 Image of metal object appears wider than actual size
- 8.6 Constant readings of studs near windows and doors
- 8.7 You suspect electrical wires, but do not detect any
- 9 Documents / Resources
Introduction
The Wall Scanner and MultiScanner® scanners use four different scanning modes to detect studs, metal, and hot unshielded AC wiring up to 11⁄2 in. (38 mm) deep behind walls, floors, and ceilings. It also detects rebar in concrete. Wall Scanner and MultiScanner® Pro SL also features the SpotLite® Pointing System, which automatically displays a beam of light over the edge of a stud or near metal/AC.

U.S. Patents 4099118, 4464622, 5352974, 5619128, 6023159, and 6259241
U.S. Design Patent D427166
Canada Patents 1106932, 2141553, and 2341385
G.B Patents 2117909B, and 2159630B
Japan Patent 3581851, and Patents Pending
P/N 62117 Rev A 12/06
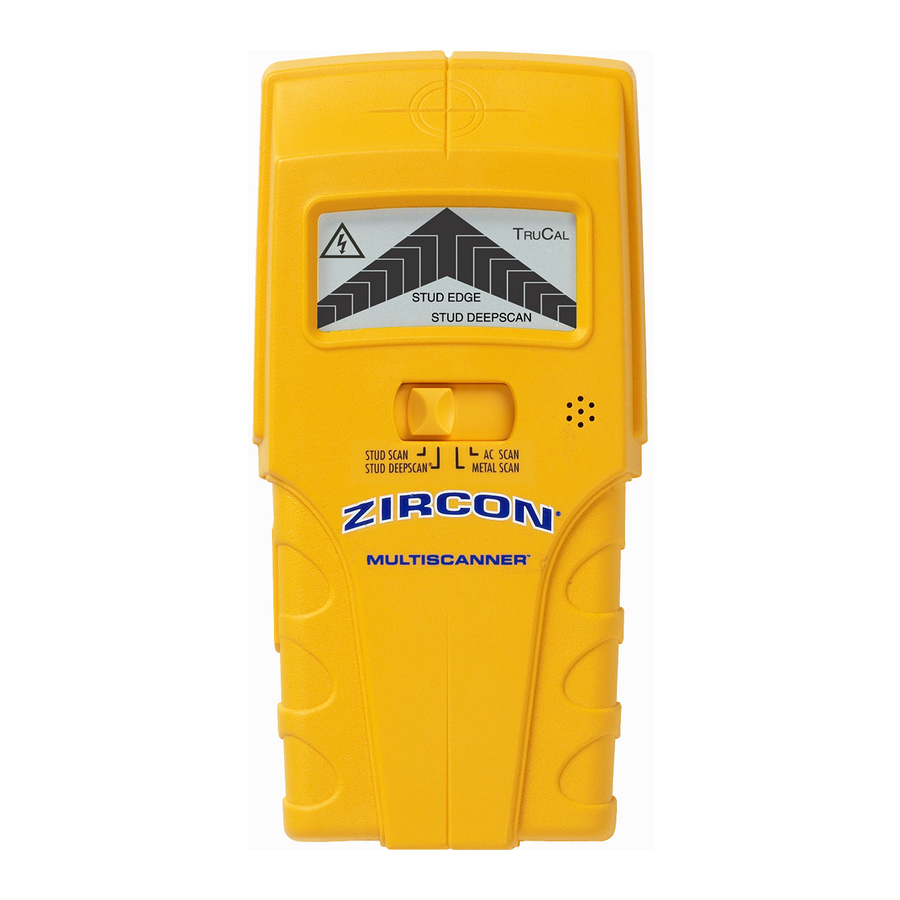
MODE SELECTION
- When looking for studs, always start with the scanner in Stud Scan mode, which scans through surfaces up to 3 ⁄ 4 inch thick.
- DeepScan ® mode should only be selected if you know the surface is built-up and thicker than normal construction. You should always scan the area in Stud Scan mode first, to verify that DeepScan is needed. DeepScan is for depths between 3 ⁄ inch and 1 1 ⁄ 4 2 inches.
- When scanning for metal pipes or rebar, select Metal Scan mode.
- When scanning for electrical wires, select AC Scan mode.
IMPORTANT OPERATING TIPS
PLEASE READ CAREFULLY
- Tool Position. For proper use, always place scanner flat against the surface before turning on power.
- Power. Depress and hold in the power button continuously while in use.
- Calibration. Place unit flat on wall. Press and hold the power button. Do not move the unit until calibration is complete (1-2 seconds). When calibration is complete, the TruCal ® indicator will appear on the screen.
- Operation. Move the unit slowly, while keeping it flat against the wall. Do not rock, tilt, or lift it.
- If you calibrate over a stud in DeepScan mode, you probably will not detect any studs. Move the unit a few inches right or left, release the power button, and start over.
SCANNING IN STUD SCAN OR DEEPSCAN® MODE
After calibrating (see number 2 ), continue to hold the power button and slowly slide the unit across the surface. When full arrow appears on the LCD and steady tone sounds, you have located the edge of the stud. Mark this spot (see illustrations below). On the Wall Scanner and Pro SL version, the SpotLite® Pointing System will also shine a beam of light at the stud edge.
Continue holding power button in and scan beyond the marked spot until arrow bars disappear.
Without releasing power button, slide unit in reverse direciton to locate the other edge of stud. Mark this second spot. Middle of stud is centered between the two marks.
Note: DeepScan may report other things besides studs. Please see numbers 5 and 7

SCANNING IN METAL OR AC MODE
Select mode. After calibrating (see number 2 ), continue to hold the power button and slowly slide the unit across the surface. Mark the spot where the display bars peak and a steady tone sounds. On the Wall Scanner and Pro SL model the SpotLite will also shine a beam of light. Continue in the same direction until display bars disappear.
Reverse direction and mark the spot where the display bars peak from that direction. The midpoint of the two marks is the approximate center of the object.
In Metal Scan mode, if you calibrate directly over metal, you probably will not detect any metal. Move the unit a few inches right or left, release the power button, and start over.
In AC Scan mode, if you calibrate over AC voltage, the unit will automatically recalibrate when you move it. automatically recalibrate when you move it.
AC WireWarning™
For your safety AC WireWarning™ works continuously in all modes. When AC voltage is detected, the AC Alert warning icon will be displayed on the screen.

Wires deeper than 2 in. (51 mm), in conduit, or behind plywood shearwall may not be detected. Use extreme caution under these circumstances or whenever hot AC wires are present. Always turn off power when working near electrical wires.

OPERATING CAUTIONS
Depending on the proximity of electrical wiring or pipes to the wall surface, the Wall Scanner may detect them in the same manner as studs, especially in DeepScan mode. Caution should always be used when nailing, sawing, or drilling into walls, floors, and ceilings that may contain these items. Because of its increased sensitivity, DeepScan mode may also detect other things in walls that are not studs.
To avoid surprises, remember that studs or joists are normally spaced 16 in.
(406 mm) or 24 in. (610 mm) apart and are 11⁄2 in. (38 mm) in width. Anything closer together or a different width may not be a stud, joist, or firebreak. Always turn off the power when working near electrical wires.
Working With Different Materials
- Wallpaper: The Wall Scanner functions normally on walls covered with wallpaper or fabric, unless the materials are metallic foil, contain metallic fibers, or are still wet after application.
- Lath & plaster: Due to irregularities in plaster thickness, it is difficult for the Wall Scanner to locate studs in Stud Scan mode. Change to Metal mode to locate nail heads holding laths to studs. If plaster has metal mesh reinforcement, the Wall Scanner will be unable to detect anything through that material.
- Textured walls or acoustic ceilings: When scanning a ceiling or wall with an uneven surface, place thin cardboard on ceiling or wall and scan over the cardboard using DeepScan mode. Calibrate with cardboard in place.
- Wood flooring, subflooring, or gypsum drywall over plywood sheathing: use DeepScan mode.
- Wall Scanner cannot scan for wood studs and joists through ceramic floor tile or carpeting and pad.
- In problem situations, try using Metal Scan to locate nails or drywall screws that line up vertically where a stud is positioned.
Note: Sensing depth and accuracy can vary due to moisture content of materials, wall texture, and paint.
CHANGING THE BATTERY
Press battery door release down with your finger or a coin and remove door.
Connect 9-V battery to cable and place inside.
Replace battery door and snap shut. Battery will last approximately 2 years under normal conditions.

FCC Part 15 Class B Registration Warning

This equipment has been tested and found to comply with the limits for a Class B digital device, pursuant to Part 15 of FCC Rules. These limits are designed to provide reasonable protection against harmful interference when the equipment is operated in a residential installation. This equipment generates, uses, and can radiate radio frequency energy and, if not installed and used in accordance with the instructions, may cause harmful interference to radio communications. However, there is no guarantee that interference will not occur in a particular installation. If this equipment does cause harmful interference to radio or television reception, which can be determined by turning the equipment off and on, the user is encouraged to try to correct the interference by one or more of the following measures:
- Reorient or relocate the receiving antenna.
- Increase the separation between the equipment and receiver.
- Connect the equipment into an outlet on a circuit, different from that which the receiver is connected (if applicable).
- Consult the dealer or an experienced radio/TV technician for help.
HELPFUL HINTS
(See also Important Operating Tips)
| Situation | Probable Causes | Solutions |
| Not certain the object found is a stud in DeepScan mode. |
|
|
Display indicates "Restart at New Location" |
|
|
Working in DeepScan mode and can't detect studs |
|
|
| Detects other objects besides studs in Stud Scan and DeepScan modes. |
|
|
| Area of voltage appears much larger than actual wire. (AC only) |
|
|
Center arrow doesn't appear on LCD |
|
|
Difficulty detecting metal |
|
|
Image of metal object appears wider than actual size |
|
|
Constant readings of studs near windows and doors |
|
|
You suspect electrical wires, but do not detect any |
|
|
Documents / ResourcesDownload manual
Here you can download full pdf version of manual, it may contain additional safety instructions, warranty information, FCC rules, etc.
Thank you! Your question has been received!


Need Assistance?
Do you have a question about the MultiScanner that isn't answered in the manual? Leave your question here.