Quick Links
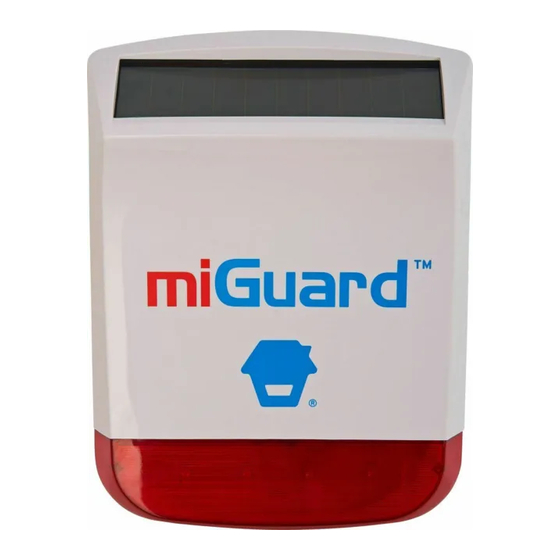
Wireless Dummy Siren
DS26
Instructions
APPEARANCE
FRONT VIEW
Dummy Solar Panel
INSTALLATION
1. Remove the screw from the bottom edge of the
siren housing and remove the cover.
2. Pull out the insulating strip under the battery, the
LED indicator will flash once every 5 seconds.
3. Place the back cover on the wall and mark the positions
of the four mounting holes.
4. Drill four holes and fit the wall plugs.
5. Fit the back cover in position using the fixing screws
supplied.
6. Secure the front cover in place by refitting the screw
on the bottom edge of the cover.
POWER
The batteries in the Wireless Dummy Siren should be replaced every 18 months
LED Indicator
(flashes every 5 seconds)
CONTENTS
1 x Wireless Dummy Siren Unit
2 x 1.5V Alkaline Batteries (pre-installed)
Fixings and Instructions
REAR VIEW
Dummy Anti-tamper
Switch
Dummy Sirens

Summary of Contents for Response Electronics miGuard DS26
- Page 1 Wireless Dummy Siren DS26 CONTENTS Instructions 1 x Wireless Dummy Siren Unit 2 x 1.5V Alkaline Batteries (pre-installed) Fixings and Instructions APPEARANCE FRONT VIEW REAR VIEW Dummy Solar Panel Dummy Anti-tamper Switch Dummy Sirens LED Indicator (flashes every 5 seconds) INSTALLATION 1.
- Page 2 “ whatever your question, we’re just a phone call away “ lines open 0900 to 1700 Monday to Friday www.responseelectronics.com Response Electronics Limited Roman House, Lysons Avenue, Ash Vale, Surrey, GU12 5QF email: [email protected] miGuard is a trademark of Response Electronics Limited © copyright 2014. All rights reserved MGDS26_V1_1444...

