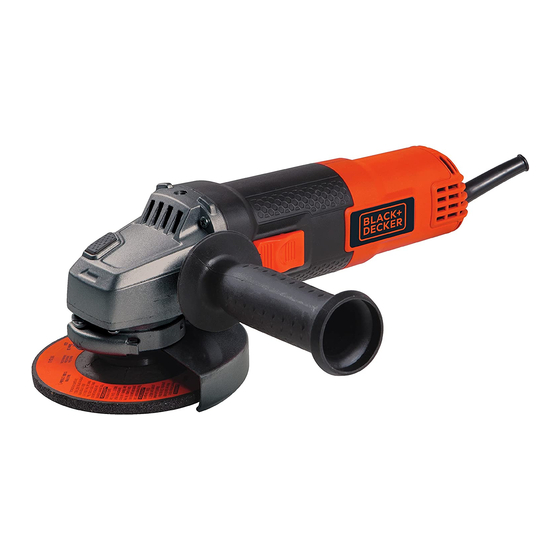
Summary of Contents for Black & Decker BDEG400
- Page 1 4-1/2” (114MM) ANgLe gRINdeR INSTRUCTION MANUAL CATALOg NUMBeR Bdeg400 Thank you for choosing BLACk+deCkeR! PLeASe ReAd BefORe ReTURNINg ThIS PROdUCT fOR ANy ReASON. SAve ThIS MANUAL fOR fUTURe RefeReNCe.
-
Page 2: Safety Guidelines - Definitions
SAfeTy GuIdelINeS - defINITIoNS It is important for you to read and understand this manual. The information it contains relates to protecting youR SAfeTy and PReveNTING PRoBleMS. The symbols below are used to help you recognize this information. dANGeR: Indicates an imminently hazardous situation which, if not avoided, will result in death or serious injury. - Page 3 can be caught in moving parts. or wire brush. Read all safety warnings, instructions, illustrations g) If devices are provided for the and specifications provided with connection of dust extraction and this power tool. Failure to follow all collection facilities, ensure these instructions listed below may result in are connected and properly used.
-
Page 4: Kickback And Related Warnings
generated by various operations. The will be detected. Never start the tool dust mask or respirator must be capable with a person in line with the wheel. of filtrating particles generated by your This includes the operator. t) The arbor size of hubbed wheels, operation. -
Page 5: Safety Warnings Specific For Grinding And Abrasive Cutting- Off Operations
control or kickback. SAFETY WARNINgS SPECIFIC FOR e) do not attach a saw chain WIRE bRUShINg OPERATIONS woodcarving blade or toothed saw a) Be aware that wire bristles are blade. Such blades create frequent thrown by the brush even during kickback and loss of control. -
Page 6: Functional Description
activities. Wear protective clothing draw. An undersized cord will cause and wash exposed areas with soap a drop in line voltage resulting in and water. Allowing dust to get into your loss of power and overheating. The mouth, eyes, or lay on the skin may following table shows the correct size to use depending on cord length and promote absorption of harmful chemicals. - Page 7 The BDEG400 is provided with a guard • Release the guard latch (7). intended for use with most depressed • Rotate the guard clockwise to align the center wheels (Type 27) and hubbed lugs (8) with the notches (9).
-
Page 8: Operation Warning
raised center on the outer flange must face towards the disc (A in fig. c). The raised center on the outer flange must face toward the disc (B in fig. c). • Keep the spindle lock (3) depressed and tighten the outer flange using the two- pin wrench (15) (fig. - Page 9 NoTe: To reduce unexpected tool edGe GRINdING WITh GRINdING WheelS cAuTIoN: movement, do not switch the tool on or off Wheels used for cutting while under load conditions. Allow the grinder and edge grinding may break or kick back to run up to full speed before touching the if they bend or twist while the tool is being work surface.
-
Page 10: Environmental Safety
5. Remove the tool from work surface wire wheels. 5. continuously move the tool in a forward before turning tool off. Allow the tool to and back motion to avoid creating stop rotating before laying it down. gouges in the work surface. Allowing the PRecAuTIoNS To TAke WheN tool to rest on the work surface without SANdING PAINT moving, or moving the tool in a circular motion causes burning and swirling... -
Page 11: Maintenance
used by children should be washed You can also write to us for information at thoroughly before being used again. BlAcK+DEcKER, 701 E. Joppa Road, Towson, Maryland 21286 - Attention: MAINTeNANce Product Service. Be sure to include all of If the replacement of the power supply the information shown on the nameplate cord is necessary, it must be done by an of your tool (model number, type, serial... -
Page 12: Troubleshooting
TRouBleShooTING Problem Possible cause Possible Solution • Unit will not start. • cord not plugged in. • Plug tool into a working outlet. • circuit fuse is blown. • Replace circuit fuse. (If the product repeatedly causes the circuit fuse to blow, discontinue use immediately and have it serviced at a BlAcK+DEcKER service center or authorized servicer.) • circuit breaker is tripped. • Reset circuit breaker. (If the product repeatedly causes the circuit breaker to trip, discontinue use immediately...


