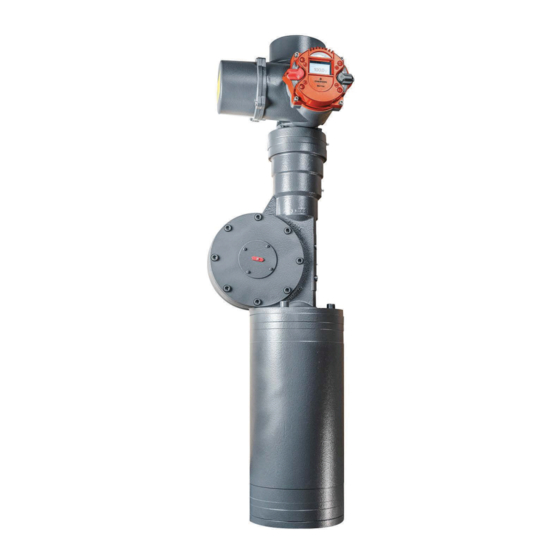
Summary of Contents for Emerson Bettis RP3E
- Page 1 Installation, Operation and Maintenance Manual VCIOM-15746-EN Rev. 0 June 2021 Bettis RTS Relay Board (RP3E) Electric Actuator...
- Page 2 Revision Details Installation, Operation and Maintenance Manual June 2021 VCIOM-15746-EN Rev. 0 Revision Details Date Version Type of Change General update June 2021 (Migration to new template) Revision Details...
-
Page 3: Table Of Contents
Installation, Operation and Maintenance Manual Table of Contents VCIOM-15746-EN Rev. 0 June 2021 Table of Contents Section 1: Tools Tools.........................1 Section 2: Material Material........................2 Section 3: Installation Installation........................3 Section 4: Programming Programming......................8 Table of Contents... - Page 4 Notes Installation, Operation and Maintenance Manual June 2021 VCIOM-15746-EN Rev. 0 This page is intentionally left blank...
-
Page 5: Section 1: Tools
Installation, Operation and Maintenance Manual Section 1: Tools VCIOM-15746-EN Rev. 0 June 2021 Section 1: Tools WARNING Remove all power supplies before doing the exchange. Act always with caution during the exchange! • Needle nose pliers • Screw driver phillips •... -
Page 6: Section 2: Material
Section 2: Material Installation, Operation and Maintenance Manual June 2021 VCIOM-15746-EN Rev. 0 Section 2: Material • 1x relay board RP3E6A (ID:13009) • 1x adapter cable (ID:16504) • 2x steel screw M3x16 (ID:952) • 3x plastic distance 8 mm (ID:9896) •... -
Page 7: Section 3: Installation
Installation, Operation and Maintenance Manual Section 3: Installation VCIOM-15746-EN Rev. 0 June 2021 Section 3: Installation Unscrew the 4 hexagon socket screws from the cover and remove it carefully. Mind the connection cable between display and logic board. Figure 4 Unscrew the 4 cross recessed screws from the existing logic board and afterwards tilt it carefully to you. - Page 8 Section 3: Installation Installation, Operation and Maintenance Manual June 2021 VCIOM-15746-EN Rev. 0 Remove carefully the connected cables: ribbon cable, 6-8-10-poles plugs. Afterwards you can remove the logic board from the control unit and disconnect the 2 ribbon cable on the back.
- Page 9 Installation, Operation and Maintenance Manual Section 3: Installation VCIOM-15746-EN Rev. 0 June 2021 Put the plastic distances 8 mm between logic and relay board, insert the M3x16 steel screws through the estimated holes next to multi pin connector in logic board, plastic distances and relay board and secure the screws with the red lock plates.
- Page 10 Section 3: Installation Installation, Operation and Maintenance Manual June 2021 VCIOM-15746-EN Rev. 0 Connect the adapter cable with the 10 and 6-pole connector, after connect blue connectors with related one on the relay board. Figure 10 Installation...
- Page 11 Installation, Operation and Maintenance Manual Section 3: Installation VCIOM-15746-EN Rev. 0 June 2021 Connect both ribbon cable and 8-pole connector with the logic board, after install the logic + relay board back to the control (two small screws for original installation will remain).
-
Page 12: Section 4: Programming
Section 4: Programming Installation, Operation and Maintenance Manual June 2021 VCIOM-15746-EN Rev. 0 Section 4: Programming For programming, request download of SMARTTOOL2 through your Sales Representative. After the successful installation and registration, connect with the actuator. Use the Wizard and choose function "Install Extension Kit" and press "Apply". Figure 13 At the line "RP3E6A: 6x Relay Outputs, 3x Inputs"... - Page 13 Section 4: Programming Installation, Operation and Maintenance Manual VCIOM-15746-EN Rev. 0 June 2021 After installation press the "Refresh Button". In parameter group "9. Bin. Input" and "10. Relay" you can define the functionality of the different relays. Figure 15 Programming...
- Page 14 P. R. China Székesfehérvár 8000 T +86 22 8212 3300 Hungary The Emerson logo is a trademark and service mark of Emerson Electric Co. T +36 22 53 09 50 Bettis is a mark of one of the Emerson family of companies.


