Quick Links

Summary of Contents for Easee Ready
- Page 1 User / installation guide Easee Ready...
-
Page 2: Table Of Contents
Table of contents Introduction Introduction Product overview Technical specifications Safety Safety instructions Before the installation Planning the installation Installation Installation instructions Daily use and operation Maintenance Practical details IMPORTANT: Read carefully before use. Keep for future reference. -
Page 3: Introduction
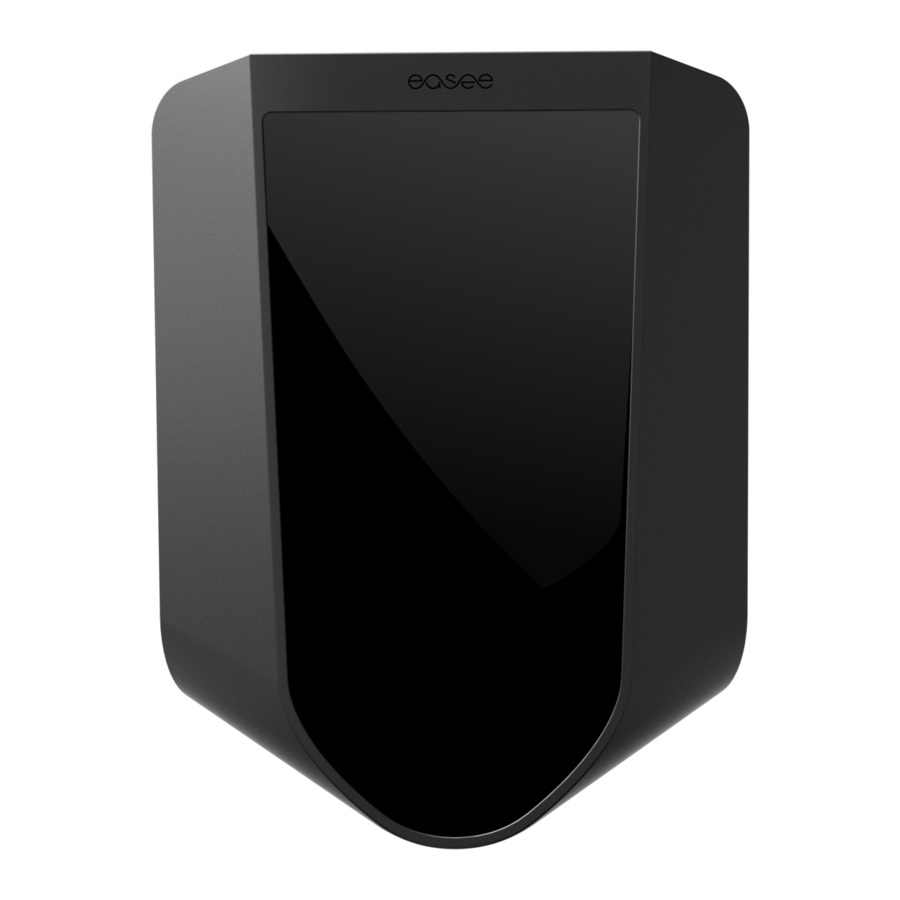
Introduction The Easee Ready includes a backplate and a blind cover. By installing it you can extend your charging infrastructure at any time in the future. This is easily done with the Easee Plug & Play product by mounting the new Chargeberry in the empty Easee Ready backplate without the need of an electrician. -
Page 4: Product Overview
Installation network: TN, IT or TT Installation circuit breaker: Max 40 A (Easee Home) or max 80 A (Easee Charge) overload protection. The short- circuit current at the charging point (IkMax) must not exceed 10 kA. If required by the installation, type-A earth fault protection can be used for the circuit. -
Page 5: Safety Instructions
Safety instructions Safety instructions for operation — Danger to life due to high electrical voltage. Never make any changes to components, software or connecting cables. — Never use or touch the product if it is damaged or Read the entire manual carefully before installing does not function properly. -
Page 6: Planning The Installation
The integrated RCD has no influence on the function of external protective devices. If a Class II installation — Where should the Easee Ready be installed? is supplying the Charging Robot(s), no external RCD is — Is the connected electrical load of the building normally required. - Page 7 — Site Key: During installation, a Site Key must be used to assign the Charging Robots to the correct location in the Easee Cloud. A Site Key will automatically be generated when creating a new charging site using the Easee installer app or it can be obtained by creating a new charging site at easee.cloud.
-
Page 8: Installation Instructions
5) of this product before you start the installation. authorised electrician. All applicable local, regional and national regulations 1. Unscrew the locking screw at the bottom of the Easee for electrical installations must be Ready. respected. - Page 9 Backplate Backplate Mounting Preparing 1. Fix the backplate to a wall or structure with sufficient 1. Shorten the sealing plug to fit the cable. The hole load-bearing capacity using the 4 screws provided in should be slightly smaller to ensure a good seal. 2.
- Page 10 Backplate TN/TT 3-phase (230/400 V) Wiring 1. Strip the individual wires by 12 mm. If the cable has flexible conductors, it is recommended to use ferrules on stranded wires. Use correct tools to press them. 2. Tighten the screws with a torque of 5 Nm. NOTICE! Pull each wire to double check that they are connected properly.
- Page 11 IT/TT 3-phase (230 V) NOTICE! It's recommended to follow the existing colour codes used in the installation. Depending on national standards, the colours of the cables can vary from the illustrations. The illustrations in this manual follow the IEC 60446 standard. NOTICE! Before turning on the power, make sure the wires are properly connected and tightened.
- Page 12 Update existing site: If this site already has one or more Charging Robots installed or if it has been created by 1. Scan the QR code to download the Easee Installer an operator (Easee Charge), select "Update existing site" App and create a free account. The app is available and search for the site address.
- Page 13 2. Press the bottom of the blind cover until you hear a click. 3. Screw in the locking screw at the bottom of the backplate to secure the blind cover. Your Easee Ready is now installed! ”CLICK!”...
-
Page 14: Maintenance
Standards: Hereby, Easee AS declares that this product, When carrying out periodic insulation testing of a charging circuit, it is recommended that Easee Ready, is in compliance with the Low Voltage you remove the Chargeberry from its backplate Directive 2014/35/EU and RoHS Directive 2011/65/EU. - Page 15 When the product connects to the Internet, personal transported within its original packaging. No other data is sent to Easee AS. You will receive more items should be stored on top of the box other than information about data protection during the Easee chargers.
- Page 16 Easee AS. Easee and all other Easee product names and slogans are trademarks or registered trademarks of Easee AS. Easee products can be protected by one or more patents.
- Page 18 Easee AS Grenseveien 19 4313 Sandnes, Norway .easee.com...


