Mitsubishi Electric CITY MULTI PWFY-P100VM-E-BU Operation Manual
Indoor unit
Hide thumbs
Also See for CITY MULTI PWFY-P100VM-E-BU:
- Installation manual (184 pages) ,
- Operation manual (164 pages) ,
- Data book (121 pages)
Table of Contents
Quick Links
Table of Contents

Related Manuals for Mitsubishi Electric CITY MULTI PWFY-P100VM-E-BU


Summary of Contents for Mitsubishi Electric CITY MULTI PWFY-P100VM-E-BU
-
Page 1
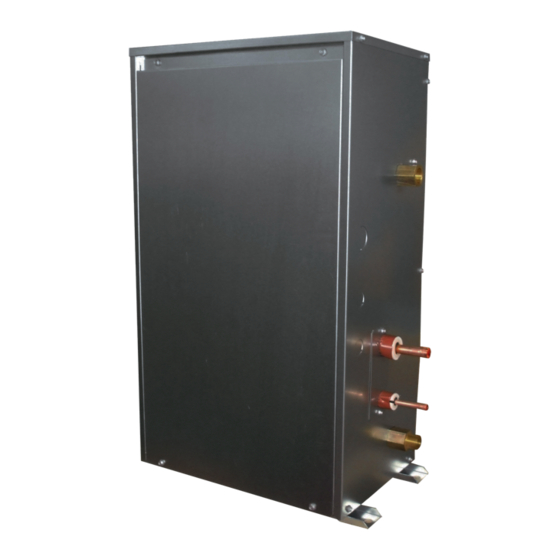
INDOOR UNIT OF CITY MULTI R410A SERIES PWFY-P100VM-E-BU PWFY-P100VM-E2-AU PWFY-P100VM-E1-AU PWFY-EP100VM-E2-AU PWFY-EP100VM-E1-AU PWFY-P200VM-E2-AU PWFY-P200VM-E1-AU OPERATION MANUAL For safe and correct use, please read this operation manual thoroughly before operating the indoor unit. -
Page 2: Table Of Contents
Never use a piece of wire or a fuse with a higher rating than the one speci- • Use only accessories authorized by Mitsubishi Electric and ask your dealer fied. or an authorized company to install them. If accessories are installed improperly, water leakage, electric shock or fire may result. -
Page 3: Disposing Of The Unit
In case of failure Warning: • Do not splash water over the unit and do not touch the unit with wet hands. Warning: An electric shock may result. • Never remodel the air conditioner. Consult your dealer for any repair or ser- •... -
Page 4: Water Temperature Adjustment
To Change the Temperature Setting... How to Set the Day of the Week and Time... Set Temperature button 3. 1. To lower the temperature: Press the Set Temperature button 3. 2. To raise the temperature: Press the Day of the Week Setting •... - Page 5 How to Set the Weekly Timer How to View the Weekly Timer Settings 1. Be sure that you are at a standard control screen, and that the weekly timer indi- cator A is shown in the display. Timer Setting 2. Press the TIMER MENU button b, so that the “Set Up” appears on the screen (at B).
- Page 6 How to Set the Simple Timer To Turn Off the Simple Timer... Press the TIMER ON/OFF button 9 so that the timer setting no longer appears on Timer Setting the screen (at G). Action (On or Off) * “— —” is displayed if there is no setting.
- Page 7 Using the Auto Off Timer Checking the Current Auto Off Timer Setting 1. This timer begins countdown when the unit starts, and shuts the unit off when the set time has elapsed. Timer Setting 2. Available settings run from 30 minutes to 4 hours, in 30-minute intervals. Note: *1.
-
Page 8: Function Selection
3. Function Selection Function selection of remote controller The setting of the following remote controller functions can be changed using the remote controller function selection mode. Change the setting when needed. Item 1 Item 2 Item 3 (Setting content) 1. Change Language Language setting to display •... - Page 9 Detailed setting [3]–3. Mode selection setting (1) Remote controller main/sub setting [3]–1. CHANGE LANGUAGE setting ON/OFF] button D. • To switch the setting, press the [ The language that appears on the dot display can be selected. 1 Main : The controller will be the main controller. •...
-
Page 10: Caring For The Machine
4. Caring for the machine Always have strainer maintenance performed by a service person. How to clean Before care-taking, turn the power supply OFF. • When washing the strainer, remove the cover and scrub the strainer inside with brush. Caution: •... -
Page 11: Installation, Transferring Works, And Checking
6. Installation, transferring works, and checking Regarding place for installation • Never connect the grounding wire to a gas pipe, water pipe, arrester, or tel- Consult with your dealer for details on installation and transferring the installation. ephone grounding wire. For details, consult with your dealer. •... - Page 12 This product is designed and intended for use in the residential, commercial and light-industrial environment. The product at hand is • Low Voltage Directive 2006/95/EC based on the following • Electromagnetic Compatibility Directive EU regulations: 2004/108/EC Please be sure to put the contact address/telephone number on this manual before handing it to the customer.