Blaupunkt C32 Operating Instructions Manual
Blaupunkt car stereo system user manual
Hide thumbs
Also See for C32:
- Operating instructions manual (25 pages) ,
- Operating and installation instructions (80 pages)

Related Manuals for Blaupunkt C32


Summary of Contents for Blaupunkt C32
- Page 1 Radio / Cassette Boston C32, Dublin C32 Ravenna C32, Florida DJ32 Louisiana DJ32 Operating instructions http://www.blaupunkt.com...
- Page 2 Bitte aufklappen Open here Ouvrir s.v.p. Aprite la pagina Hier openslaan a.u.b. Öppna Por favor, abrir Favor abrir Åbn her...
- Page 4 Radio / Cassette Boston C32, Dublin C32 Ravenna C32, Florida DJ32 Lousiana DJ32 Operating instructions http://www.blaupunkt.com...
- Page 5 Bitte aufklappen Open here Ouvrir s.v.p. Aprite la pagina Hier openslaan a.u.b. Öppna Por favor, abrir Favor abrir Åbn her...
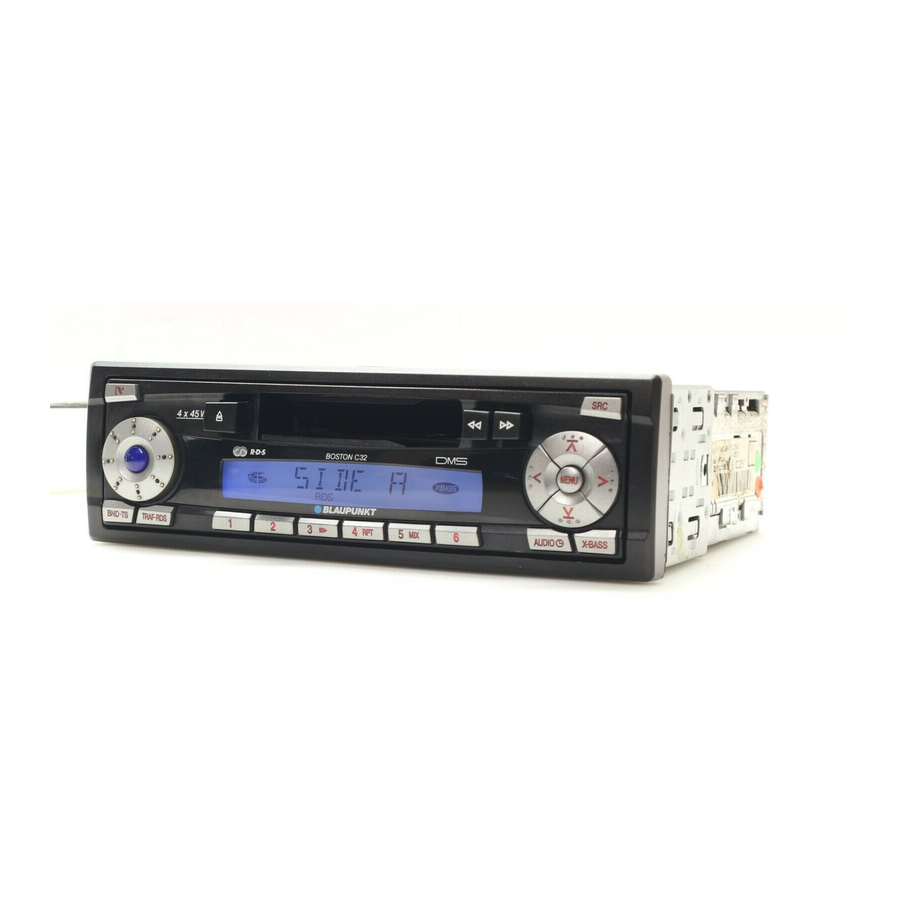
- Page 7 CONTROLS button, to release the control panel Button, to switch the unit on/off, to mute the unit’s volume Volume control cassette eject Cassette compartment button, fast tape winding button, fast tape winding Arrow buttons SRC button, to select the cassette, radio, CD changer or Compact Drive MP3 (if connected) and AUX sources.
-
Page 8: Table Of Contents
Notes and accessories ... 28 Road safety ... 28 Installation ... 28 Accessories ... 28 Removable control panel ... 29 Theft protection ... 29 Removing the control panel ... 29 Attaching the control panel ... 30 Switching on/off ... 30 Adjusting the volume ... -
Page 9: Notes And Accessories
Please read these operating instruc- tions before using the equipment for the first time. The Blaupunkt editors are constantly working on making the operating in- structions clearer and easier to under- stand. However, if you still have any... -
Page 10: Removable Control Panel
A 072 and IDC A 09. You can also connect the CDC A 05 and CDC A 071 CD changers by using an adapter cable (Blaupunkt no.: 7 607 889 093). The CDC A 08 CD changer is supplied with the Louisiana DJ32 and the Flori- da DJ32. -
Page 11: Attaching The Control Panel
THEFT PROTECTION First, pull the control panel straight off the unit and then out towards the left. The unit switches off after the con- trol panel is removed. All the current settings are saved. Any cassette already inserted in the unit remains there. Attaching the control panel Slide the control panel from left to right into the unit's guide. -
Page 12: Adjusting The Volume
SWITCHING ON/OFF Switching on by inserting a cassette If the unit is switched off and there is no cassette inserted in the drive, Gently insert the cassette with the open side facing towards the right into the drive until you feel some resistance. -
Page 13: Instantaneous Volume Reduction (Mute)
ADJUSTING THE VOLUME When you have finished making your changes, press the MENU button : twice. Instantaneous volume reduction (mute) This feature allows you to instantane- ously reduce (mute) the volume to a lev- el preset by you. Briefly press button 2. “MUTE”... -
Page 14: Radio Mode
Radio mode This unit is equipped with an RDS radio receiver. Many of the receivable FM sta- tions transmit a signal that not only car- ries the programme but also additional information such as the station name and programme type (PTY). The station name appears in the dis- play as soon as it is received. -
Page 15: Tuning Into A Station
RADIO MODE Tuning into a station There are various ways of tuning into a station. Automatic seek tuning button 8. Press the The unit tunes into the next receivable station. Tuning into stations manually You can also tune into stations manu- ally. -
Page 16: Storing Stations Automatically (Travelstore)
Storing stations automatically (Travelstore) You can automatically store the six sta- tions with the strongest reception in the region (only for FM). The stations are stored in the FMT memory bank. Note: Stations that were previously stored in this memory bank are de- leted in the process. - Page 17 RADIO MODE PTY-EON If you specify the programme type and start seek tuning, the radio will switch from the current station to a station of the selected programme type. Note: If no station is found that corre- sponds to the selected programme type, you will hear a beep and “NO PTY”...
-
Page 18: Optimising Radio Reception
RADIO MODE Selecting the PTY language You can set the language in which the programme type is displayed. Press the MENU button :. Keep pressing the 8 until “PTY LANG” appears in the display. button 8 to Press the switch between German, English and French. -
Page 19: Setting The Traffic Announcement Volume
TRAFFIC INFORMATION if you retune the radio from a traffic information station to a station that does not broadcast traffic informa- tion. If you hear the warning sound, you can either switch off traffic information pri- ority or tune into a station that broad- casts traffic information. -
Page 20: Switching Radio Monitor On / Off
CASSETTE MODE Fast rewind To rewind Side A, button 6 until it press the locks. To rewind Side B, button 7 until it press the locks. “REWIND” appears in the display. Stopping fast winding Press the opposite fast wind but- ton. -
Page 21: Fast Searching (Audible)
CD CHANGER MODE Fast searching (audible) To fast search backwards or forwards, keep one of the pressed until fast searching back- wards / forwards begins. Repeating individual tracks or whole CDs (REPEAT) If you wish to repeat the current track, briefly press button 4 (RPT) =. -
Page 22: Pausing Playback (Pause)
CD CHANGER MODE Pausing playback (PAUSE) Press button 3 ( ) =. “PAUSE” appears in the display. Cancelling pause Press button 3 ( ) = while in pause mode. Playback is continued. Changing the display To switch between the track number / CD number display and the track number / playing time display, press the MENU button :. - Page 23 CLOCK - TIME Selecting 12/24-hour clock mode Press the MENU button :. Keep pressing the 8 until “24 H MODE” or “12 H MODE” appears in the display. button 8 to Press the switch between the modes. When you have finished making your changes, press the MENU button :.
-
Page 24: Sound And Volume Distribution Settings
SOUND AND VOLUME DISTRIBUTION SETTINGS Sound and volume distribution settings You can adjust the sound settings for each source separately (radio, Cas- sette, CD changer/Compact Drive MP3 and AUX). Adjusting the bass settings To adjust the bass, press the AUDIO button <. “BASS”... -
Page 25: X-Bass
X-BASS X-BASS The X-BASS feature can be used to boost the bass at low volume levels. Note: You can adjust the X-Bass settings separately for each audio source (radio, cassette, CD changer, Com- pact Drive MP3 and AUX). Adjusting the X-BASS boost settings The X-BASS boost can be set in steps ranging from 1 to 3. -
Page 26: External Audio Sources
The AUX input must be activated in the menu. If you want to connect an external au- dio source, you will need an adapter cable (Blaupunkt no.: 7 607 897 093). You can obtain this adapter cable from your authorised Blaupunkt dealer. Switching the AUX input on/off Press the MENU button :. - Page 27 09-435 99236 01-4010 7320 01-89583 8394 01-576 9473 01-4598830 02-369 6464 40 2085 023-565 6331 66-817 157 01-2185 11111 916-467952 08-7501810 01-8471650 02-6130 0514 01-324 8756 022-8771260 0212-3460040 708-6817188 +604-6413 640 Blaupunkt GmbH CM/PSS 8 622 403 148 WWW: http://www.blaupunkt.com...
- Page 28 09-435 99236 01-4010 7320 01-89583 8394 01-576 9473 01-4598830 02-369 6464 40 2085 023-565 6331 66-817 157 01-2185 11111 916-467952 08-7501810 01-8471650 02-6130 0514 01-324 8756 022-8771260 0212-3460040 708-6817188 +604-6413 640 Blaupunkt GmbH CM/PSS 8 622 403 148 WWW: http://www.blaupunkt.com...