Table of Contents
Available languages
Available languages
Quick Links
Please Read and Save this Use and Care Book
Por favor lea este instructivo antes de usar el producto
Veuillez lire et conserver ce guide d'entretien et d'utilisation
12-Cup Programmable
Coffeemaker
Cafetera programable
de 12 tazas
Cafetière programmable
de 12 tasses
IMPORT NT / IMPORT NTE /IMPORT NT
W SH C R FE BEFORE FIRST USE!
L VE L J RR
L VER L C R FE V NT
L PREMIÈRE UTILIS TION!
Register your product online at www.prodprotect.com/applica,
Registre su producto en la Internet en el sitio Web www.prodprotect.com/applica
Inscrivez votre produit en ligne à l'adresse www.prodprotect.com/applica
US /Canada
Mexico
www.applicaconsumerproductsinc.com
ccessories/Parts
(US /Canada)
ccesorios/Partes
(EE.UU/Canadá)
ccessoires/Pièces
1-800-738-0245
NTES DEL PRIMER USO
for a chance to WIN $100,000!
For US residents only
y tendrá la oportunidad de G N R $100,000!
solamente para los residentes de EE.UU
et courez la chance de G GNER 100 000 $!
aux résidents du É.-U seulement
1-800-231-9786
01-800-714-2503
(É.-U./Canada)
Models
Modelos
Modèles
❑ DCM3200B
❑ DCM3250B
Table of Contents

Related Manuals for Black & Decker DCM3250B


Summary of Contents for Black & Decker DCM3250B
- Page 1 Mexico www.applicaconsumerproductsinc.com ccessories/Parts (US /Canada) ccesorios/Partes (EE.UU/Canadá) ccessoires/Pièces (É.-U./Canada) 1-800-738-0245 for a chance to WIN $100,000! For US residents only solamente para los residentes de EE.UU aux résidents du É.-U seulement 1-800-231-9786 01-800-714-2503 Models Modelos Modèles ❑ DCM3200B ❑ DCM3250B...
-
Page 2: Import Nt S Fegu Rds
IMPORT NT S FEGU RDS When using electrical appliances, basic safety precautions should always be followed to reduce the risk of fire, electric shock and/or injury to persons, including the following: ❑ Read all instructions. ❑ Do not touch hot surfaces. Use handle or knobs. ❑... -
Page 3: Control P Nel
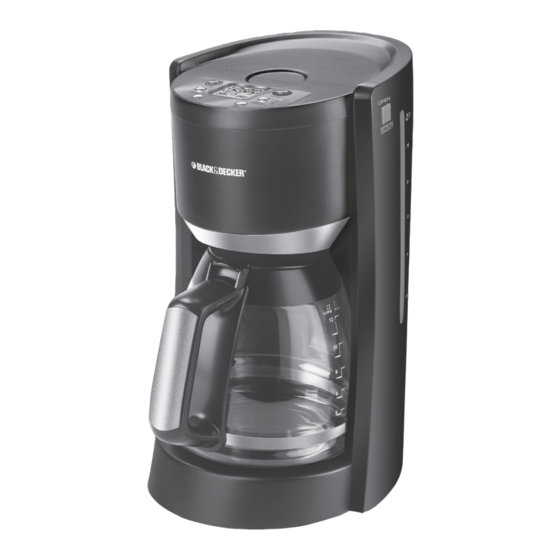
Product may vary slightly from what is illustrated. 1. LCD display and control panel 2. Flip-up water reservoir cover 3. Brew basket compartment release button †4. Water filter holder and Carbon filter (Part # DCM3000-WF) 5. -
Page 4: How To Use
12-cup level mark into the water reservoir ( ). Caution: Be careful not to exceed the 12-cup maximum level, to avoid water running out the overflow hole in the back of the coffeemaker. 6. Close water reservoir cover. 7. Press brew basket compartment release button to open. -
Page 5: Care And Cleaning
• For a special occasion, whip some heavy cream with 2 or 3 tablespoons of orange marmalade. Use to top off each cup of coffee. • Keep your coffeemaker scrupulously clean; you’ll be pleased with the flavor. Note: The residual oils from previously brewed coffee can give your next brew a rancid, bitter flavor (see C Re nD CLe nIng section). -
Page 6: Instrucciones Import Ntes De Segurid D
4. Insert a new paper filter in the brew basket. Set the empty carafe on the "Keep Hot" plate. 5. Turn the coffeemaker on and let half the cleaning solution brew into the carafe. Turn the coffeemaker off and let it soak for at least 15 minutes to soften the deposits. - Page 7 ❑ existe el riesgo de quemaduras si uno retira la tapa durante los ciclos de colado. ❑ Para desconectar el aparato, ajuste todo control a la posición de apagado (OFF) y luego, desconecte el aparato de la toma de corriente. GU RDE EST S INSTRUCCIONES.
-
Page 8: P Nel De Control
P NEL DE CONTROL 6:00 POWER FRESH PROG HOUR 1. Pantalla VCL exhibe • La hora actual • Ciclo de colado programado • Indicador de frescura del café 2. Botón UTO: Inicia el ciclo de colado automático de la cafetera 3. -
Page 9: Progr M Ción Del Reloj
5. Coloque el porta filtro adentro del tanque de agua e insértelo en la hendidura inferior, a la derecha (E). Nota: Reemplace el filtro de carbón después de cada 60 ciclos, o cada dos meses después de removerlo del empaque sellado. (Para repuestos, por favor llame gratis al número 800 en la cubierta.) COMO REEMPL Z R EL FILTRO DE GU 1. -
Page 10: Cuidado Y Limpieza
3. La pantalla digital exhibe la 1:00 o la hora programada anteriormente para el ciclo de colado automático. 4. Para cambiar la hora: Presione el botón HOUR hasta que aparezca la hora correcta en la pantalla. Pepita el mismo proceso con el botón de minutos MIN. 5. - Page 11 bra la tapa del tanque de agua. 2. Vierta vinagre blanco adentro del tanque de agua hasta la marca que indica 5 tazas en el nivel de llenado, y agregue agua fría hasta el nivel que indica 7 tazas. Cierre la tapa. dvertencia: Tenga cuidado de no exceder el nivel de llenado máximo de 12 tazas, para evitar que el agua se desborde del agujero de desagüe en la parte trasera de la cafetera.
- Page 12 ❑ Utiliser l’appareil uniquement aux fins auxquelles il a été prévu. ❑ On peut se brûler si on enlève le couvercle pendant les cycles d’infusion. ❑ Pour le débrancher, il faut d'abord mettre toutes les commandes en position hors tension (OFF), puis il faut débrancher le cordon de la prise. CONSERVER CES MESURES.
-
Page 13: Pour Commencer
P NNE U DE COMM NDE 6:00 POWER FRESH PROG HOUR 1. Écran CL Indique : • L’heure actuelle • L’heure d’infusion automatique préprogrammée • L’indicateur de fraîcheur 2. Bouton d’infusion automatique ( UTO : Sert à activer la fonction d’infusion automatique. - Page 14 4. Bien refermer le support du filtre de manière à ce qu’il s’enclenche (D). 5. Placer le support du filtre dans le réservoir à eau en l’insérant dans le renfoncement du coin inférieur droit (E). Nota : Changer le filtre à charbon tous les 60 cycles d’infusion ou deux mois après que le filtre ait été...
-
Page 15: Entretien Et Nettoyage
INFUSION DIFFÉRÉE 1. Suivre les étapes 1 à 10 de la section « InFUSIOn DU C Fé ». ppuyer sur le bouton de programme (PROG). 1:00 Le mot « UTO » clignote dans le coin inférieur AUTO gauche de l’écran (M). POWER MILD L’horloge numérique affiche 1:00 ou la dernière heure... - Page 16 8. Placer le support du filtre dans le réservoir à eau et l’insérer dans le renfoncement du coin inférieur droit (voir l’illustration E). Nota : Pour remplacer le filtre, consulter la section « ReMPL CeMenT DU FILTRe à e U ». Conseil : Changer le filtre à...
-
Page 17: Need Help
NOTES/NOT S NEED HELP? For service, repair or any questions regarding your appliance, call the appropriate "800" number on the cover of this book. Do not return the product to the place of purchase. Do not mail the product back to the manufacturer nor bring it to a service center. you may also want to consult the website listed on the cover of this manual. - Page 18 ¿NECESIT yUD ? Para servicio, reparaciones o preguntas relacionadas al producto, por favor llame gratis al número “800” que aparece en la cubierta de este manual. No devuelva el producto al establecimiento de compra. No envíe el producto por correo al fabricante ni lo lleve a un centro de servicio.
- Page 19 See below. W RNING: To reduce the risk of fire or electric shock, do not remove the cover of the coffeemaker. There are no user- serviceable parts inside. Repair should be done by authorized service personnel only.