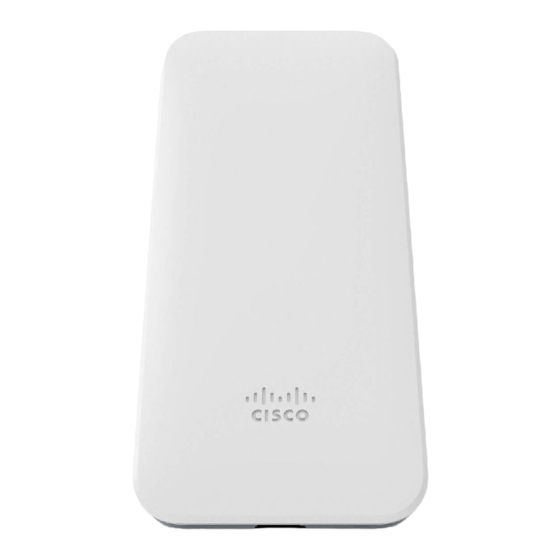
Summary of Contents for Cisco Meraki MR70
-
Page 1: Package Contents
MR70 Installation Guide The Cisco Meraki MR70 is a dual-band enterprise class 802.11ac cloud-managed access point. Package Contents The MR70 package contains the following: • MR70 Cloud-Managed Access Point... - Page 2 • Mount cradle including built-in level tool...
-
Page 3: Understanding The Mr70
• Mount Kit ◦ Wall screws and wall screw anchors Understanding the MR70 Your Meraki MR70 has the following features:... -
Page 4: Security Features
The mount cradle has the following features: Security Features The MR70 allows for physically securing the access point after installation: 1. Security screw – The accessory kit includes screws that can be used to secure the access point to the mount cradle. -
Page 5: Pre-Install Preparation
Ethernet Ports The MR70 features a Gigabit Ethernet RJ45 port that accepts 802.3at and 802.3af power (labeled “Eth0, PoE”). This port should be used for uplink to your WAN connection. Power Source Options The MR70 access point can be powered using either the Meraki AC Adapter, PoE Injector (both sold separately), or a third-party PoE switch. -
Page 6: Check And Upgrade Firmware
3. Add your APs to your network. You will need your Meraki order number (found on your invoice) or the serial number of each AP, which looks like Qxxx-xxxx-xxxx, and is found on the bottom of the unit. You will also need your Enterprise license key, which you should have received via email. -
Page 7: Collect Tools
3. Using a web browser on the client machine, access the AP’s built-in web server by browsing to http://my.meraki.com. Alternatively, browse to http://10.128.128.128. 4. Click on the “Uplink Configuration” tab. Log in. The default login is the serial number (e.g. Qxxx-xxxx- xxxx), with no password (e.g., Q2DD-551C-ZYW3). -
Page 8: Installation Instructions
2. Power over Ethernet supports a maximum cable length of 300 ft (100 m). 3. If being used in a mesh deployment, the MR70 should have line of sight to at least two other Meraki devices. A Cisco Partner can help ensure that your AP placement is ideal. Install the MR70 For most mounting scenarios, the MR70 mount cradle provides a quick, simple, and flexible means of mounting your... -
Page 9: Connect Access Point To Ethernet And/Or Ac Adapter
Wall or Solid Ceiling Mount Using Mount Cradle Using included wall anchors and screws, attach the mount cradle to your mounting wall or ceiling. It is recommended that the MR70 be mounted to a wall or solid ceiling using the mount cradle for physical security reasons. - Page 11 To release the MR70 from the mount cradle, first remove the security screw that secures the MR70 to the cradle’s bottom tab. While holding the MR70 with one hand, press the cradle’s bottom tab upwards, releasing the MR70 from the bottom of the cradle.
-
Page 12: Secure The Mr70
Secure the MR70 Depending on your mounting environment, you may want to secure the MR70 to its mount location. If the MR70 has been installed using the mount cradle, it should be secured via security screw included with mount cradle. Security Screw Install the security screw in the lower mount cradle tab. -
Page 13: Troubleshooting
Troubleshooting Reference the MR Product Page for additional information and troubleshooting tips.


