
Related Manuals for Bosch Logixx 10 WTB76556GB


Summary of Contents for Bosch Logixx 10 WTB76556GB
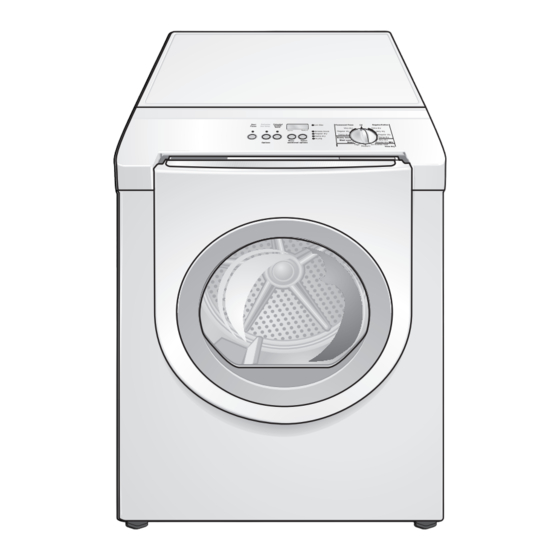
- Page 1 Please read and follow these operating and installation instructions and all other information enclosed with the dryer. Follow all safety instructions! LOGIXX 10 Dryer WTB76556GB en Instruction Manual and Installation Instructions...
-
Page 2: Table Of Contents
Contents YOUR BOSCH DRYING MACHINE ............ -
Page 3: Your Bosch Drying Machine
YOUR BOSCH DRYING MACHINE Congratulations on having selected The Bosch dryer offers the following Each dryer which leaves our factory a Bosch clothes dryer, the choice standard features: has undergone a thorough of those that demand exceptional performance test and is in full working High efficiency precision drying performance from their clothes dryer. -
Page 4: Important Safety Instructions
IMPORTANT SAFETY INSTRUCTIONS - Pull out the mains plug immediately or disconnect the fuse. Emergency Use dryer ONLY ... in the house. for drying textiles. - for purposes than those described above. NEVER use dry ... NEVER use dry ... - modify the technology or properties of the dryer. -
Page 5: Installation Instructions
INSTALLATION INSTRUCTIONS Introduction Before installing Mains Connection the dryer Only touch the mains plug with Read these installation instructions dry hands! completely and carefully. They will save Only touch the mains plug! you time and effort and help to ensure optimum dryer performance. - Page 6 Installation location Important information concerning minimum distances: Installation Depending on the location of The power supply plug must the exhaust air connection, an remain accessible at all times! additional minimum distance of 14 cm must be provided on this side The installation surface for the for pipes/brackets (see Page 7).
-
Page 7: Exhaust Air Connection
(free space around exhaust air vent of approx. 1 m). Remove any lint accumulation around the dryer. The Bosch dryers are intended to be vented outdoors. To prevent build up of moisture and accumulation of lint indoors, as well as to maintain maxi... - Page 8 Ductwork Pressure drops Pressure drops due to fittings The length and type of exhaust air duct Exhaust air is subject to additional used can impede air flow, especially resistance from fittings, e.g. from angle elbows with a small radius. → bypass adapters (elbows, bends, angle Diameter reductions and pressure joints), wall boxes fitted with a grill or...
- Page 9 Individual pressure drop values calculate your system's total pressure loss using these values Smooth tube Grooved flexible tube Corrugated flex. tube Inner Wall Type straight section (per 1 m) fittings elbows R = 300 mm R = 200 mm R = 100 mm bend angle Telescope - wall box with grille...
-
Page 10: Accessories
Accessories Installation 8. Move the dryer to its final location and align. step by step The parts required for the exhaust air system can be obtained from customer 1. Unpack the dryer. service or your local dealer. Please follow 2. Remove all objects from the drum. the installation instructions supplied 3. -
Page 11: Operating Instructions
OPERATING INSTRUCTIONS Your new dryer Open the door ... (colored marking) ... and close the door. Filter... -
Page 12: Panel
Panel Start/Pause button Buttons for Options (in addition to the Starts, interrupts and ends the drying process. program if required). See Page 18. Low Heat J Press for temperature sensitive textiles (e.g. acrylic fibers). The temperature of the drying process is reduced, the drying time is extended correspondingly. -
Page 13: Summary Of Instructions
Summary of instructions Preparing the dryer Selecting a program Using the dryer basket Check the filter. The filter should be cleaned after and before every drying process. Change the settings of additional options Choose an option ..and start the dryer Switch off the dryer... -
Page 14: Safety Information
Risk of explosion! To save energy, money and time, Delicate fabrics (silk, synthetic Switch off the dryer at the end of the Bosch recommends the following: curtains) → creases will form! program. Dripping wet washing → Drain the laundry thoroughly! -
Page 15: Before Using The Dryer For The First Time
Drying tips In principle, the following applies to all Before using Temporary drying programs: the dryer for disconnection To ensure a uniform drying result, sort the laundry according to the the first time of the dryer fabric type and the drying programme. -
Page 16: Program Selection
Mixed Load Time programs Program selection For optimum drying results your dryer offers several program groups and additional options. Select the required drying program from the program table according to the examples (see Page 19). There are mix programmes (Very Dry, Time programs run at specific Cupboard Dry) for different types temperatures... -
Page 17: Additional Options
Additional options Select the option to be changed with Safety guard the Menu button. Press the button to This additional option allows you to lock jump to the next option on the display. Before setting additional options, your settings to prevent unintended use The active symbol starts flashing. -
Page 18: Options
Options Status indicator Volume of the signal The dryer uses an electronic system Your dryer outputs different signals. for all programmes except the time programmes and the special Woollens Signal Type Comment programme. A moisture sensor Start Short tone Adjustable continuously checks the moisture in the volume laundry. -
Page 19: Program Selection Table
Program selection table Automatic programs For Cottons and coloreds made of cotton or linen. Æ Cottons Press Low Heat J button for temperature sensitive textiles. up to 10 kg For laundry, Bed linen and table linen, towels which is to be ironed which is to be ironed Iron Dry * Iron Dry *... - Page 20 Specials Suitable for woolens (machine washable). Laundry is softened but not dried Woollens Finish Remove the laundry as soon as the programme has finished and hang it up. To dry washable woolen textiles (e.g. sweaters, woolen pullover, skirts) Woollens - Drying Basket + required drying time Loads, which only need a short drying time, e.g.
-
Page 21: Operation
Operation Using the dryer 3. Rotate program selector to the 6. Place laundry in the empty drum. desired program. Put each piece of laundry into the 1. Open the dryer door. Select the program which cor machine separately. responds to the laundry in the dryer For best results the laundry to be from the program selection table dried must be sorted according to... -
Page 22: Using The Dryer Rack
Using the dryer basket If you have chosen a time program When the drying process is don't forget to select a time. complete (program or selected time Use the dryer basket to dry washable Otherwise the Start/Pause program ended), the drum rotates woolen textiles (e.g. - Page 23 Drying laundry items on the dryer 7. If the item of clothing still contains basket residual moisture after the indicated drying time: 1. Fold laundry to fit the dryer basket. q Fold the item of clothing so that the damp parts are on the outside.
- Page 24 Drying shoes on the dryer basket 1. Prepare shoes. q Clean shoes to prevent the drum from becoming soiled. q If preparing sports shoes, extend the tongue. q Loosen or remove shoe laces. q Remove insoles and heel pads. 3. Close the door. 2.
-
Page 25: Cleaning And Care
Cleaning and care 1. Switch off the dryer. Program Cleaning the dryer Cleaning the exhaust selector to Off. duct The appliance must be switched Drum and door may be hot! off! Inspect and clean the exhaust ducting at least once a year to prevent 2. -
Page 26: Cleaning The Moisture Sensor
Cleaning the moisture Cleaning the bearing Change the light bulb sensor shield The dryer light turns on inside the drum when you open the door. The moisture sensor has to be cleaned Over time, fluff from the drying process To change the light bulb: because a fine layer of transparent collects in the bearing shield. -
Page 27: Troubleshooting
Troubleshooting Before calling the customer service, 1. Set program selector to Off. check whether you can rectify the fault 2. Turn off the circuit breaker. yourself by means of the following 3. Pull the mains plug out of the table. socket. -
Page 28: Service And Repair
If you are having a problem with your Please be sure to include, if writing, care other than the care and cleaning Bosch dryer and are not pleased with or have available, if calling, the following noted above. the service you have received:... - Page 32 WTB76556GB 12/2006 9000202997...