Asus Chromebit CS10 Quick Start Manual
Hide thumbs
Also See for Chromebit CS10:
- Quick start manual (64 pages) ,
- Safety information manual (17 pages) ,
- Quick start manual (48 pages)
Quick Links
See also:
Quick Start Manual
Getting started
CA10980
Mise en route
Quick Start Guide
Guide de démarrage rapide
USB 2.0 port
Port USB 2.0
Are you using this device for Digital Signage? If so, go to
google.com/work/chrome/signage/chromebit for more information.
Vous utilisez ce dispositif pour la signalisation numérique? Rendez-
vous sur google.com/work/chrome/signage/chromebit pour plus
d'informations.
NOTE:
Connecting Chromebit
• For best performance, operate at 1°C – 35°C.
Connecter Chromebit
• A ny peripheral over 500 mA current draw should be
connected via a powered USB hub, and not directly to
the USB port.
• E nsure that your Chromebit does not block any of the
air vents on your monitor display.
• P lace your Chromebit or powered USB hub near the
side of your monitor to ensure that wireless signals
are not obstructed.
• Illustrations for reference only.
• V isit our multi-language web site at
http://support.asus.com
REMARQUE :
1.
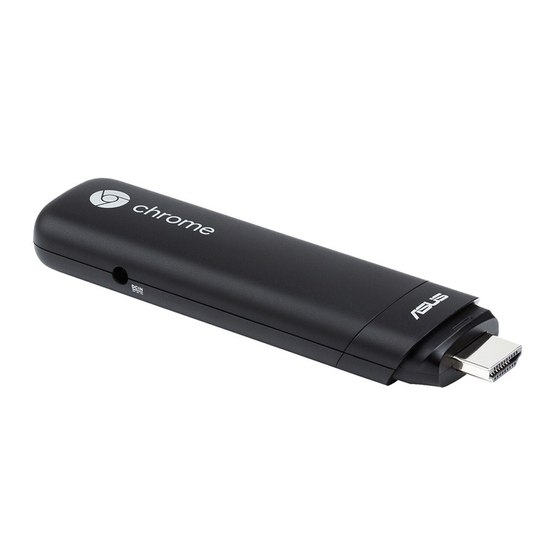
Remove the cap.
• P our une meilleure performance, utilisez à une température
de 1°C – 35°C.
Retirez l'embout.
• T ous les périphériques de plus de 500 mA de
consommation de courant doivent être connectés
via un hub USB alimenté, et ne pas être directement
connectés au port USB.
• A ssurez-vous que Chromebit ne bloque pas les fentes
d'aération sur l'écran du moniteur.
• P lacez Chromebit ou le hub USB alimenté auprès de
votre écran pour vous assurer que les signaux sans fil
ne soient pas obstrués.
• Les illustrations ne sont fournies qu'à titre indicatif.
• V isitez notre site multilingue d'assistance en ligne sur
http://support.asus.com
2.
Plug your Chromebit into an HDMI port.
Connectez Chromebit à un port HDMI.
Connecting USB Hub
Connecter le hub USB
3.
Connect the power into your Chromebit.
1.
Stick your USB Hub to your monitor with the hook
and loop sticker set, then connect your USB Hub into
Branchez Chromebit à une source d'alimentation.
your Chromebit.
Collez le hub USB à votre moniteur à l'aide du kit
autocollant, puis connectez le hub USB à Chromebit.
2.
Connect the power into your USB Hub.
Branchez le hub USB à une source d'alimentation.
support.asus.com
15060-6850R100

Related Manuals for Asus Chromebit CS10


Summary of Contents for Asus Chromebit CS10
- Page 1 • P lace your Chromebit or powered USB hub near the side of your monitor to ensure that wireless signals are not obstructed. • Illustrations for reference only. • V isit our multi-language web site at http://support.asus.com REMARQUE : Quick Start Guide Remove the cap. • P our une meilleure performance, utilisez à une température de 1°C – 35°C.
- Page 2 EN 60065:2002 / A12: 2011 techserv.aspx EN 60950-1: 2006 / A2: 2013 2009/125/EC-ErP Directive Regulation (EC) No. 1275/2008 Regulation (EC) No. 278/2009 ASUS COMPUTER INTERNATIONAL (America) Regulation (EC) No. 642/2009 Regulation (EU) No. 617/2013 2011/65/EU-RoHS Directive Ver. 150326 CE marking...