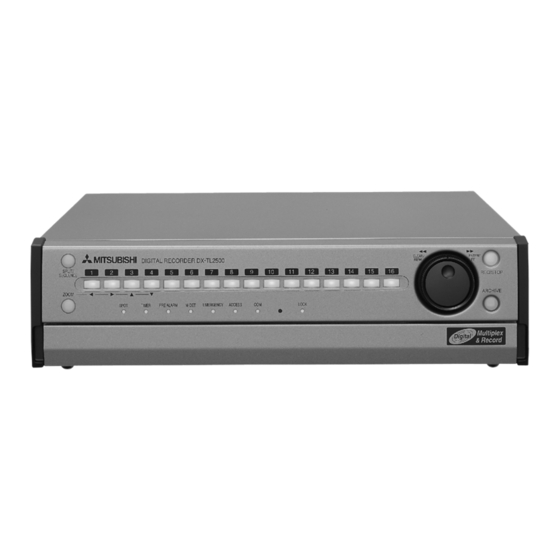
Mitsubishi Electric DX-TL2500E How To Use Manual
Hide thumbs
Also See for DX-TL2500E:
- Installation and operation manual (106 pages) ,
- Operation quick manual (28 pages) ,
- Operation manual (32 pages)
Quick Links
See also:
Operating Manual, Operation & Installation Manual

Summary of Contents for Mitsubishi Electric DX-TL2500E
- Page 1 DIGITAL RECORDER HOW TO USE GUIDE MODELS DX-TL2500E DX-TL950E250 DX-TL800E120 THIS HOW TO GUIDE IS IMPORTANT TO YOU. PLEASE READ IT BEFORE USING YOUR DIGITAL RECORDER. Note that this guide is based on the DX-TL2500E Digital Recorder.
-
Page 2: Basic Playback
Mitsubishi Digital Recorder - How to Guide Basic Playback Note: While you are in the PLAYBACK mode the DVR will continue to record. Step 1. To enter the PLAYBACK mode. Open the front panel, and on the far right you will see four buttons: STOP, PAUSE, REV.PLAY(-) and PLAY. -
Page 3: Advanced Searching
Mitsubishi Digital Recorder - How to Guide Advanced Searching Note: While you are in the SEARCH mode the DVR will continue to record. The recorder will beep to let you know you’ve completed each task successfully. Step 1. To enter the SEARCH mode. Open the front panel, and to the right of the middle you will see a group of 9 buttons. - Page 4 Mitsubishi Digital Recorder - How to Guide ~ You have now selected the MONTH that you want to search in. Step 5. To select the YEAR follow the same procedure of Step 4. Note where Step 4 says MONTH this will now be YEAR. Step 6.
- Page 5 Mitsubishi Digital Recorder - How to Guide Copying Note: While you are in the COPYING mode the DVR will continue to record. The recorder will beep to let you know you’ve completed each task successfully. Copying to Video Tape or DVD: Step 1.
- Page 6 Mitsubishi Digital Recorder - How to Guide Step 4. Select the desired TRANSFER PERIOD using the [ JOG / SHUTTLE START-END - selects the recording start and end time/date. The recorder will copy all data from the HDD between these times/dates. START - selects the recording start time/date only.
- Page 7 Mitsubishi Digital Recorder - How to Guide Copying to CD-WRITER: Step 1. Please make sure a CD-Writer is connected properly to the SCSI port on the rear of the DVR. If not, please contact your installer. Step 2. Press the [ COPY ] button on the front of the DVR.
-
Page 8: Front View
Mitsubishi Digital Recorder - How to Guide Major Operations and Functions Front View 1. ZOOM button 11. M-DET indicator When pressing this button once Illuminates when the motion during single screen display, the detection function is on. screen is magnified by 100%. In the same way, pressing the button 12. -
Page 9: Back View
Mitsubishi Digital Recorder - How to Guide Back View 1. MAIN switch This is the main power switch. When using this unit, set this switch to ON. Otherwise, the power cannot be turned on/off using the POWER button on the front of the unit. - Page 10 Mitsubishi Digital Recorder - How to Guide Options Listed below are some of the devices that can be connected to your Mitsubishi Electric Digital Recorder… Video WAN / LAN Printers External IDE Disk SCSI Disk Drives via Drives SCSI Bridge...


