Daikin VRV III-S Installation Manual
Hide thumbs
Also See for VRV III-S:
- Technical data manual (46 pages) ,
- Operation manual (12 pages) ,
- Operation manual (12 pages)

Related Manuals for Daikin VRV III-S


Summary of Contents for Daikin VRV III-S
-
Page 1: Installation Manual
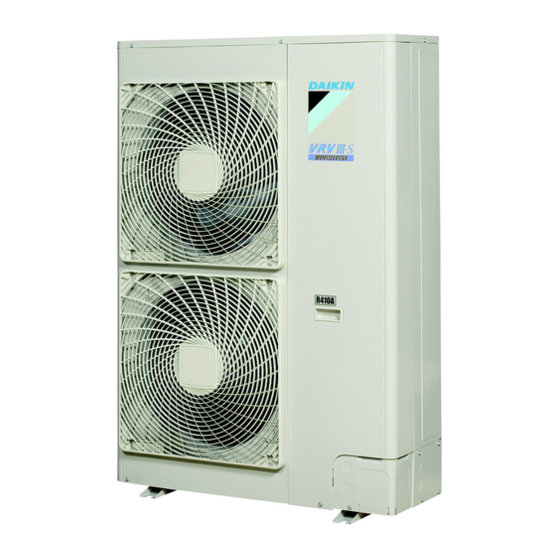
INSTALLATION MANUAL System air conditioner RXYSQ4P7V3B RXYSQ5P7V3B RXYSQ6P7V3B RXYSQ4P7Y1B RXYSQ5P7Y1B RXYSQ6P7Y1B... -
Page 2
(mm) ≥100 ≥100 ≥100 ≥100 ≥100 ≤500 ≥1000 ≥150 ≥150 ≥150 ≤500 ≥1000 B 2 B 2 ≥500 ≤500 ≥500 ≥1000 D 2 D 2 D 2 D 2 ≥100 ≥500 L2>H ≥100 ≥500 L2
- Page 3 3PW21421-5E...
Page 4: Table Of Contents
2.4. Technical and electrical specifications ........... 2 OTHER DAMAGE TO THE EQUIPMENT. BE SURE ONLY 3. Before installation ..............3 TO USE ACCESSORIES MADE BY DAIKIN WHICH ARE 3.1. Precautions for R410A ..............3 SPECIFICALLY DESIGNED FOR USE WITH THE 3.2.Page 5: Introduction
Make certain that all electrical work is carried out by qualified Where flammable gases may leak, where carbon fiber or personnel according to the local laws and regulations and this ignitable dust is suspended in the air or where volatile installation manual, using a separate circuit.Page 6: Before Installation
Select an installation site where the following conditions are EFORE INSTALLATION satisfied and that meets with your customer's approval. Places which are well-ventilated. Since design pressure is 4.0 MPa or 40 bar, pipes of larger Places where the unit does not bother next-door neighbours. wall thickness may be required.Page 7: Precautions On Installation
5.1. Installation method for prevention of falling over The outdoor unit may short circuit depending on its environment, so use the louvers (field supply). If it is necessary to prevent the unit from falling over, install as shown If you install the unit on a building frame, in the figure.Page 8: Installation Servicing Space
(C) In case of multiple-row installation (for roof top use, etc.) NOTE If drain holes of the outdoor unit are covered by a In case of installing one unit per row. mounting base or by floor surface, raise the unit in order to provide a free space of more than 100 mm under the outdoor unit.Page 9: Selection Of Piping Material
7.1. Selection of piping material Always use the supplied copper gasket when connecting the gas pipe supplied with the unit. See "9. Refrigerant piping" on Foreign materials inside pipes (including oils for fabrication) page 7. must be ≤30 mg/10 m. Construction material: phosphoric acid deoxidized seamless 8.1.Page 10: Refrigerant Piping
For RXYSQ6 only NOTE You must use a torque wrench but if you are obliged to The size of the gas side stop valve is Ø15.9 while the inter-unit piping install the unit without a torque wrench, you may follow is Ø19.1.Page 11: How To Use The Stop Valve
For cooling operation under low ambient temperature or any Be sure to insulate the liquid and gas-side field piping and the other operation under low pressure, apply silicon pad or similar refrigerant branch kit. to prevent freezing of the gas stop valve flare nut (see figure). Freezing of the flare nut may cause refrigerant leak.- Page 12 Installation manual RXYSQ4~6P7V3B + RXYSQ4~6P7Y1B VRVIII-S system air conditioner 4PW35338-1...
Page 13: Leak Test And Vacuum Drying
9.7. Leak test and vacuum drying Siphon system Measuring instrument The units were checked for leaks by the manufacturer. Vacuum pomp figure 6 and refer to "Additional refrigerant charge" on page 10 Valve A for nomenclature of the parts in figure 6. Gas line stop valve •...Page 14: Procedures For Adding Refrigerant
10.2. 3 procedures for adding refrigerant Led state Throughout the manual the state of the leds is indicated as follows: Procedure 1: Adding refrigerant by using the automatic refrigerant charging function (recommended) How to connect the tank? blinking ON or OFF If H2P is lit up, check the type of error based on the error code in the remote controller and correct the error in accordance with "12.4.- Page 15 After correcting the problem, press button once and BS1 MODE H1P H2P H3P H4P H5P H6P H7P Code on remote controller perform automatic refrigerant charging again starting from c c c x w x w step 4.2. 4.4 The led indication becomes as shown in the table below during automatic refrigerant charging.
Page 16: Electrical Wiring Work
......Movable connector If the total refrigerant cannot be charged while the outdoor unit is at a standstill, it is possible to charge the refrigerant ......Fixed connector by operating the outdoor unit using the refrigerant charge BLU......Blue function (refer to "Setting mode 2"...Page 17: Precautions On Electrical Wiring Work
11.2. Precautions on electrical wiring work R2T....# ..Thermistor (M1C discharge) R3T......Thermistor (suction 1) Before obtaining access to terminal devices, all supply circuits R4T....* ..Thermistor (heat exchanger) must be interrupted. Use only copper wires. R4T....# ..Thermistor (subcool) Do not turn on the main switch until all the wiring is completed.Page 18: Connecting Power Wire And Transmission Wires
11.4. Connecting power wire and transmission wires 11.5. Power circuit and cable requirements Let the power wire (including ground wire) go through the power A power circuit (see table below) must be provided for connection of outlet port on either the front, side or back of the outdoor unit. the unit.- Page 19 Precautions when laying power wiring For low-noise operation or demand operation, it is necessary to get the optional 'External control adaptor for Use round pressure terminals for connections to the power outdoor unit' (DTA104A61/62). terminal block. For details, see the installation manual attached to the When none are available, follow the instructions below.
Page 20: Before Operation
12. B EFORE OPERATION Play it safe! Touch a metal part by hand (such as the stop valve) in 12.1. Service precautions order to eliminate static electricity and to protect the PCB before performing service. WARNING: ELECTRIC SHOCK 12.2. Checks before initial start-up Caution when performing service to inverter equipment NOTE Note that during the first running period of the unit,...- Page 21 Location of the DIP switches, leds and buttons Setting mode 1 The H1P led is off (COOL/HEAT selection setting). Led H1P~H8P Push button switches BS1~BS5 Setting procedure DIP switches 2 (DS1-1, DS1-2) Push the button and adjust the led indication to either BS2 SET one of the possible settings as shown below in the field marked In case of COOL/HEAT setting by each individual outdoor unit...
Page 22: Test Operation
3.2 Possible settings for function C Indication of low noise operation state L.N.O.P The noise of level 3< level 2< level 1 ( standard operation (= factory setting) H1P H2P H3P H4P H5P H6P H7P w x x x x x x operation L.N.O.P w x x x x x c...Page 23: Checks In Normal Operation
12.5. Checks in normal operation Indoor units cannot be checked individually. After the Set the master unit (= indoor unit having the right to select the test operation is finished, check the indoor units cooling/heating operation mode). individually via the remote controller. The led indication changes during this operation, but In case of wired remote controllers that is not abnormal.Page 24: Service Mode Operation
13. S 14.2. Maximum concentration level ERVICE MODE OPERATION The maximum charge of refrigerant and the calculation of the After turning on the power supply, the unit can not be started until the maximum concentration of refrigerant is directly related to the H2P initialisation led, indicating that the unit is still under preparation, humanly occupied space in to which it could leak.Page 25: Disposal Requirements
OTES Calculate the smallest room volume (m In a case such as the following, calculate the volume of (A), (B) as a single room or as the smallest room. Where there are no smaller room divisions Where there is a room division but there is an opening between the rooms sufficiently large to permit a free flow of air back and forth.- Page 26 NOTES NOTES...
- Page 27 V3: A2P Y1: A1P TO IN/D TO OUT/D UNIT UNIT DS1 1 380- 415 V F1 F2 F1 F2 F1 F2 230 V 16 V V3: A4P V3: A2P Y1: X2M Y1: A1P A B C 230 V DS1 1 16 V 16 V 16 V...
- Page 28 4PW35338-1 Zandvoordestraat 300, B-8400 Oostende, Belgium...