
Related Manuals for Pakedge C36


Summary of Contents for Pakedge C36
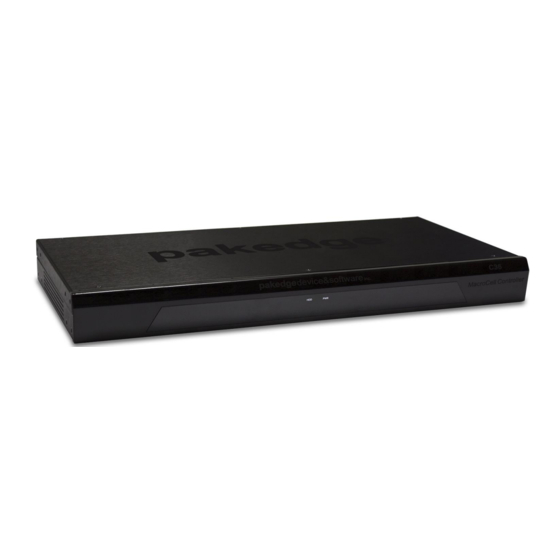
- Page 1 pakedgedevice&software QUICK START GUIDE Enterprise-Class, Fully Managed, Wireless Access Point Controller Version 1.0...
-
Page 2: Table Of Contents
Contents Quick Controller Overview ............................3 Preparing to Install the Controller ..........................3 Configuring the Controller ............................4 Changing the IP Address of the Controller ......................... 5 The Wizard .................................. 6 Guest Network................................8 Access Point Overview..............................8... -
Page 3: Quick Controller Overview
Local management, Speed 115200bps, RJ45 interface Table 2: C36 Rear Panel Port Description Preparing to Install the Controller Installing the C36 is similar to installing a network switch. If you have installed a managed switch before, the process will be very similar. Tools required: o Philips Screwdriver (if using rack-mount brackets). -
Page 4: Installation
2. If mounting the controller in a standard 19” AV rack, attach the rack-mounting brackets that come with the C36 to the sides. If not rack-mounting, ensure that the controller is physically mounted near power and network connections (i.e, backbone switch or firewall/router). -
Page 5: Changing The Ip Address Of The Controller
6. When you have the settings you would like, click “Save”. Figure 3: LAN Settings Now that your C36 has the correct IP information and matches your network’s scheme, you are ready to connect it to either a switch or directly to the router and setup the wireless system. -
Page 6: The Wizard
Step 1: Firmware 1. Before being able to manage or configure the AP(s), they must all be on the same firmware version. If there is any inconsistency in the firmware version, the C36 will notify you ( Figure 4 Figure 4: Firmware out of date 2. - Page 7 1. Once the firmware is updated on all access points, the Wizard will continue. 2. The C36 will scan your network and discover any compatible access points. Click Next to continue. 3. The C36 will detect the network’s DHCP server, which is usually a router. Click Next to continue. Step 3: Global Configuration In this step you will configure up to 4 SSIDs as well as an optional Guest Network.
-
Page 8: Guest Network
APs become ready. When the timer expires, all the APs should say “Online” and you will get a message saying that the C36... - Page 9 Figure 8: Access Point Overview Page NOTE: For more detailed instructions and explanation of the options under the C36 GUI, refer to the C36 Users Manual...
- Page 10 1163 Triton Drive Foster City, CA 94404 Visit us at: www.pakedge.com © Pakedge Device & Software Inc. 2013 – All Rights Reserved...