Table of Contents
Quick Links
Table of Contents

Related Manuals for Canon XL1


Summary of Contents for Canon XL1
-
Page 1: User Manual
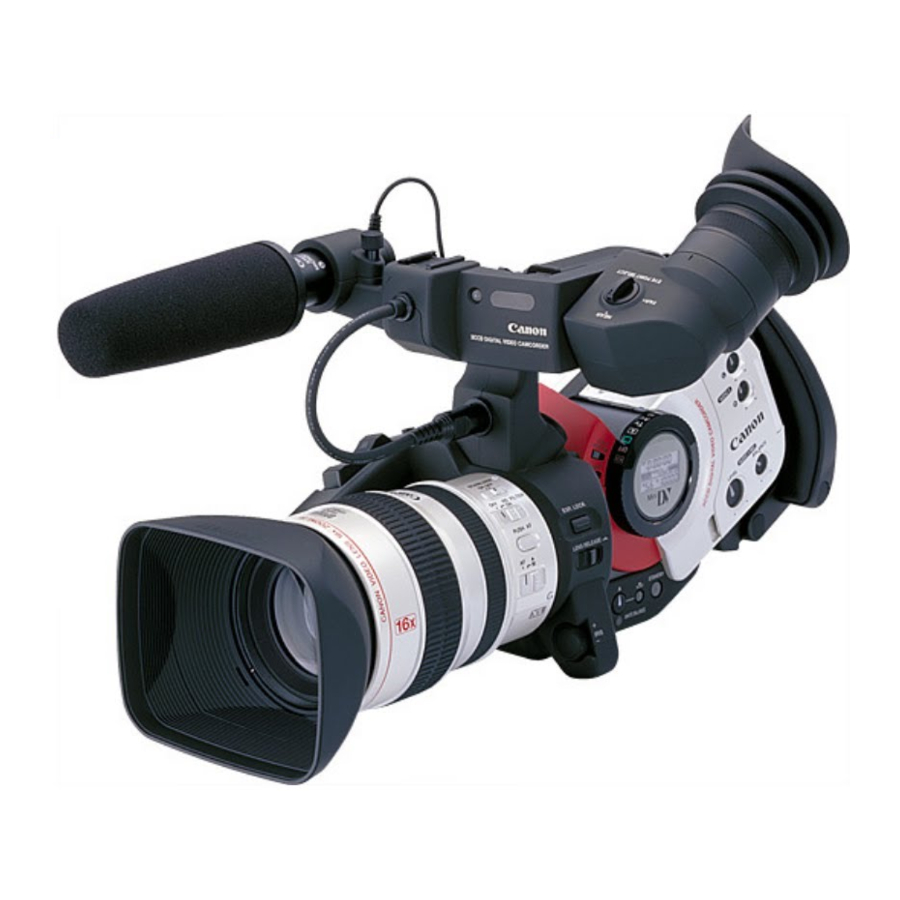
CANON XL1 USER MANUAL By Lindsey Thorpe... -
Page 2: Mounting And Removing Xl Lenses
Attaching the lens hood 1. Remove the lens cap. 2. Align the hood with the lens lengthways, and the Canon logo facing to the left. 3. Twist it 90° into position (clockwise), so that the Canon logo is to the top. -
Page 3: Loading And Unloading A Cassette
• Loading and unloading a cassette 1. Make sure that you have inserted a power source. 2. Slide the EJECT button across to release the cover. • Wait a couple of seconds for the cassette compartment to open automatically. 3. Load or unload the cassette. •... -
Page 4: Easy Recording
• Using the various recoding programmes The camera provides you with a choice of six recording programs. They use different combinations of camera settings in order to adjust the exposure and other functions to match the recording situation. The name of your selected recording program appears constantly on the left of the display, with the exception of the Easy Recording program whose mark is displayed and then disappears after 4 seconds. -
Page 5: Adjusting The Focus
Giving priority to the aperture (Av) Use this program to let you select the aperture (iris diameter) to give you maximum control over the depth of field. A large F number (a small aperture) gives a greater depth of field. Av F2.8 Use this program to let you select the shutter speed. -
Page 6: Using Ae Shift
Gain-up to enable you to increase the depth of field from using a smaller iris aperture. • You cannot use the GAIN in the Easy Recording or Spotlight recording programs. • Adjusting the white balance The XL1 has two modes other than fully auto (A) and manual: Indoor mode (3200°K light) Outdoor mode (5600°K sunlight) -
Page 7: Playing Back A Cassette
1. Turn the POWER dial to any recording program (except the Easy Recording program). 2. Press the white balance selector knob so that it pops out. You can now turn it to choose between A for auto white balance, indoor lighting, outdoor lighting, or turn it to the right to set the white balance manually. - Page 8 Sound Equipment Manual - SHURE MIXER FRONT PANEL CONTROLS AND INDICATORS 1. Pan Control 2. Input Level Bi-Colour LED 3. 1 kHz Tone Oscillator Switch 4. Link Switch 5. Slate Microphone 6. Meter Lamp/Battery Check Switch 7. Output Peak/Limiter Bi-Colour LED 8.
- Page 9 INPUT PANEL CONNECTORS AND CONTROLS 1. Channel Inputs: 2. Mic/Line Level Input Switch: OUTPUT PANEL CONNECTORS AND CONTROLS 1. Mix Bus Jack 2. Main Output 3. Headphones Outputs 4. Monitor In Jack 5. Tape Output Jack 6. Mic/Line Level Output Switch 7.
- Page 10 Rifle mic – put yellow cable (Female) into Male. Insert the opposite end of the yellow cable into the Shure Mixer. Turn Shure Mixer on. Plug headphones in by inserting the big jac. Use channel 1, turn channels 2 and 3 down in order to avoid a hissing sound. To check tone, turn tone button on, use the master switch to set it to -4.
- Page 11 16-bit stereo = highest quality sound, produces CD quality sound, 2 channel sound on one track 12-bit stereo (2 channels) = records on 2 of the 4 available channels, leaving the other channels available for the addition of sound, music, narration, etc. 12-bit stereo (4 channels) = used for simultaneous recording on four channels which means audio can be outputted as four independent channels.
- Page 12 (Stereo 1), leaving 2 channels (Stereo 2) free for you to add new sound at a later date using a DV VCR. NOTE: you cannot add new sound to a tape using the XL1 camcorder. Close the menu. The name of your chosen mode is displayed in the viewfinder and main LCD panel.
- Page 13 Audio 1 Input for Two Channel Recording (Stereo 1) using the RCA jacks, where the sound source is a VCR, CD or other input device using the RCA terminals on the back of the XL1, instead of the microphone mini jack. 1. Open the Camera Menu.
- Page 14 2. If you are using the AUDIO 1 inputs, slide the INPUT SELECT switch to AUDIO 1. This assigns the AUDIO 1 RCA jacks (on the back of the XL1) as the source for the audio input, and disables the supplied microphone.
- Page 15 b. Turn the LEVEL dial to adjust the recording level and BALANCE dial to adjust the balance between the 2 inputs. Check the levels in the audio LCD panel. Note: you can not adjust he volume level independently for the left and right channels. We recommend keeping the level below the 12 point index mark, and monitoring the sound using headphones.
- Page 16 3. To set the input for Stereo 2: Connect a device to the AUDIO 2 RCA jacks on the handle. From the Camera Menu, select Audio 2 INPUT, then select the appropriate option for AUDIO 2 IN: a. LINE: To record sound from a VCR, CD or other line-in devices b.
-
Page 17: Depth Of Field
• Unlike selecting the audio output in VCR mode, you cannot mix the balance at this point — even if VARIABLE is chosen at the VCR menu, it is fixed during camera mode. Depth of Field Shallow vs great DOF Manipulating DOF = iris Focal length (zooming in) - long focal length = shallow DOF (zooming out) –... - Page 18 5. S-video cable – aka YC cable - calculates values/changes by different algorithm - between composite and component - inside camera kit - cleaner than composite - video only PATHWAYS: Composite – noisy, slow, analogue, only takes video information Component – only video, no audio capacity 6.
- Page 19 Frame types and compression You can reveal many fundamental concepts of compression by looking at the kinds of frames in a file. Depending on the codec and options used, one, two, or three kinds of frames may be in a file. A key frame, or I-frame, is a complete image that is compressed using intraframe compression.
- Page 20 distribute 8-bit audio anymore. Modern 16-bit codecs provide better quality at a smaller file size than 8-bit codecs were ever able to. • 16-bit sampling This bit depth is the current standard for audio distribution. Most modern codecs and all audio CDs use 16-bit sampling as well. •...
- Page 21 There are other techniques which can have as much effect on compressibility as the above mentioned techniques. Because these techniques occur later in the process, it is often possible to adjust them based on the results of test compressions, making fine- tuning much easier.
-
Page 22: Digital Formats
common to professional and broadcast video equipment. As the quality of the RCA or BNC cable that is used increases, the noise and attenuation decreases. • S-Video The introduction of the S-Video format was a major advance in quality for consumer and professional video editors. -
Page 23: Exporting Video
broadcast television. Because it is digital and uncompressed, it can be edited and copied many times with no detectable loss of quality. • Digital audio There are many different digital audio formats. Consumer-grade digital audio is carried on electronic (such as S/PDIF) or optical (such as square TOSlink or round Miniplug) connection cables. - Page 24 Choosing whether to preprocess or to avoid rendering The first question that you should ask is when to apply preprocessing (described in the next section): during the rendering phase or later. Preprocessing during rendering generally results in a smaller file, but adds more rendering time. It also means you can’t use an encoding tool for special operations, like inverse telecine.
-
Page 25: End Of Manual
safe areas. The safe areas exclude the edges of the screen, which may be cut off or distorted on some televisions (especially older ones). In some digital video editing applications, you can crop an image using a filter. In others, such as After Effects, the easiest way to crop an image is to scale the video up so the unwanted edges are no longer part of the frame.