Table of Contents

Related Manuals for Samson AURO D415


Summary of Contents for Samson AURO D415
- Page 1 400 Watt 2-Way Powered Loudspeakers...
- Page 2 Safety Instructions/Consignes de sécurité/Sicherheitsvorkehrungen WARNING: To reduce the risk of fire or electric shock, do not expose this unit to rain or moisture. To reduce the hazard of electrical shock, do not remove cover or back. No user serviceable parts inside. Please refer all servicing to qualified personnel.The lightning flash with an arrowhead symbol within an equilateral triangle, is intended to alert the user to the presence of uninsulated "dangerous voltage"...
- Page 3 By doing so you will ensure that your disposed product undergoes the necessary treatment, recovery and recycling and thus prevent potential negative effects on the environment and human health. Copyright 2010 - Samson Technologies Corp. Samson Technologies Corp. 45 Gilpin Avenue...
-
Page 4: Table Of Contents
Table of Contents Introduction Auro D412/D415 Features Quick Start Rear Panel Layout Connecting a Microphone Connecting a Stereo Signal Source Linking Two Speakers Per Side Positioning the Auro D412/D415 Connections Specifications Dimensions... -
Page 5: Introduction
Samson products in the future. -
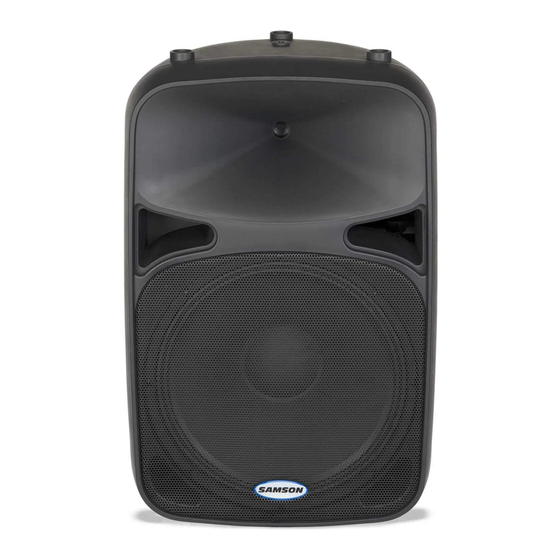
Page 6: Auro D412/D415 Features
Auro D412/D415 Features Here is a look at some the features of the Auro powered loudspeakers: • 400 watt, two-way active loudspeakers for live sound applications • 320W LF + 80W HF power amplifiers (peak) • Ultra-wide, flat frequency response •... -
Page 7: Quick Start
Quick Start The following steps will help you set up your Auro D412/D415 loudspeakers. Setup 1. Turn the Level control on the rear panel fully counterclockwise. 2. Set the Bass and Treble EQ controls to the 12 o’clock position. 3. Turn the Power switch OFF. Connections 1. -
Page 8: Rear Panel Layout
Rear Panel Layout 1 XLR Input Connector This female XLR connector accepts either a balanced microphone or line level signal. 2 1/4” Input Connector Use this 1/4” input for connecting balanced micro- phone or balanced and unbalanced line level inputs. 3 Line Output Male XLR connector used to link multiple Auro cabi- nets. -
Page 9: Connecting A Microphone
Connecting a Microphone Using a Microphone • Be sure that the Auro D412/D415 Power switch is set to the off position. • Turn the LEVEL control fully counterclockwise to the off position. • Connect the power cable to an AC socket. •... -
Page 10: Connecting A Stereo Signal Source
Connecting a Stereo Signal Source Using a Stereo Line Level Signal • Be sure that the Auro D412/D415 Power switch is set to the off position. • Turn the LEVEL control fully counterclockwise to the off position. • Connect the power cable to an AC socket. •... -
Page 11: Linking Two Speakers Per Side
Linking Two Speakers Per Side Linking two Auro cabinets per side: • Turn the LEVEL control fully counterclockwise to the off position. • Connect the left and right line-level outputs from a mixer to the inputs of two Auro loudspeakers. •... -
Page 12: Positioning The Auro D412/D415
Positioning the Auro D412/D415 Speaker Placement Whenever possible, it is a good idea to raise the speakers above the heads of the listening audience. The Auro enclo- sures feature standard 1 3/8” pole mount receptacles with locking bolts, which are compatible with speaker stands from a variety of manufacturers. -
Page 13: Connections
Connections The Auro D412/D415 features balanced inputs and outputs, so connecting balanced and unbalanced signals is acceptable. Whenever possible, use balanced connections to other equipment to suppress interference. Unbalanced 1/4” Connector Balanced TRS 1/4” Connector XLR to XLR Balanced Unbalanced 1/4” Connector to RCA XLR to Balanced 1/4-Inch Owners Manual Auro D412/D415... -
Page 14: Specifications
Specifications D412 D415 Output Power RMS Power 200 W @ 8 ohms Low Frequency Peak Power 320 W @ 8 ohms < 1 % RMS Power 50 W @ 8 ohms High Frequency Peak Power 80 W @ 8 ohms <... -
Page 15: Dimensions
Dimensions 13.5 in/ 10.8 in/ 342 mm 275 mm 17.75 in/ 14 in/ 450 mm 356 mm 27.5 in/ 21.5 in/ 698 mm 546 mm Owners Manual Auro D412/D415... - Page 16 Samson Technologies Corp. 45 Gilpin Avenue Hauppauge, New York 11788-8816 Phone: 1-800-3-SAMSON (1-800-372-6766) Fax: 631-784-2201 www.samsontech.com...