
Related Manuals for GE Drawer Freezer Refrigerator


Summary of Contents for GE Drawer Freezer Refrigerator
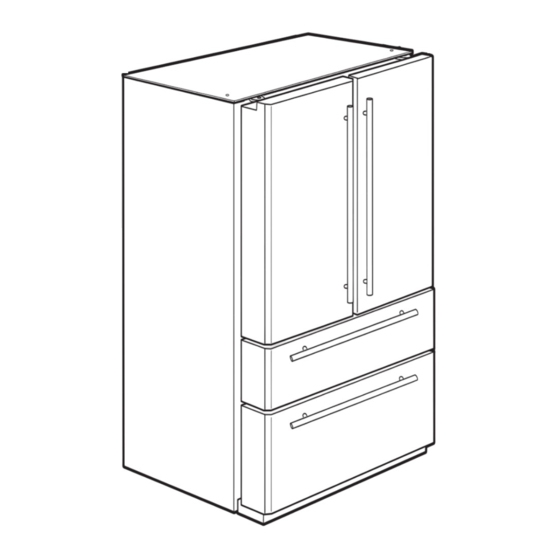
- Page 1 31-46515 225D1974P005 monogram.com Installation Instructions Stainless Steel Free-Standing, Drawer Freezer Refrigerator...
-
Page 2: Table Of Contents
Step 6, Remove the Toekick ...9 Step 7, Move the Refrigerator ...9 Safety Information CAUTION: Due to the weight and size of this refrigerator, and to reduce the risk of personal injury or damage to the product – TWO PEOPLE ARE REQUIRED FOR PROPER INSTALLATION. -
Page 3: Planning Information
The water line should be GE SmartConnect tubing between the cold water line and water connection location at the rear of the refrigerator. Installation of an easily accessible shut off valve in the water line is recommended. -
Page 4: Installation Instructions
Installation Instructions FLOORING For proper installation, this refrigerator must be placed on a level surface of hard material that is at the same height as the rest of the flooring. This surface should be strong enough to support a fully loaded refrigerator. -
Page 5: Step 1 Measure Cabinet Opening
A. Place the anti-tip floor bracket locator template (included inside the anti-tip kit) onto the floor up against the rear wall, within W, and in line with the desired location of the RH side of the refrigerator (see Figure 1). Floor - Concrete... -
Page 6: Step 2, Install Anti-Tip Bracket
NOTE: If you pull the refrigerator out and away from the wall for any reason, make sure the anti-tip floor bracket is engaged when the refrigerator is pushed back against the wall rear wall. -
Page 7: Step 3 Install The Refrigerator
If the opening is less than 31", the top cap, doors and drawers must be removed. (See steps 4–6.) NOTE: Skip steps 4–6 if door removal is not required. Go to page 9, Move The Refrigerator. NOTE: To prevent damage, leave inside packaging, door spacer and outside protective wrap in place until the unit is moved to the installation location. -
Page 8: Step 5 Remove The Fresh Food Doors
Installation Instructions STEP 4 REMOVE THE FREEZER DRAWERS (CONT.) BOTTOM DRAWER REMOVE THE UPPER BASKET A. Open the bottom freezer drawer until it stops. B. Pull the basket out to the stop location. C. Lift the basket up at the front to release it from the slides. -
Page 9: Step 6 Remove The Toekick
STEP 7 MOVE THE REFRIGERATOR • Place a piece of the carton or soft cloth against the side panel of the refrigerator to pad and protect the stainless steel finish. • Place the refrigerator on the handtruck with a side against the truck only. - Page 10 STEP 8 REPLACE THE FREEZER DRAWERS (CONT.) BOTTOM DRAWER ATTACH AND SECURE THE DRAWER FRONT TO THE SLIDES A. Pull out the rail assemblies to the full length on each side of the cabinet. B. Drive the top screw into the door on each side until it is 1/2 way in.
-
Page 11: Step 9 Replace Fresh Food Doors
• Measure the distance from the water valve on the back of the refrigerator to the water supply line. Add 8 foot length to allow the refrigerator to be moved away from the wall after installation. Bend the tubing into 3 coils of about 10". -
Page 12: Step 10A, Ro Water Line
A REVERSE OSMOSIS SYSTEM Skip this step when not using RO System. If the water supply to the refrigerator is from a Reverse Osmosis Water System, use the refrigerator’s filter bypass plug. You must also use the filter bypass plug when a replacement filter cartridge is not available. -
Page 13: Step 14, Level Refrigerator
• The rollers adjust so that the door closes easily when opened about halfway. (Raise the front about 5/8" [16 mm] from the floor.) • Rollers adjust to allow the refrigerator to be firmly positioned on the floor and to prevent rocking when the doors are opened and closed. -
Page 14: Step 16 Install Toekick
3 times to deliver enough water to the icemaker. 213Dia14 Installation Instructions STEP 18 TEMPERATURE CONTROLS • The temperature controls are preset at 37°F for the refrigerator and 0°F for the freezer. • Allow 24 hours to stabilize before making adjustments. - Page 15 Notes...
- Page 16 31-46515 225D1974P005 05-08 JR Printed in Mexico NOTE: While performing installations described in this book, safety glasses or goggles should be worn. For Monogram ® local service in your area, call 1.800.444.1845. NOTE: Product improvement is a continuing endeavor at General Electric. Therefore, materials, appearance and specifications are subject to change without notice.