Table of Contents
Quick Links
See also:
User Manual
Table of Contents

Related Manuals for D-Link DP-101P - Pocket Ethernet Print Server


Summary of Contents for D-Link DP-101P - Pocket Ethernet Print Server
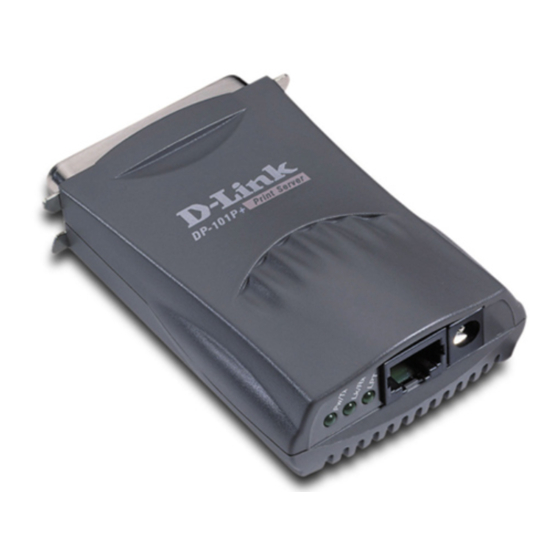
- Page 1 DP-101P+ Pocket Size Print Server Web Configuration User’s Manual Rev.01 (June, 2001) Made In Taiwan RECYCLABLE...
-
Page 2: Table Of Contents
TABLE OF CONTENTS WEB CONFIGURATION ............3 CONFIGURING THE PRINT SERVER ........4 MANAGEMENT................5 ................5 YSTEM TATUS ................6 RINTER TATUS CONFIGURATION ..............7 ................7 ERVER EVICE TCP/IP P ...............8 ROTOCOL BEUI P ..............9 ROTOCOL ..............10 PPLE ROTOCOL TOOLS ..................11 .................11 RINT ..................12 ESET .................13 ACTORY ESET... -
Page 3: Web Configuration
Web Configuration This manual describes the use of the Web Configuration for controlling and configuring print servers. -
Page 4: Configuring The Print Server
Configuring the Print Server Open web browser and type http://192.168.0.1 in the address box. The number is the default IP address of your print server. Press Enter. Note:- The PC’s IP address must correspond with the print server’s IP address in the same segment for the two devices to communicate. The print server’s welcome screen will appear. -
Page 5: Management
Management Click on “Management” in the systems tool bar and in the Management Table it provides information on the print server’s Systems Status and Printer Status. System Status Click on “System Status” in the Management Table. The page will appear as below providing general information regarding the print server. -
Page 6: Printer Status
Printer Status Click on “Printer Status” in the Management Table. The page will appear as below providing general information regarding the printer status. For most updated information click on the “Refresh” button. Once the print server is connected to a printer the Printer Status will show Online. -
Page 7: Configuration
Configuration Click on “Configuration” in the systems tool bar and in the Configuration Table it provides settings to configure the print server for the Server Device, TCP/IP Protocol, NetBEUI Protocol and AppleTalk Protocol. Server Device Click on “Server Device” in the Configuration Table. The page will appear as below providing the settings required to configure the print server. -
Page 8: Tcp/Ip Protocol
TCP/IP Protocol Click on “TCP/IP Protocol” in the Configuration Table. The page will appear as below providing the settings required to configure the print server. Click the “Save” button to ensure the settings are saved and updated. -
Page 9: Netbeui Protocol
NetBEUI Protocol Click on “NetBEUI Protocol” in the Configuration Table. The page will appear as below providing the settings required to configure the print server. Click the “Save” button to ensure the settings are saved and updated. -
Page 10: Appletalk Protocol
AppleTalk Protocol Click on “AppleTalk Protocol” in the Configuration Table. The page will appear as below providing the settings required to configure the print server. Click the “Save” button to ensure the settings are saved and updated. -
Page 11: Tools
Tools Click on “Tools” in the systems tool bar and in the Tools Table it provides information for Print Test, Reset, and Factory Reset. Print Test Click on “Print Test” in the Tools Table. The page will appear as below and click the “Test” button to begin printer printing test. -
Page 12: Reset
Reset Click on “Reset” in the Tools Table. The page will appear as below and click the “Yes” button to activate the reset procedure. -
Page 13: Factory Reset
Factory Reset Click on “Factory Reset” in the Tools Table. The page will appear as below and click the “Yes” button to activate the factory reset procedure. -
Page 14: Help
Help Click on “Help” in the systems tool bar and in the Help Table it provides general information about the print server. About Click on “About” in the Help Table. The page will appear as below providing general information about the print server.