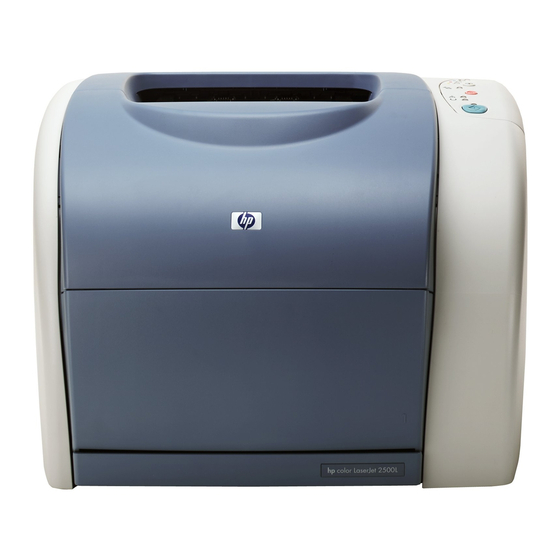
HP 2550L - Color LaserJet Laser Printer Install Manual
Hp color laserjet 2550 series - separation pad install guide
Hide thumbs
Also See for 2550L - Color LaserJet Laser Printer:
- Install manual (8 pages) ,
- Install manual (3 pages)

Related Manuals for HP 2550L - Color LaserJet Laser Printer


Summary of Contents for HP 2550L - Color LaserJet Laser Printer
- Page 1 © 2004 Hewlett-Packard Development Company, LP www.hp.com *Q3702-90925* *Q3702-90925* Q3702-90925...
- Page 2 The contents of the printer maintenance kit Kit 2 contains tray-1, tray-2, and tray-3 Turn the printer off. Disconnect the power cable depend on which kit you have. Kit 1 contains replacement parts: one pickup roller for tray 1; from the back of the printer. tray-1 replacement parts: one pickup roller and one rectangular, two-tab separation pad for tray one rectangular, two-tab separation pad.
- Page 3 Open tray 1. Find the faceplate cover that is located beneath Grasp both sides of the center tab and pull the the pickup roller in tray 1. cover out of the printer. Ouvrez le bac 1. Repérez le couvercle du cache situé sous le Attrapez les deux côtés du tampon central et rouleau d'entraînement du bac 1.
- Page 4 Squeeze the tab on the (1) idler roller that is Slide the idler roller to the right to separate it Squeeze the tab on the (1) idler roller that is located on the right side of the (2) pickup roller. from the pickup roller.
- Page 5 Slide the idler roller to the left to separate it from Press and hold the button that is located on the Locate the separation pad beneath the area of the pickup roller. right side of the pickup roller. Slide the pickup the shaft from which the pickup roller was roller slightly to the right, and then pull it off of removed.
- Page 6 Insert a flatblade screwdriver into the slot under (1) Use one hand to push the spring-loaded Push the spring-loaded base down and position the separation pad. Pry the pad up from the base down. (2) Use the other hand to pull the the new separation pad in the empty slot.
- Page 7 Snap both sides of the separation pad firmly Hold down the new separation pad. (1) Position Slide the left and right idler rollers inward, into place until they click. CAUTION: If the pad the new pickup roller so that the button is on the against the pickup roller, until the idler rollers is not straight, or if space exists between the right side, and the open side of the roller faces...
- Page 8 Hold the faceplate cover as shown in the Grasp both sides of the center tab and insert Replace the separation pad in tray 2 or in illustration, and align the cover with the rails on the cover into the printer until the cover clicks optional tray 3.
- Page 9 Locate the separation pad in the base at the Press the large metal plate at the bottom of the Pull the separation pad up and out of the tray. inside-front edge of the tray. tray down. Insert a flatblade screwdriver in the slots on each side of the base and push the tabs out of the slots.
- Page 10 Use one hand to position the new separation Reload any print media that you removed, and Reconnect the power cable. Turn the printer on. pad above the empty base. Align the grooves then slide the tray into the printer. on the sides of the pad with the sides of the base, and then slide the pad down until the tabs snap into the slots on the base.
- Page 11 Wenn die Seite nicht gedruckt wird oder Sie Angaben zur technischen Unterstützung von Taste , um eine Testseite zu drucken. Auf weitere Hinweise benötigen, rufen Sie Hewlett-Packard finden Sie auf dem TART diese Weise wird geprüft, ob der Drucker „http://www.hp.com/support/clj2550“ auf. Hinweiszettel, der mit dem Drucker geliefert ordnungsgemäß...