Motorola HMEZ2000 - Homesight Wireless Home Security Monitoring Quick Start Manual
Easy start kit
Hide thumbs
Also See for HMEZ2000 - Homesight Wireless Home Security Monitoring:
- Quick start manual (9 pages) ,
- User manual (145 pages)

Related Manuals for Motorola HMEZ2000 - Homesight Wireless Home Security Monitoring


Summary of Contents for Motorola HMEZ2000 - Homesight Wireless Home Security Monitoring
-
Page 2: Package Contents
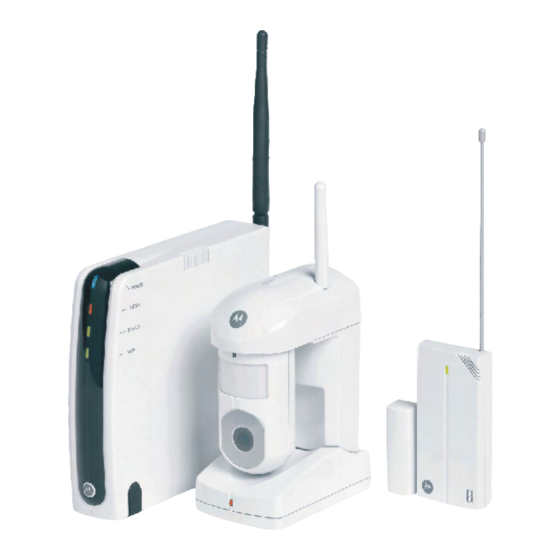
Motorola homesight™ System Overview Congratulations on your purchase of the Motorola homesight Easy Start Kit. This guide describes how to set up and get started with homesight. The Motorola homesight system helps keep you informed day and night, rain or shine. The complete product line... -
Page 3: Computer System Requirements
2.4 GHz. It is recommended that different positions be tried. Additionally, please consider the following points when mounting the sensor: • The Motorola homesight Door/Window Sensor is constructed of UV resistant ABS plastic, allowing for indoor or outdoor use. •... -
Page 4: Installing Your Camera
Do not connect your Wireless System Controller to your computer until the Installation Wizard instructs you to do so. Insert the enclosed Motorola homesight CD in the CD-ROM drive. The Motorola homesight Installation Wizard is displayed. If the application does not appear or autorun, right-click the Start button and select Explore. - Page 5 Discovery button Detach base Position the camera to view the desired area and plug in the power supply. Please keep in mind that the field of view is 80 degrees and the motion sensor distance works up to 12–14 feet (3.5–4 m). Make adjustments to the camera viewing angle by tilting and panning the camera head with your hand.
- Page 6 Mount Your Door/Window Sensor Discover your sensor before mounting it. The spacing between the sensor and the contact should be between 1/10 inch and ½ inch (.25 cm to 1.27 cm). Using the supplied double-sided tape, peel one side of the paper strip and place it on the back of the sensor. Peel the other side of the tape and place the sensor in the location desired.
- Page 7 Wall Mount Drilling Templates Mounting tools: Screwdriver, electric drill or awl. On hard surfaces, Motorola recommends that you pre-drill ½-inch deep pilot holes with a drill bit slightly smaller than the camera mounting screws before securing the camera to the surface.
-
Page 8: Troubleshooting
• Poor picture quality Ensure that you are using the proper power supply. • Make sure the proper camera quality settings are configured when viewing (Motorola homesight™ User Guide). • Make sure your camera viewing area has proper lighting. •... -
Page 9: Regulatory Information
Regulatory Information CAUTION: Changes or modifications not expressly approved by Motorola for compliance could void the user’s authority to operate the equipment. FCC Compliance Class B Digital Device This equipment has been tested and found to comply with the limits for a Class B digital device, pursuant to Part 15 of the FCC Rules. These limits are designed to provide reasonable protection against harmful interference in a residential environment. -
Page 10: Limited Warranty
Product, you assume full responsibility for the selection of the Product for its installation and use. While every reasonable effort has been made to insure that you will receive a Product that you can use and enjoy, Motorola does not warrant that the functions of the Product will meet your requirements or that the operation of the Product will be uninterrupted or error-free. - Page 11 Motorola, Inc. Motorola reserves the right to revise this publication and to make changes in content from time to time without obligation on the part of Motorola to provide notification of such revision or change. Motorola provides this guide without warranty of any kind, either implied or expressed, including, but not limited to, the implied warranties of merchantability and fitness for a particular purpose.