Intermatic IW505K - In-Wall Timer Manual
- Installation and user instructioins (2 pages)
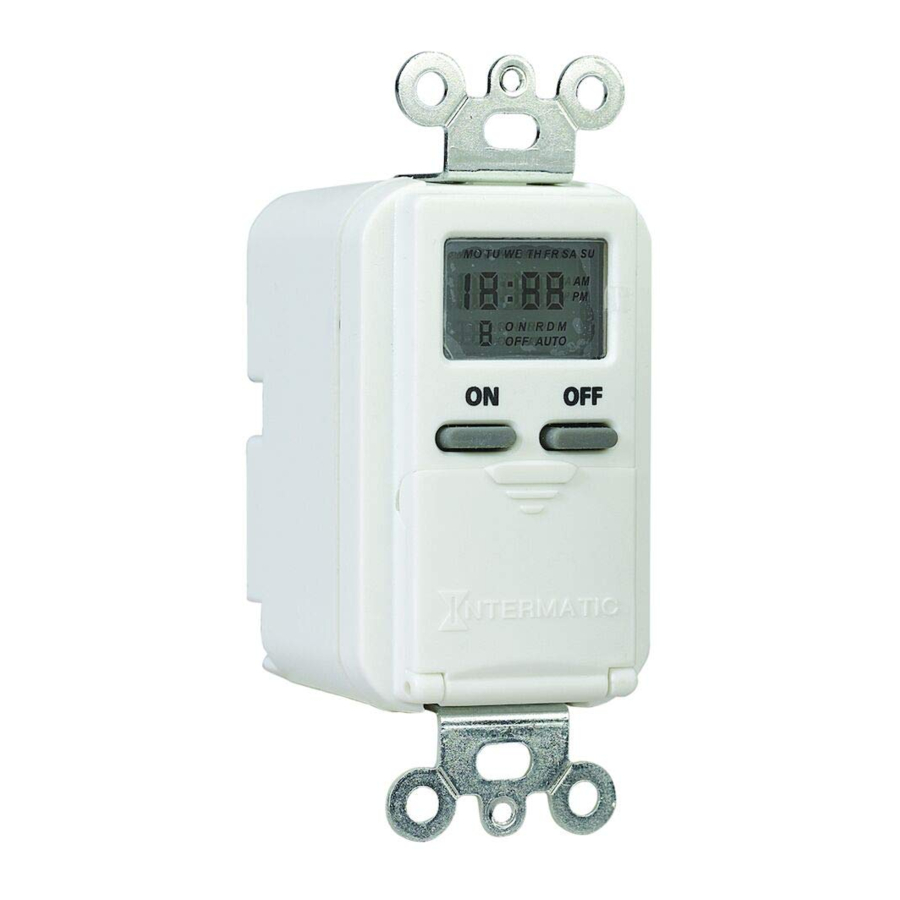
Introduction
|
|

 NOTICE
Ratings:
- All Ratings 125 VAC, 60 Hz
- 15A / 1875W Resistive / Heater
- 15A, General Purpose
- 8A / 1000W Tungsten
- 8A / STD Ballast
- 500 VA Electronic Ballast
- 1/4 HP Motor
Installation
- Disconnect power to fixture.
- Remove wall plate and disconnect existing light switch.
- Be sure to have neutral, hot, and switch leg in box. If all wires are not present, additional wiring will be necessary before installation can be completed. (See Fig. 1)
![]()
- Connect red timer wire to fixture wire and secure with wire connector. (See Fig. 2)
![]()
- Connect black timer wire to the hot wire in junction box and secure with wire connector.
- Connect white timer wire to white wires in junction box and secure with wire connector.
- Connect green timer wire to existing ground.
- Check that all wire connections are secure.
- Place all wires inside junction box.
- Fit timer into junction box and install using two (2) mounting screws (furnished).
- Reconnect the electrical power.


Setting the Clock
- Press and hold CLK and press DAY to scroll to current day.
- Press and hold CLK and press HOUR to scroll to current hour.
- Press and hold CLK and press MIN to scroll to current minute.
Setting Programs
- Press PROG. The 1 ON (Event 1 ON) screen appears.
- Press DAY to scroll to the day(s) for the event to turn ON.
- Press HOUR and MIN to set ON time for the event.
- Press PROG. The 1 OFF (Event 1 OFF) screen appears.
- Repeat Steps 2-3 to set the OFF time for Event 1.
- Repeat procedure to set additional ON/OFF events.
NOTE: Do not set events within 30 minutes or less of each other if using the Random Mode. The Random Mode interval is ± 15 minutes from the programmed times, and programs set too close together may overlap one another. - When all events are set, press CLK to return to time screen.
Clearing (Deleting) an Event
- Press PROG to scroll to the setting you want to clear.
- Press and hold MODE and press PROG to clear the setting.
- Press CLK to return to the time of day screen.
Operating the Time Switch
Press MODE to set Automatic, Random or Manual mode.
NOTE: For the time switch to run programmed events, it must be set to AUTO or RDM mode.
NOTE: After setting events, the timer may turn on the load if you press the MODE button.
- AUTO (Automatic) mode runs all events automatically, according to the schedule you have set.
- RDM (Random) mode is a security feature in which ON and OFF times randomly differ ± 15 minutes from the programmed times, creating a more lived-in look.
- MANUAL mode turns ON and OFF only when the user presses the ON or OFF button.
Overriding Timer Settings
The ON or OFF buttons override the current programmed events.
To override the current program (either ON or OFF), press the ON or OFF button.
NOTE: If the timer is not in "Manual" mode, it will obey the next programmed event. This allows the user to manually turn a light on and allow the program to shut the light back off at a preset time.
Resetting the Timer
In case of an operational failure of the timer, press the RESET button to clear all settings and restart.
This warranty is made by: Intermatic Incorporated, Customer Service 7777 Winn Rd., Spring Grove, Illinois 60081-9698.
For warranty service go to: http://www.Intermatic.com or call 815-675-7000.

Documents / Resources
References

Download manual
Here you can download full pdf version of manual, it may contain additional safety instructions, warranty information, FCC rules, etc.
Thank you! Your question has been received!


Need Assistance?
Do you have a question about the IW505K that isn't answered in the manual? Leave your question here.