Table of Contents
Quick Links
Table of Contents

Related Manuals for Toa IP-A1 Series


Summary of Contents for Toa IP-A1 Series
- Page 1 FREEPBX SETUP MANUAL IP-A1 Series N-SP80 Series TOA Corporation...
-
Page 2: Table Of Contents
Table of Contents INTRODUCTION ............................. 3 PREREQUISITES ............................3 FreePBX Distro Version .......................... 3 INSTALLATION ............................... 3 ACTIVATION ..............................6 UPDATES ................................. 8 System Update ............................8 Module Update ............................9 Network Setup ............................10 SIP PROVISIONING ............................. 11 SIP Codec ..............................11 Creating Extensions for Endpoint Devices .................. -
Page 3: Introduction
FreePBX can also be expanded to add RTP multicast broadcast functionality for IP-based paging. This manual will go over the required configurations for SIP and RTP Multicast on a FreePBX implementation in conjunction with TOA N-SP80 and IP-A1 products. PREREQUISITES... - Page 4 Select “Output to VGA” if your server or appliance comes with a display port (VGA, HDMI, etc.) Select “Output to Serial” if your device only has a console cable. Refer to the Serial port connection guide for instructions on how to connect using this method. For our discussion, we will use the “Output to VGA”.
- Page 5 Login using the default credentials provided by FreePBX. For our testing, we had the default username and password: Default Username: root Default Password: SangomaDefaultPassword 8. Upon successful login, the screen will display the Network Information for the Device Network Adapters. Note, the IP Address shown here.
-
Page 6: Activation
ACTIVATION To fully utilize FreePBX, you will need to activate your FreePBX Deployment. This is required to get full access to required settings, features and module updates. Our recommended method is via the Web GUI. 1. On a separate PC connected to the same LAN as your FreePBX deployment, open a web browser and enter the IP address noted above. - Page 7 3. You will now see the Web GUI Dashboard page. To activate the deployment, go to “Admin” > “System Admin”. This will load the Activation Menu. On this page click “Activation” Select the “New Activation” tab and click “Activate.”...
-
Page 8: Updates
UPDATES Before we add SIP endpoints for our TOA equipment, it is critical to update the main system and the individual modules to the latest stable versions. Here we will show how to update via the Web GUI. System Updates To update the main system, perform the following steps. -
Page 9: Module Update
Module Updates To update the modules, perform the following steps. 1. Click “Admin” > “Updates”. 2. Click the “Module Updates” tab. Click “Check Online” to check available updates. This will show modules that have available updates. 3. Check the “Show only upgradable” check box. -
Page 10: Network Setup
Select the updates that do not have dependencies then click “Process”. After this is done, the red “Apply Config” button will show again on the top right. Click this and wait till it refreshes the system. This will reload the available updates page again. 4. -
Page 11: Sip Provisioning
3. Reboot the system by going to the “Power Options” tab on the “System Admin” Page and click “Reboot”. SIP PROVISIONING We are now ready to provision SIP extensions for your TOA IP-A1 or N-SP80 devices. But before this, we must make sure that we use the same codec as our endpoint devices. SIP Codec SIP Codec used between devices must be the same. -
Page 12: Creating Extensions For Endpoint Devices
2. Scroll down to the “Audio Codecs” Section and check G722 and move it up the priority as shown below. Creating Extensions for Endpoint Devices We are now ready to provide extensions for devices. To provision extensions for the IP-A1 and N-SP80 Series products, proceed as follows. - Page 13 Click “Add Extension” and on the dropdown menu select “Add New SIP (chan_pjsip) Extension”. This will add a PJSIP type extension to our PBX. We recommend PJSIP because it is faster and more stable than the legacy SIP implementation in FreePBX. 2.
- Page 14 3. Click the “Advanced” Tab and scroll down to “Device Settings” Section. On the “SIP DTMF Signaling” Field, make sure that RFC2833 is selected then click “Submit”. TOA IP-A1 and N-SP80 series products use RFC2833 for DTMF signaling. It is an out-of-band protocol that is more robust than In-band methods.
-
Page 15: Endpoint Device Provisioning
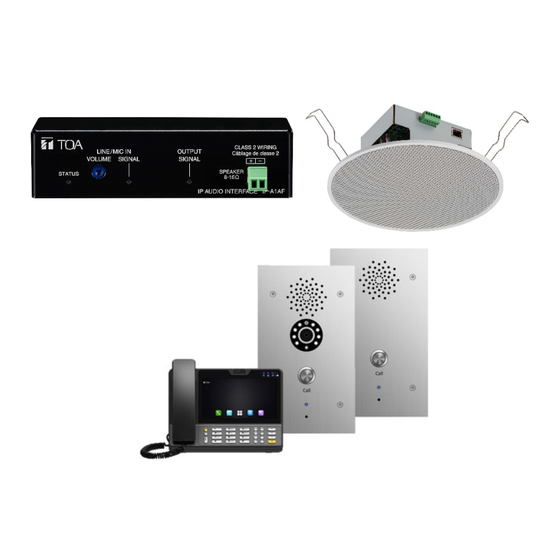
4. On the top right of the page, click the red “Apply Config” button to apply the changes. Endpoint Device Provisioning You are now ready to provision the endpoint device. Please consult the manual for the respective product on how to set and register the device. The general procedure is outlined below: 1. -
Page 16: Versions Of The Paging And Intercom Module
Versions of the Paging and Intercom Module The Paging and Intercom module comes in two forms. First, there is the free version that comes with the FreePBX Distro installation. There is also a commercial version called “Paging Pro” that is unlocked by purchasing a license online at https://www.freepbx.org/add-on/paging-pro/ This commercial unlocks a different set of features on the Paging and Intercom Module. -
Page 17: Limitation Of The Free Version
2. On the “Page Group” page, specify the paging extension number on the “Paging Extension” field. This is the extension called to initiate a page to this group. You can then select the devices you wish to add to this group on the “Device List” field. Limitation of the Free Version This way of accomplishing paging broadcasting is sufficient for a certain number of recipients. -
Page 18: Linux Network Configurations For Multicast
discourage integrators from doing this. The best practice is to have one multicast channel corresponding to one broadcast zone. Linux Network Configurations for Multicast In Linux systems, for your network card to be able to broadcast to a multicast IP, that specific multicast IP address must be added to the network card routing table. -
Page 19: Adding The Multicast Channel For Broadcasting
This adds the multicast address to the paging extension. Now, you can call this extension to initiate a multicast paging broadcast to all endpoint devices listening to this multicast address. For information on how to set individual IP-A1 and N-SP80 devices for multicast listening, refer to the respective device manuals. TOA Corporation www.toacanada.com [email protected]...