DeLonghi La Specialista Maestro, EC9665M - Espresso Machine, Cappuccino Maker Manual
- Instructions for use manual (18 pages)
- 1 IN THE BOX
- 2 CONTROL PANEL
- 3 ACCESSORIES
- 4 GET READY
- 5 FIRST USE CYCLE
- 6 ROAST CHART
- 7 GRINDING & DOSING
- 8 TAMPING
- 9 BREWING
- 10 EXTRACTION GUIDELINES
- 11 MANUAL FROTHING
- 12 AUTOMATIC FROTHING
- 13 CLEANING & MAINTENANCE
- 14 EASILY REGISTER YOUR MACHINE & UNLOCK EXCLUSIVE DE'LONGHI CLUB PERKS
- 15 Documents / Resources
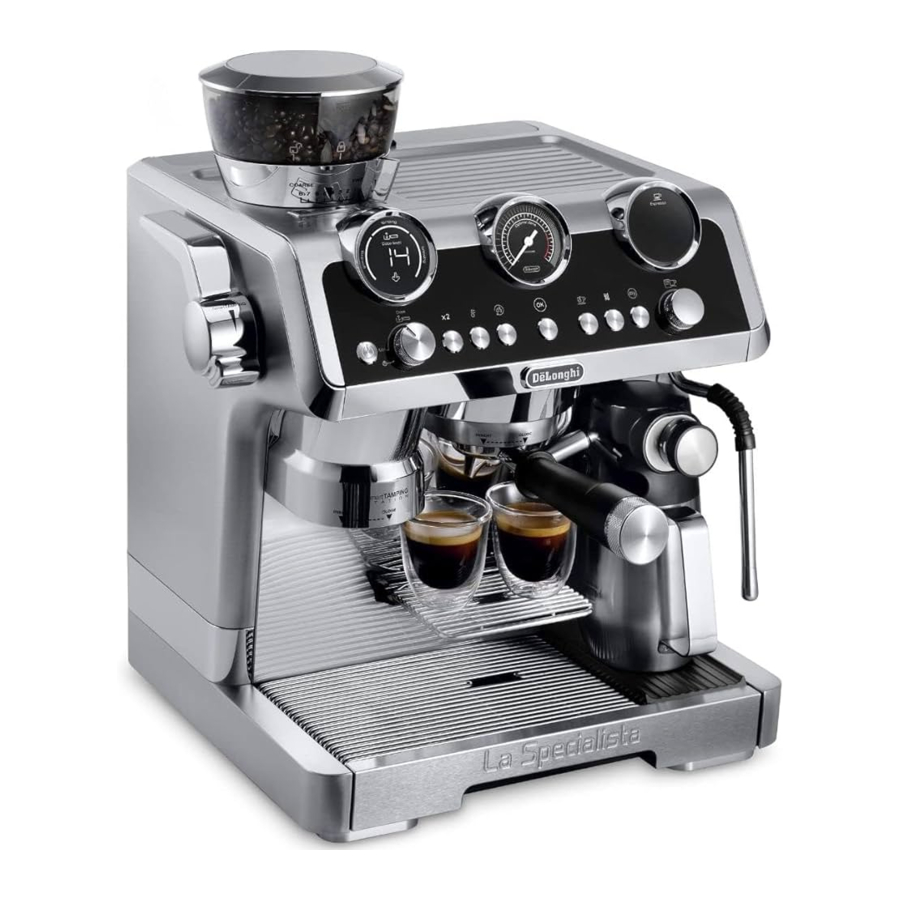
IN THE BOX

A1. Bean container
A2. Bean container lid
A3. Cup tray
A4. Steam dial
A5. Steam wand and nozzle
A6. Lattecrema System connection
A7. Coffee outlet
A8. Cup grille for espresso
A9. Cup grille for glasses or mugs
A10. Drip tray grille
A11. Drip tray
A15. Water tank
B. Control Panel
C1. Portafilter
C2. Single espresso filter
C3. Double espresso filter
D8. Milk container

This short guide is not intended to explain all the functions of the appliance.
Please read all the owner's instruction booklet before use.
CONTROL PANEL

B1. ON/Standby button
B2. Coffee dose dial
B3. "X2" button: to use the 2 coffees filter
B4. Coffee Temperature button
B5. "Acive Rinse" button
B6. "OK" button: to deliver the beverage/confirm
B7. Hot water button
B8. "Descaling" button
B9. "My" button: to customise beverage quantity
B10. Beverage selector dial
B11. Beverage selected light:
Espresso based beverages
- Espresso
- Americano
- Coffee
Milk based beverages
- Cappuccino
- Flat White
- Latte
B12. "Milk clean" light
B13. "No beans container" light
B14. "General alarm" light
B15. Pressure gauge
B16. "No water" light
B17. Beans container empty light
B18. "Energy saving" light
B19. Led module process:
- Indicates the operation the appliance is running
- The setting of the dose level
- The infusion temperature setting
ACCESSORIES

C1. Portafilter
C2. 1-cup coffee filter
C3. 2-cups coffee filter
C4. "Water hardness test" indicator paper
C5. Descaler
C6. Descaling accessory
C7. Removable power cord
C8. Tube brush
C9. Coffee outlet cleaning disk accessory
C10. Cloth
D1. Milk container lid
D2. Milk container connector
D3. Lid release button
D4. Milk spout (adjustable height)
D5. Froth selection knob
D6. Knob housing
D7. Milk intake tube
D8. Milk container
GET READY
Clean all accessories with warm water and mild detergent and dry them, install all accessories and fill the tank with fresh water.
- Step 1
![]()
- Step 2
![]()
- Step 3
![]()
- Step 4
![]()


FIRST USE CYCLE
Rinse and get your machine ready to operate.
This is only required the first time out of the box.
- Plug the power cord into the machine and the outlet, then turn the power switch on.
![]()
- Step 2
![]()
- Step 3
![]()
- Step 4
![]()
- Step 5
![]()
- Turn the steam dial (on the side of the machine) on, purge for 10 seconds and shut off.
![]()


ROAST CHART
Coffee is complex and develops over time. Use this chart as a reference and make adjustments as necessary.
See the "Extraction Guidelines" section to evaluate your results. Enjoy exploring and finding what fits your taste profile.
LIGHT ROAST

- Light brown in color with no oil on the surface
- A toasted grain taste with pronounced acidity
- More caffeine than any other roast levels
- Origin flavors are better preserved than in a dark roast
DOSE: 5
GRIND: 3
TEMPERATURE:5
MEDIUM ROAST

- Medium brown in color with more body than a light roast
- No oil on the bean surface
- More balanced in flavor, aroma and acidity
- Caffeine is more decreased, but still stronger than dark roasts
DOSE: 10
GRIND: 4
TEMPERATURE: 4
MEDIUM DARK ROAST

- A rich, darker color with some oil on the surface of the bean
- A heavier body in comparison to light and medium roasts
- Flavors are noticeable and taste somewhat spicy
DOSE: 15
GRIND: 4
TEMPERATURE: 3
DARK ROAST

- Dark in color with a sheen of oil on the surface
- The flavor is generally bitter, smokey or even burnt in taste
- The amount of caffeine is substantially decreased
DOSE: 20
GRIND: 5
TEMPERATURE: 2
GRINDING & DOSING
- Step 1
![]()
- Select the right grind setting, based on the Roast Chart
![]()
- Select the x2 button when preparing a double espresso BEFORE grinding and dosing and use the double filter basket.
![]()
- Select the right dose based on the Roast Chart.
![]()
- As a reference, the darker the roast of your coffee beans, the higher the dose.
![]()
- Step 6
![]()


TAMPING
- After grinding, pull lever down fully and place back in start position.
![]()
- Keep lever down while removing portafilter.
![]()
- Make sure the tamped ground coffee is within the line inside the filter.
See Roast Chart for additional guidance.
Increase or decrease dose until desired amount has been achieved.
![]()


 Please note:
If any residual ground coffee remains after tamping, it will not impact the quality of the extraction.
BREWING
- Select your beverage: Espresso, Coffee, Americano, Cappuccino, Latte or Flat White.
If you select a milkbased beverage, please continue to additional Milk Frothing sections after brewing.
![]()
- Select the Coffee Temperature
![]()
Button to select 1 of the 5 settings available. Please see Roast Chart for guidance.
![]()
- Step 3
![]()


EXTRACTION GUIDELINES
Extracting the perfect espresso is an art and might take a couple of tries. Be ready to adjust the coarseness of the grind and always make sure to have the tamped ground coffee at the indicator line in the filter to be able to reach perfect extraction.
Perfect espresso

- Flow like warm honey
- Nut-Brown Crema, 3-4mm thick
- Well-Balanced and Long Lasting on the Palate.
Under extracted

- Flowing fast like water
- Light and pale Crema
To make it perfect:
- Adjust grinding setting to a finer setting
- Make sure ground quantity is within the indicator level
Over extracted

- Flowing in drips or not at all
- Crema very dark and not uniformed
To make it perfect:
- Adjust grinding setting to a coarser setting
- Make sure ground quantity is within the indicator level
MANUAL FROTHING
- Fill the milk jug with fresh cold milk or preferred milk-alternative.
![]()
- Turn steam wand on to purge condensation before use. Point steam wand away from you during this process.
![]()
- To froth, place nozzle on the surface of milk and air will catch by the mixing of milk and steam.
![]()
- Keep the steam nozzle just on the surface, careful not to make big bubbles by not letting too much air in.
![]()
- Insert the steam nozzle just under the milk to create rotation (or vortex). Once the milk jug is too hot to touch, turn off.
![]()
- Clean the steam wand with a damp cloth immediately after use.
![]()


AUTOMATIC FROTHING
- Fill the milk jug with fresh cold milk or preferred milk-alternative.
![]()
- Step 2
![]()
- Turn knob to select desired froth level for beverage.
![]()
- Step 4
![]()
- Select either Cappuccino, Latte or Flat White.
![]()
- Prepare coffee or espresso portion of the recipe by following previous instructions on Grinding, Dosing, Tamping.
![]()
- Press OK to start. Machine will automatically brew and froth milk in sequence.
![]()
- After each use, turn the dial knob to "Clean"position. Hot water will be delivered. After cleaning, turn the knob back on foam setting.
![]()


CLEANING & MAINTENANCE
Keeping your machine clean will improve the quality of the beverage and the longevity of the machine.
- Empty drip-tray daily or when full.
![]()
- Clean filter baskets after each use.
![]()
- Disassemble each part of the LatteCrema System and remove any milk residue daily.
![]()
- For any stubborn milk residue on the steam wand, use DeLonghi Eco Multiclean Solution, available on delonghi.com.
![]()
- Promptly descale the machine when the Descaling light turns on (orange). Follow the detailed instruction on the User Manual.
![]()


EASILY REGISTER YOUR MACHINE & UNLOCK EXCLUSIVE DE'LONGHI CLUB PERKS
Register your La Specialista Maestro Espresso Machine and automatically become a De'Longhi Club Member for special offers, private sales and specialized support.

- STEP #1: TAKE A PHOTO.
- Snap a photo of the camera icon, including the points.

- Snap a photo of the camera icon, including the points.
- STEP #2: SEND PHOTO
- Send a photo via text, Facebook Messenger or upload online.
![]() TEXT PHOTO TO 71403
TEXT PHOTO TO 71403
![]() MESSENGER @ PHOTOREGISTER,
MESSENGER @ PHOTOREGISTER,
![]() ONLINE: WWW.DELONGHI.PHOTO,
ONLINE: WWW.DELONGHI.PHOTO,
- Send a photo via text, Facebook Messenger or upload online.

 TEXT PHOTO TO 71403
 MESSENGER @ PHOTOREGISTER,
 ONLINE:
 NEED HELP?:
Visit photoregister.com/help or text HELP to 71403.
CONTACT US
- Online: Delonghi.com
VISIT US AT DELONGHI.COM


Documents / Resources
References

Download manual
Here you can download full pdf version of manual, it may contain additional safety instructions, warranty information, FCC rules, etc.


