Table of Contents
Quick Links
Table of Contents

Related Manuals for Parmco DR8WCON


Summary of Contents for Parmco DR8WCON
- Page 1 INSTALLATION AND OPERATING INSTRUCTIONS Model: DR8WCON As part of Parmco Appliances commitment to improving and updating product ranges, we reserve the right to alter, change and update technical specifications and appearance attributes of all Parmco Appliances products. E&OE. 727626082022...
- Page 2 Dear Valued Customer, Thank you and congratulations on purchasing your new Parmco appliance. All Parmco products are made to the highest quality and design standards. We are sure you will enjoy your new appliance. As a note, please read through these instructions carefully. These will assist you in gaining a complete understanding of the functions and features offered by your appliance.
- Page 3 • If proof of date of purchase is not supplied, except at the sole Service Agent. discretion of Parmco Sales. Proof of purchase can be for the • This warranty is offered as an extra benefit, and does product itself, or if installed with a kitchen or house then proof of...
- Page 4 Read and understand thoroughly this safety instructions before use. The items indicated here are very important safety precautions, which must be followed. Any failure and losses caused by ignoring the above mentioned items and cautions mentioned in the operation and installation instruction are not covered by our warranty and any liability.
- Page 5 Never stop a tumble dry before the end of the drying cycle unless all items are quickly removed and spread out so that the heat is dissipated. This machine is not intended for use by young children or infirm persons without supervision. The package materials may be dangerous to children.
-
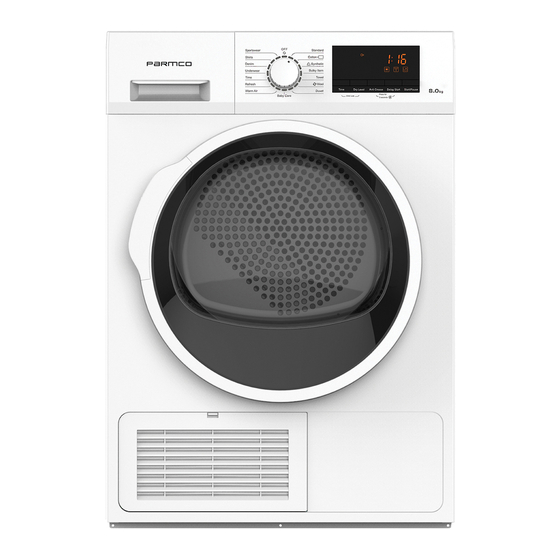
Page 6: Control Panel
1.Control Panel 2.Drainage container 3.Fluff filter 4.Door 5.Condenser cover Condenser Adjustment leg Control panel 1. Programme Selection Knob 2. Time 3. Child Lock 4. Dry Level 5. Anti Crease 6. Buzzer 7. Delay Start 8. Start/Pause 9. Indicator Lights: Drainage Container Fluff Filter Ensure that the electrical connections comply with the installation instructions. - Page 7 Attention: “ ” is for the “standard cotton programme”. The programme is suitable to dry normal wet cotton laundry and it is the most efficient programme in terms of energy consumption for drying wet cotton laundry. Some thick clothes ( jeans, big towel ). Because of the material characteristics, some place hard to dry.
- Page 8 It can be selected in both cases before and after selecting option programme (Buzzer,Anti-creasing). The countdown begins after you have pressed the Start/Pause button and the corresponding light illuminates. The display shows the remaining time. The remaining time is displayed hour by hour. The display shows the following information: After you have selected the program, its duration (in hours and minutes) appears on the display.
- Page 9 When the machine is on, press meantime “Time” and “Dry level” button for several seconds, the system will lock all the buttons. Then all buttons are invalid except “off”. If you want to make the appliance to return to the normal state, then press “Time”...
-
Page 10: Drying Programmes
Button up pillowcases ,close zip fasteners, hooks and poppers. Tie any belts or long tapes. To avoid laundry becoming tangled: Close zips, button up duvet covers and tie loose ties or ribbons(e.g.of aprons). Turn items with double-layered fabrics inside out(e.g.with cottonlined anoraks, the cotton layer should be outermost). These fabrics will then dry better. Remove all objects from pockets such as lighters and matches. -
Page 11: Stainless Steel Tumbler
You must DISCONNECT the appliance from the electricity supply, before you can carry out any cleaning or maintenance work . Don’t clean the dryer by directly spraying water onto the dryer. Don’t clean the dryer with benzene, thinner, alcohol, or acetone. Otherwise, it may cause discoloration, deformation, damage. electric shock or fire. When cleaning the product, be sure to unplug the power cord. -
Page 12: Cleaning The Condenser
2.Tip water into pool 1.Pull out water container Water container emptied Water container collects all of the water from condenser. Water-tank Water container need to be emptied after every drying cycle. If the water container is full, an active programme will break off automatically. -
Page 13: Water Discharge
IMPORTANT: If you call out an engineer to a fault listed below, or to repair a fault caused by incorrect use or installation, a charge will be made even if the appliance is under guarantee. DR8WCON Dryer Model 220-240/50 2150 40.5... -
Page 14: Packaging Materials
Check across the corner When press on the edge, the machine should not shake up and down.(please check two direction) when press on the top frame (across the corner), the dryer shakes, need to re-adjust the adjustable feet. Do not put stacks of blanket or a rope on the floor, which could generrate some heat and affect the machine running. -
Page 15: Ecological Hints
Ecological hints To save energy and to help protect the environ ment, we recommend that you follow these hints: Try to load the maximum capacity of the machine as small loads are uneconomical. Do not over-dry laundry,this avoids creasing and saves energy. Select the drying programme according to the type of laundry and the required degree of dryness.