- 1 IMPORTANT SAFEGUARDS
- 2 GETTING TO KNOW YOUR POWERCRUSH QUIET TECHNOLOGY DIGITAL BLENDER
- 3 HOW TO USE
- 4 GETTING STARTED
- 5 BLENDING JAR ASSEMBLY
- 6 USING YOUR BLENDER
- 7 USING THE PREPROGRAMMED FUNCTIONS
- 8 USING THE SINGLE SERVE BLENDER JAR
- 9 BLENDING TIPS AND TECHNIQUES
- 10 SPEED AND FUNCTION CHART
- 11 CARE AND CLEANING
- 12 CLEANING TIPS
- 13 TROUBLESHOOTING
- 14 RECIPES
- 15 WARRANTY AND CUSTOMER SERVICE INFORMATION
- 16 Documents / Resources
PLEASE READ AND SAVE THIS USE AND CARE BOOK.
IMPORTANT SAFEGUARDS
When using electrical appliances, always follow basic safety precautions to reduce the risk of fire, electric shock, and/or injury, including the following:
- Do not let cord hang over the edge of table or counter, or touch hot surfaces.
SAVE THESE INSTRUCTIONS.
This product is for household use only.
POLARIZED PLUG
This appliance has a polarized plug (one blade is wider than the other). To reduce the risk of electric shock, this plug is intended to fit into a polarized outlet only one way. If the plug does not fit fully into the outlet, reverse the plug. If it still does not fit, contact a qualified electrician. Do not attempt to modify the plug in any way.
TAMPER-RESISTANT SCREW

This appliance is equipped with a tamper-resistant screw to prevent removal of the outer cover. To reduce the risk of fire or electric shock, do not attempt to remove the outer cover. There are no user-serviceable parts inside. Repair should be done only by authorized service personnel.
ELECTRICAL CORD
- If an extension cord is used,
Note: If the power cord is damaged, please call our Customer Service line listed in these instructions.
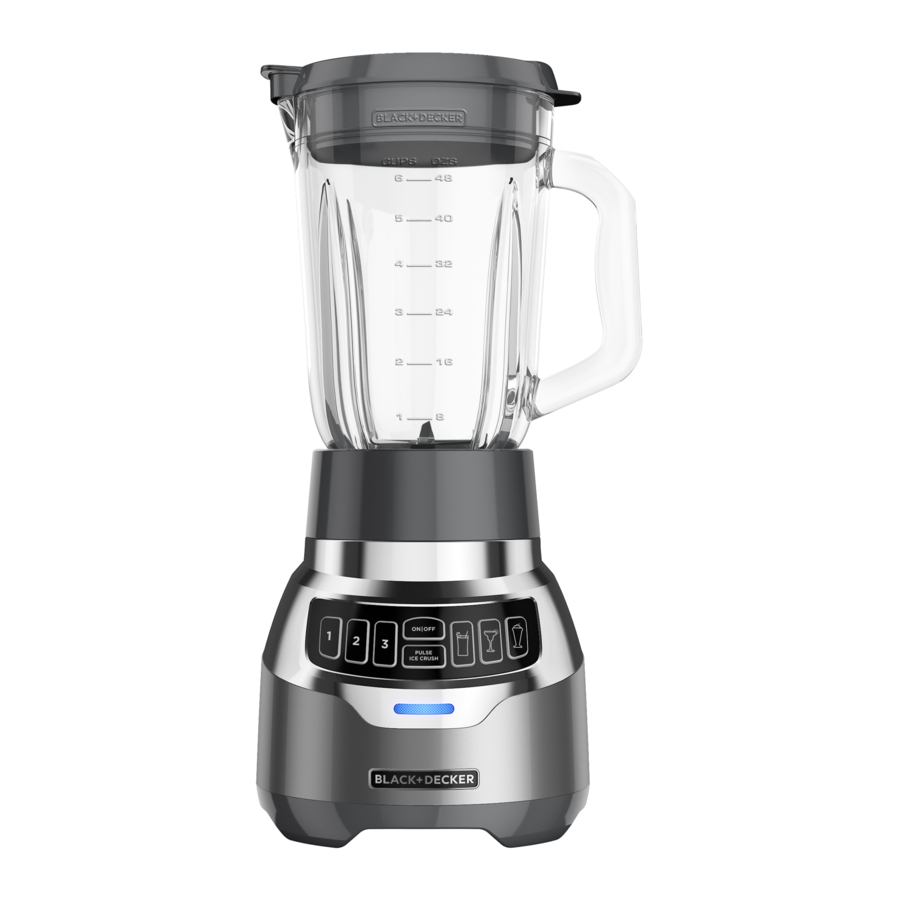
GETTING TO KNOW YOUR POWERCRUSH QUIET TECHNOLOGY DIGITAL BLENDER

- Single serve jar travel lid (Part# BL1550-03)
- Cord storage (under base)
- Non-skid rubber feet
Product may vary slightly from what is illustrated.
HOW TO USE
This product is for household use only.
GETTING STARTED
- Please visit www.prodprotect.com/applica to register your warranty.
BLENDING JAR ASSEMBLY
- Place the blade assembly in bottom opening of the jar with blades down. (A)

![]()
Blades are sharp. Handle carefully. - Place the jar assembly on blender base. (B).


USING YOUR BLENDER

Appliance should always have lid in place when in use.

Do not place blender jar onto base when motor is running.
- Place ingredients to be blended into jar. For best results, add ingredients in the following order:
- Ice cubes last
Tip: When using frozen fruits it is not necessary to also add ice.
- Ice cubes last
- Plug power cord into outlet. Press ON/OFF button. LED should turn a solid color to signify the blender is in standby mode. After 60 seconds the unit will automatically power off if no buttons are pressed. The LED will blink slowly when the blender is in use.
Note: When in use, do not leave blender unattended. When using hard foods, such as ice or cheese, keep one hand on the lid to keep blender in place. - Select the speed that best suits your desired task. (See SPEED CHART)
![]()
Do not hold speed button. Simply press the desired speed, watch, and press ON/OFF when the desired consistency is achieved. Holding the button for longer than 30 seconds will cause the blender to shut off. Unit must be shut off to reset. - Open the ingredient slot to add ingredients while the blender is running. Drop ingredients through the opening. (C).

![]()
Do not remove the lid while the blender is running. - Open pour spout to serve.
Note: Unit will auto shutoff after 60 seconds without use.

USING THE PREPROGRAMMED FUNCTIONS
- Press desired preprogrammed button. The blender will automatically mix and blend the following recipes with the press of a button:
USING THE SINGLE SERVE BLENDER JAR
Note: Do not blend hot liquids in the single serve jar.
- Place the single serve blender jar on a flat surface with the open end facing up. Fill the jar with ingredients. Do not fill ingredients past the Max fill line.
Note: For best results, add ingredients in the following order: - Once blending has finished, remove the single serve jar by lifting off the base. Turn the jar over and place it on a flat surface.
Note: Always make sure blades have stopped moving before removing jar.
![]()
If the jar gets stuck on the blending base or begins to loosen from the jar base, follow these steps: - Place the single serve jar drinking lid on the single serve jar and enjoy your delicious drinks on-the-go.
![]()
Blades are sharp. Handle carefully.
BLENDING TIPS AND TECHNIQUES
DO NOT USE BLENDER TO BLEND:
SPEED AND FUNCTION CHART
| Function | Food Type | Speed Setting |
| 1 | Stir Mix Crumb | Prepare salad dressings. Mix ingredients for baked goods. Make crumbs: cookie, cereal, bread. Blend in the single serve jar. |
| 2 | Chop Whip Blend | Chop fruits, vegetables. Whip whipped cream or butter. Blend smoothies, sauces |
| 3 | Dressings Batters Dips | Puree fruits and vegetables. Blend milkshakes and malts. Grind hard cheeses and coconut. |
| Pulse/Ice Crush | Pulse Ice | Pulse to desired consistency. Crush ice to snow texture. |
| 30 Second Smoothie | Smoothies | Preset function |
| Icy Drinks | Margaritas Daiquiris | Preset function |
| Mix/Shakes | Mix Milkshakes | Preset function |
CARE AND CLEANING
This product contains no user serviceable parts. Refer service to qualified service personnel.
- Remove the blade assembly.
![]()
Blades are sharp. Handle carefully.
CLEANING TIPS:
Note: If liquids spill onto the base, wipe with a damp cloth and dry thoroughly.
Do not use rough scouring pads or cleansers on parts or finish.
TROUBLESHOOTING
| Problem | Possible Cause | Solution |
LED blinking quickly (100 msec/time) | Blender overheated or button held longer than 30 seconds. | Unit must be reset. Unplug to reset. Let unit cool for at least 20 minutes. |
Blender stops/goes into STANDBY mode | Blending time exceeds 2.5 minutes. | Re-select appropriate speed setting to start blender. |
RECIPES
CLASSIC SMOOTHIE
Place ingredients in blender in order shown above. Cover and blend for 15 seconds, or until smooth.
Makes 6 (1 cup) servings
Tip: Substitute orange juice for apple juice
EASY FROZEN MARGARITA
Place ingredients in blender with liquids first and ice last; cover. Blend on AUTO setting 1. Serve with lime wedges if desired.
Makes 6 servings
VANILLA MALTED MILKSHAKE
Place ingredients into blender jar in order shown above; cover. Blend on AUTO setting 3.
Makes 4 (1 cup) servings
Tip: Substitute your favorite ice cream flavor in place of vanilla.
WARRANTY AND CUSTOMER SERVICE INFORMATION
For support or any questions regarding your appliance, call the appropriate 800 number listed within this section. Please DO NOT return the product to the place of purchase. Also, please DO NOT mail product back to manufacturer, nor bring it to a service center. You may also want to consult our Product Protection Center at www.prodprotect.com/applica.
Two-Year Limited Warranty (Applies only in the United States and Canada)
What does my warranty cover?
How long is the warranty period?
What support does my warranty provide?
How do you get support?
- Visit the online service website at www.prodprotect.com/applica, or call toll-free 1-800-231-9786, for general warranty service.
What does my warranty not cover?
How does state law affect my warranty?

Register online at
www.prodprotect.com/blackanddecker

Rate and review your products at
www.BlackAndDeckerAppliances.com

Share your pictures & stories with us online


Should you have any questions or concerns with your new product, please call our Customer Service Line at 1-800-465-6070 (US and Canada). Please do not return to the store.

Documents / Resources
References
![www.prodprotect.com]() prodprotect.com
prodprotect.com![www.prodprotect.com]() prodprotect.com
prodprotect.com![www.blackanddeckerappliances.com]() Toasters + Ovens | Coffee + Tea | Blenders + Food Prep | BLACK + DECKER
Toasters + Ovens | Coffee + Tea | Blenders + Food Prep | BLACK + DECKER

Download manual
Here you can download full pdf version of manual, it may contain additional safety instructions, warranty information, FCC rules, etc.
Thank you! Your question has been received!


Need Assistance?
Do you have a question about the POWERCRUSH that isn't answered in the manual? Leave your question here.