Table of Contents
Available languages
Available languages
Quick Links
Chapters
Table of Contents

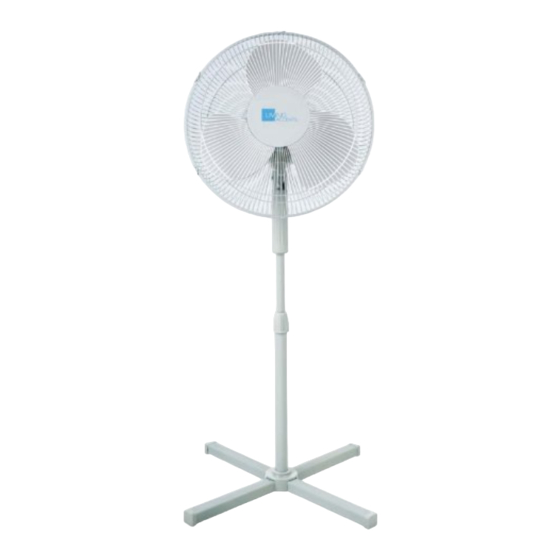
Summary of Contents for FACTO FS40-8M
- Page 1 70395008 FS40-8M 16" Stand Fan Ventilateur sur pied de 16 po...
-
Page 2: Table Of Contents
SUMMARY ..................2 CAUTION ..................2 WARNING ..........2 RULES FOR SAFE OPERATION .................2 PART DIAGRAM ..........3 STAND & COLUMN ASSEMBLY ........3 GRILLE & FAN BLADE ASSEMBLY ..........4 OPERATING INSTRUCTIONS ...........4 MAINTENANCE INSTRUCTIONS .................4 CLEANING .................5 WARRANTY... -
Page 3: Caution
CAUTION Read the Rules for Safe Operation and the Instructions carefully. WARNING 1. To reduce the risk of fire or electric shock, do not use this fan with any solid-state speed control device. 2. This appliance has a polarized plug (one blade is wider than the other). To reduce the risk of electric shock, this plug is intended to fit in a polarized outlet only one way. -
Page 4: Stand & Column Assembly
STAND & COLUMN UNIT ASSEMBLY 1. Unpack the packing box and check the parts by referring to the parts diagram. Loosen the 4 screws in the center of the stand. Place the column on the stand and align the screw holes. Then tighten the screws. (See Fig.1) 2. -
Page 5: Operating Instructions
OPERATING INSTRUCTIONS 1. Speed control Speed is controlled by the knob: 0 (Off), 1 (Low), 2 (Medium), 3 (High). 2. Clutch knob To make the fan oscillate, push down on the oscillation knob. To lock the fan in the desired position, pull the knob up. -
Page 6: Warranty
WARRANTY Thank you for purchasing this FACTO product. These products have been made to quality standards and are guaranteed for domestic use against manufacturing faults for a period of 12 months from the date of purchase. This warranty does not affect your statutory rights. In case of any malfunction of your FACTO product (failure, missing part, etc.), please contact one of our service technicians... - Page 7 SOMMAIRE ..................7 ATTENTION ................7 AVERTISSEMENT .........7 RÈGLES D'UTILISATION SÉCURITAIRE .................8 NOM DES PIÈCES .........8 MONTAGE DU PIED ET DU POTEAU .......9 ASSEMBLAGE DES GRILLES ET DE L'HÉLICE ............9 DIRECTIVES D'UTILISATION ...........9 INSTRUCTIONS D'ENTRETIEN .................10 NETTOYAGE ..................10 GARANTIE...
-
Page 8: Attention
ATTENTION CAUTION Lire attentivement les sections Règles d'utilisation sécuritaire et Instructions. AVERTISSEMENT 1. Afin de réduire les risques d'incendie et de choc électrique, ne pas utiliser ce ventilateur avec un régulateur de vitesse à semi-conducteurs. 2. Cet appareil est doté d’une fiche polarisée (une lame est plus large que l’autre). Pour réduire le risque de choc électrique, cette fiche est conçue pour ne s'insérer que d'une seule façon dans une prise polarisée. -
Page 9: Nom Des Pièces
NOM DES PIÈCES Écrou plastique Grille avant Arbre du moteur Pale Bouton d’oscillation Commutateur Boîtier du moteur Serrer Vis à oreilles Grille arrière Desserrer Poteau interne Tourniquet Attacher Poteau de rallonge Anneau de réglage de hauteur Pied MONTAGE DU PIED ET DU POTEAU 1. -
Page 10: Assemblage Des Grilles Et De L'hélice
ASSEMBLAGE DES GRILLES ET DE L'HÉLICE 1. Retirer l'écrou en plastique en le tournant dans le sens anti-horaire. 2. Placer la grille arrière sur la tête du ventilateur. 3. Visser l'écrou de plastique (dans le sens horaire) afin de fixer la grille sur la tête du ventilateur. -
Page 11: Nettoyage
GARANTIE Merci d’avoir acheté ce produit FACTO. Ces produits ont été conçus pour répondre à des normes de qualité et sont garantis pour usage domestique contre tout défaut de fabrication pour 12 mois suivant la date d’achat. Cette garantie n’a aucune incidence sur vos droits légaux.


