Table of Contents
Quick Links
Table of Contents

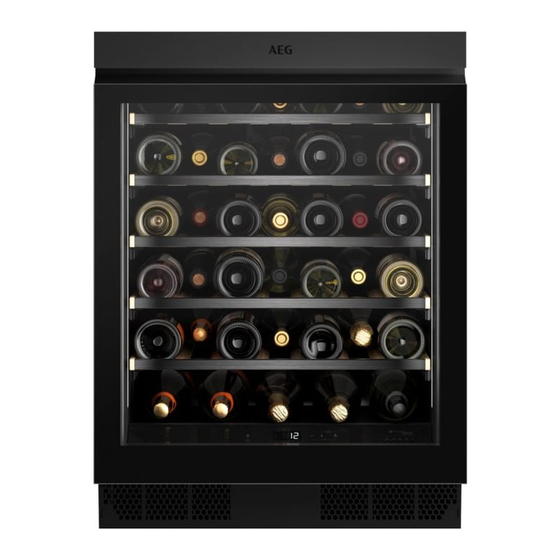
Summary of Contents for AEG AWUS040B8B
- Page 1 AWUS040B8B User Manual Wine Cabinet USER MANUAL...
-
Page 2: Table Of Contents
13. ENVIRONMENTAL CONCERNS..............18 FOR PERFECT RESULTS Thank you for choosing this AEG product. We have created it to give you impeccable performance for many years, with innovative technologies that help make life simpler – features you might not find on ordinary appliances. Please spend a few minutes reading to get the very best from it. - Page 3 ENGLISH of incorrect installation or usage. Always keep the instructions in a safe and accessible location for future reference. 1.1 Children and vulnerable people safety This appliance can be used by children aged from 8 • years and above and persons with reduced physical, sensory or mental capabilities or lack of experience and knowledge if they have been given supervision or instruction concerning the use of the appliance in a...
-
Page 4: Safety Instructions
WARNING: Do not use mechanical devices or other • means to accelerate the defrosting process, other than those recommended by the manufacturer. WARNING: Do not damage the refrigerant circuit. • WARNING: Do not use electrical appliances inside the •... - Page 5 ENGLISH 2.2 Electrical connection • Do not change the specification of this appliance. WARNING! • Any use of the built-in product as free- Risk of fire and electric standing is strictly prohibited. shock. • Do not put electrical appliances (e.g. ice cream makers) in the appliance WARNING! unless they are stated applicable by...
-
Page 6: Installation
• Regularly examine the drain of the • Door gaskets will be available for 10 appliance and if necessary, clean it. If years after the model has been the drain is blocked, defrosted water discontinued. collects in the bottom of the 2.7 Disposal... - Page 7 ENGLISH The correct operation of the Overall dimensions ¹ appliance can only be guaranteed within the specified temperature range. If you have any doubts regarding where to install the appliance, please turn to the ¹ the height, width and depth of the vendor, to our customer appliance without the handle service or to the nearest...
- Page 8 3.4 Levelling • C - brown: Live • D - blue: Neutral When placing the appliance make sure As the colours of the wires in the mains that it stands level. This can be achieved lead of this appliance may not...
-
Page 9: Product Description
ENGLISH 4. PRODUCT DESCRIPTION 4.1 Product overview Control panel Handle Shelf Gasket Foot Air filter Decorative frame Tempered glass door 5. OPERATION WARNING! Do not spill any liquids on the control panel. This may damage the equipment and increase the risk of electric shock. - Page 10 5.2 Display A. Alarm indicator D. Child lock indicator B. Filter reset indicator C. Temperature indicator 5.3 Switching on and off By default, the temperature digits show the current To switch on the appliance: temperature at half 1. Insert the plug into the wall socket.
- Page 11 ENGLISH Light brightness (L): 2. Tap and hold the Temperature increase and Light keys • 9L is the brightest setting while 1L is simultaneously for 5 seconds. the dimmest one. 3. The filter indicator turns off for the To set the light behaviour or brightness: next 6 months.
-
Page 12: Daily Use
5.12 High and low display restores. Check if the wine inside is not spoiled. temperature alarm • If the temperature is still too high or too low, the alarm goes off again after High temperature alarm 60 minutes. The alarm goes off when the compartment's temperature is 5°C higher... - Page 13 ENGLISH Full shelf levels 2,3,4,5,6 3. Align the guides in the front. 6.2 Removing and installing shelves Removing shelves To remove the shelf: 1. Open the wine cabinet door completely. 2. Pull the shelf out. 3. Grab the shelf in the middle, lift it up slightly and take it out of the wine cabinet.
-
Page 14: Hints And Tips
To replace the air filter: 1. Locate the filter and detach it from the appliance. Remove its cover. 2. Remove the old filter. 3. Take out the new filter from the plastic bag. 4. Insert the new filter ensuring the side with the text is facing upward. -
Page 15: Troubleshooting
ENGLISH 8.1 General warnings 4. Regularly check the door seals and wipe them clean to ensure they are CAUTION! clean and free from debris. Unplug the appliance before 5. Rinse and dry thoroughly. carrying out any 8.4 Cleaning the drain maintenance operation. - Page 16 9.1 What to do if... Problem Possible cause Solution The appliance does not op‐ The appliance is switched Switch on the appliance. erate. off. The mains plug is not con‐ Connect the mains plug to the nected to the mains socket mains socket correctly.
- Page 17 ENGLISH Problem Possible cause Solution Water flows inside the wine The appliance drain is Clean the appliance drain cabinet. clogged. hole. Refer to the "Cleaning the drain" section. Water flows inside the wine Products prevent that wa‐ Make sure that products do cabinet.
-
Page 18: Noises
10. NOISES SSSRRR! BRRR! CLICK! HISSS! BLUBB! 11. TECHNICAL DATA The technical information is situated in web link to the information related to the the rating plate on the internal side of the performance of the appliance. Keep the appliance and on the energy label. - Page 20 www.aeg.com/shop...


