Canon EF 70-200mm f/2.8L IS II USM Instruction
Ef lens ultrasonic image stabilizer
Hide thumbs
Also See for EF 70-200mm f/2.8L IS II USM:
- Instructions manual (21 pages) ,
- Instruction (17 pages) ,
- Parts catalog (16 pages)
Table of Contents
Quick Links
Table of Contents

Related Manuals for Canon EF 70-200mm f/2.8L IS II USM


Summary of Contents for Canon EF 70-200mm f/2.8L IS II USM
- Page 1 EF70-200mm f/2.8L IS II USM Instruction...
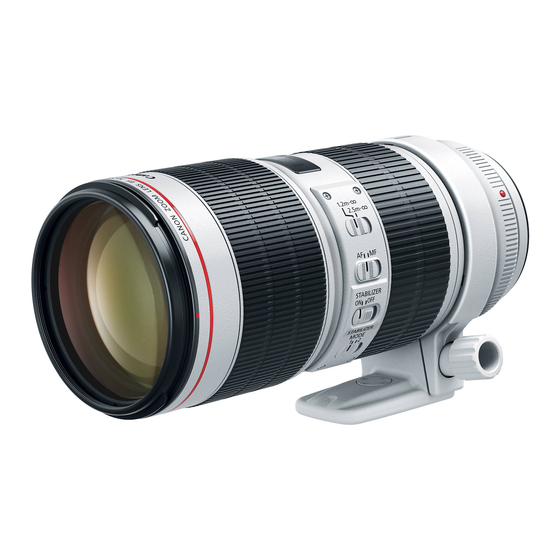
- Page 2 Thank you for purchasing a Canon product. Dedicated to EOS cameras, the Canon EF70- 200mm f/2.8L IS II USM lens is a high- performance telephoto zoom lens equipped with an Image Stabilizer. • “IS” stands for Image Stabilizer. • “USM” stands for Ultrasonic Motor.
-
Page 3: Safety Precautions
a Safety Precautions a Safety Precautions • Do not look at the sun or a bright light source through the lens or camera. Doing so could result in loss of vision. Looking at the sun directly through the lens is especially hazardous. •... -
Page 4: Table Of Contents
Nomenclature Hood mount (→ 7) Filter mounting thread (→ 13) Focusing ring (→ 5) Focus mode switch (→ 5) Image stabilizer switch (→ 8) Image stabilizer mode selector switch (→ 8) For detailed information, reference page numbers are provided in parentheses Focusing distance range selection switch (→... -
Page 5: Rubber Ring
The lens mount has a rubber ring for enhanced water- and dust-resistance. The rubber ring may cause slight abrasions around the camera's lens mount, but this will not cause any problems. If the rubber ring becomes worn, it is replaceable by a Canon Service Center at cost. ENG-4... -
Page 6: Focusing Ring
2. Setting the Focus Mode To shoot in autofocus (AF) mode, set the focus mode switch to AF. To use only manual focusing (MF), set the focus mode switch to MF, and focus by turning the focusing ring. The focusing ring always works, regardless of the focus mode. -
Page 7: Zoom Ring
4. Zooming To zoom, turn the zoom ring. Be sure to finish zooming before focusing. Zooming after focusing can affect the focus. ENG-6... - Page 8 5. Hood The ET-87 hood can keep unwanted light out of the lens, and also protects the front of the lens from rain, snow, and dust. Attaching To attach the hood, align the hood’s attachment position mark with the red dot on the front of the lens, then turn the hood as shown by the arrow until the lens' red dot is aligned with the hood's stop position mark.
- Page 9 6. Image Stabilizer Settings You can use the image stabilizer in AF or MF mode. Set the STABILIZER switch • If you are not going to use the image stabilizer function, set the switch to Select the stabilizer mode. • MODE 1: Corrects vibrations in all directions.
- Page 10 7. Tips on Using the Image Stabilizer The image stabilizer in this lens is effective for hand-held shots under the following conditions. ● MODE 1 • In semi-darkened areas such as indoors or outdoors at night. • In locations where flash photography is prohibited, such as art museums and theater stages.
- Page 11 Tips on Using the Image Stabilizer • The Image Stabilizer cannot compensate for a blurred shot caused by a subject that moved. • Set the STABILIZER switch to taking pictures using the Bulb setting (long exposures). If the STABILIZER switch is set to the image stabilizer function may introduce errors.
-
Page 12: Distance Scale
8. Infinity Compensation Mark Infinity compensation mark Distance index To compensate for shifting of the infinity focus point that results from changes in temperature. The infinity position at normal temperature is the point at which the vertical line of the L mark is aligned with the distance indicator on the distance scale. -
Page 13: Tripod Mount
10. Using the Tripod Mount Adjusting the Revolving Mount You can loosen the orientation lock-knob on the tripod mount to allow it to rotate as needed to fit a particular camera model for switching between vertical and horizontal positions. Detaching First remove the lens from the camera and then remove the tripod mount from the lens as shown below. -
Page 14: Filter Mounting Thread
(Sold separately) You can attach filters to the filter mounting thread on the front of the lens. • If you need a polarizing filter, use the Canon Circular Polarizing Filter (77mm). • To adjust the polarizing filter, first remove the lens hood. - Page 15 14. Extenders (Sold separately) With Extender EF1.4X ll or EF2X ll attached, the lens specifications will change as follows: Item Focal length (mm) Aperture Diagonal Angle of view Vertical Horizontal Maximum magnification (×) • First attach the Extender to the lens, then attach the lens to the camera. Detach it from the camera in the reverse order.
-
Page 16: Specifications
• The size and weight listed are for the lens only, except as indicated. • Aperture settings are specified on the camera. • All data listed is measured according to Canon standards. • Product specifications and appearance are subject to change without notice. - Page 17 CT1-7586-002 © CANON INC. 2010 2010.2...